Configure Advanced Groups
Last Updated: October 02, 2026
Create Advanced Groups to combine multiple deployment criteria and control which printers install for end users. After you create a group and add rules, apply it to a printer deployment.
Requirements
Review the Requirements before creating Advanced Groups.
Create an Advanced Group
- In the Admin Console, go to Tools
 Advanced Groups.
 - Select Add in the upper-right corner.
- Enter a name and a description (optional).
- Select Save.
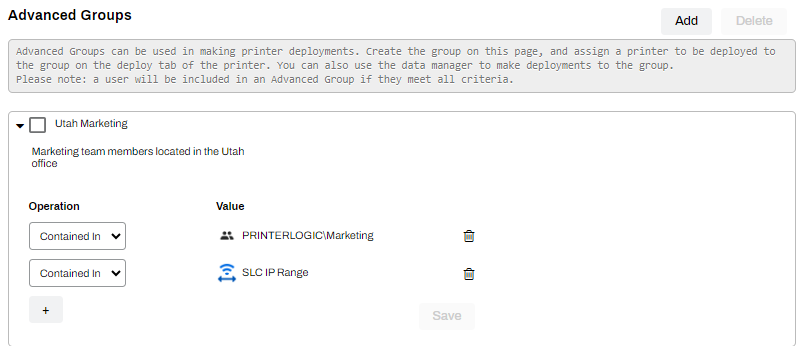
- Use the Operation field to select one of the following:
- Contained In: An object (user, group, IP address range, etc.) that determines where the printer is deployed.
- Excluding: An object that is excluded from a printer deployment.
- Use the Value field to select the filtering object.
- Follow the steps in the modal to find your object, and select Add.
- After you add all the rule types, select Save in the upper-right corner.
Next Steps
In this topic: