Simplified Scanning Report
Last Updated: April 07, 2026
The Simplified Scanning report tracks scanning usage in your environment. The report helps audit the amount of scanning done in your environment, check usage patterns, and monitor for charge-back purposes.
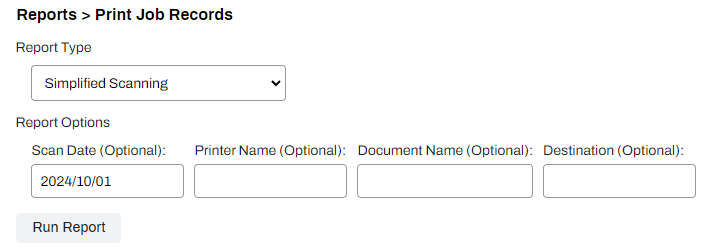
To access this report, go to Reports ![]() Print Job Records in the Admin Console and select the Simplified Scanning option in the Report Type dropdown.
Print Job Records in the Admin Console and select the Simplified Scanning option in the Report Type dropdown.
Report Results
The report results show the following information:
- Date: Date of the scan.
- Time: Time of the scan.
- User Name: User who performed the scan.
- Printer Name: Name of the printer used as defined in the tree structure.
- Job Type: Scan to Email, Scan to Cloud, such as Google Drive, OneDrive, etc.
-
Document Name: Name and file extension.
The Document Name column only displays the name if you've enabled the Include print job title in reports setting on Tools
 Settings Printing.
 - Paper Sizes: Paper size used, such as Letter, Legal, A4, etc.
- Pages: Page count of scan.
- Destination: Email or folder location where the scan was sent.

Report Actions
Filtering
Use the fields appropriate fields to define the filtering scope for the data. Select Run Report to initialize the report. By default, the current date autofills in the Scan Date (Optional) field. Clear the field and leave the others blank to run a report of all scanned jobs.
Export
You can export the report data as a CSV file with the Export CSV button.
In this topic: