Migrate Entra SAML to OIDC
Last Updated: September 23, 2026
This topic outlines the required steps to migrate your Entra ID SAML configuration to an OIDC connection.
Key Points
- This configuration migrates an Entra ID SAML connection to an OIDC connection, for the SAML method, refer to Entra ID (SAML).
- This configuration is required for mobile Microsoft Intune environments. For more details refer to Microsoft Intune Support.
- This authentication method allows mobile sign-in to turn on the PrinterLogic mobile app to access documents protected by Microsoft Intune's Mobile Application Management (MAM) policies.
Configure the Connection
To add and configure app properties for the PrinterLogic OIDC connection do the following:
- Open the Existing SAML Template.
- Register Entra OIDC Application.
- Add Mobile URIs.
- Configure IdP Settings.
- Configure SCIM Provisioning.
1. Open the Existing SAML Template
In a browser window, log in to Vasion Automate, and do the following:
- Select Admin from the left-side navigation.
- Select the Authentication option.
- Select your existing Entra ID SAML configuration.
- Copy the SCIM Tenant URL and save it. You will use it in a later step.
- Clear all the values from the IdP Template, including the login options.
- Select the OIDC option in the Authentication Protocol section.
- Leave the IdP Information template with the new fields open.
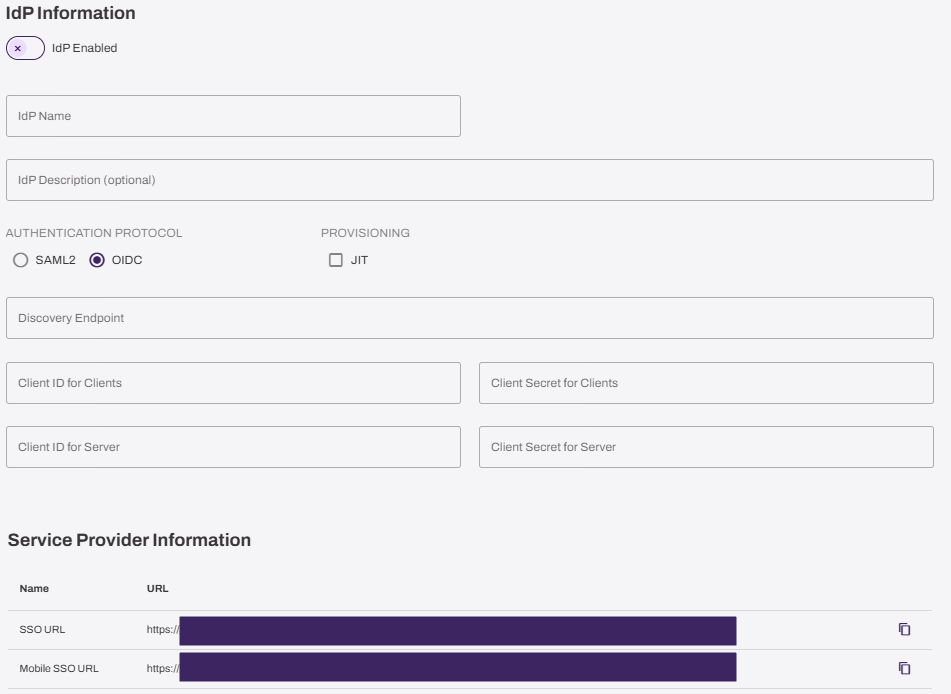
Keep the IdP Information screen open so that the Service Provider Information at the bottom is available for the following steps.
2. Register Entra OIDC Application
To create and register the application:
- Go to the Microsoft Entra admin center. (https://entra.microsoft.com/)
-
In the left-side menu expand Entra ID, then select App registrations.
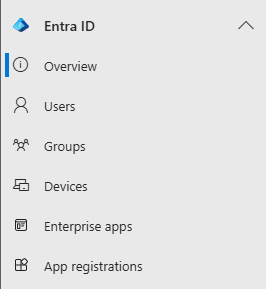
- On the App Registrations page, select + New Registration in the upper-left.
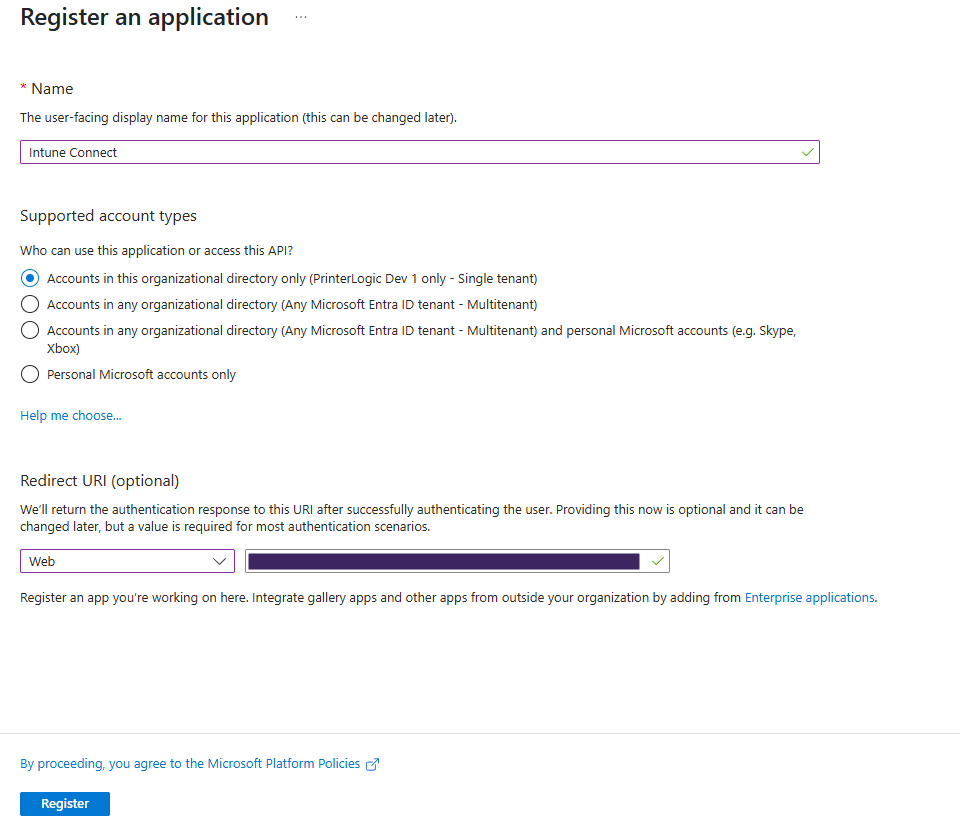
- In the Register an application page, enter a Name for the application.
- Select the desired option in the Support account types section.
- In the Redirect URI (optional) section, choose the Web option in the Select a platform dropdown.
-
Go back to the IdP Information template and copy the SSO URL from the Service Provider Information section.
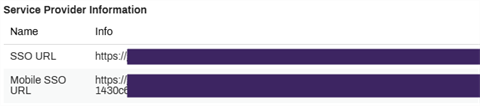
- Paste the SSO URL in the field next to the Web option.
- Select Register.
3. Add Mobile URIs
To add the mobile URIs:
-
On the new app's homepage, select the Redirect URIs option in the Essentials section.
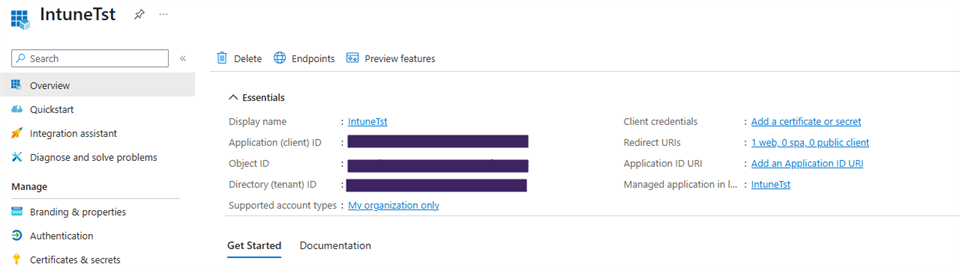
- In the Redirect URIs configuration section, select + Add Redirect URI.
-
Select the Web option.
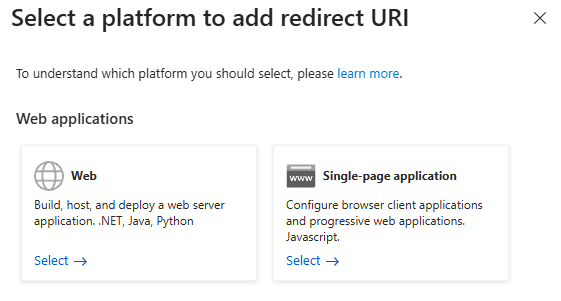
-
Go back to the IdP Information template and copy the Mobile SSO URL from the Service Provider Information section.
- Paste the Mobile SSO URL in the new Redirect URI field.
-
In the new field that appears, add the following Redirect URI.
Copy Codehttp://localhost - Select Configure.
-
On the Authentication (Preview) page, select Settings.
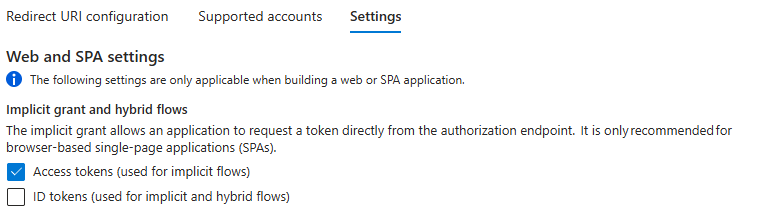
- In the Implicit grant and hybrid flows section, select the Access tokens (used for implicit flows) option.
- Select Save.
4. Configure IdP Settings
To configure the IdP Settings:
- Select Overview from the app's left-side menu.
-
Select the Endpoints option.

- In the Endpoints modal, copy the OpenID Connect metadata document.
- Paste it into the IdP Information Discovery Endpoint field.
- Close the Endpoints modal.
-
Copy the Application (client) ID from the Entra app's Essentials section and paste it into both the Client Id for Clients and the Client Id for Server fields.
- Select Certificates and secrets in the app's left-side menu.
- Select + New client secret.
- Enter Server in the Description field.
- Adjust the Expires value as needed.
- Select Add.
-
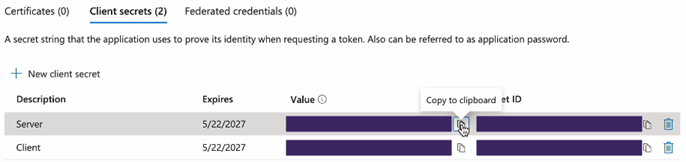
Copy the Value for the Server secret and paste it into the IdP Information Client Secret for Server field.
Copy the Value, not the Secret ID. - Select + New client secret again.
- Enter Client in the Description field.
- Adjust the Expires value as needed.
- Select Add.
-
Copy the Value for the Client secret and paste it into the IdP Information Client Secret for Clients field.
- Select Apply in the IdP Information modal.
- Select Save in Vasion Automate.
5. Configure SCIM Provisioning
The following sections guide you through creating the Entra Provisioning app, adding the users and groups, and applying the SCIM token.
Locate the Existing Entra ID SAML App
- Navigate to the Microsoft Entra admin center.
-
In the left-side menu expand Entra ID, then select Enterprise apps.
- Search for and select your existing Entra ID SAML app.
Add Users and Groups
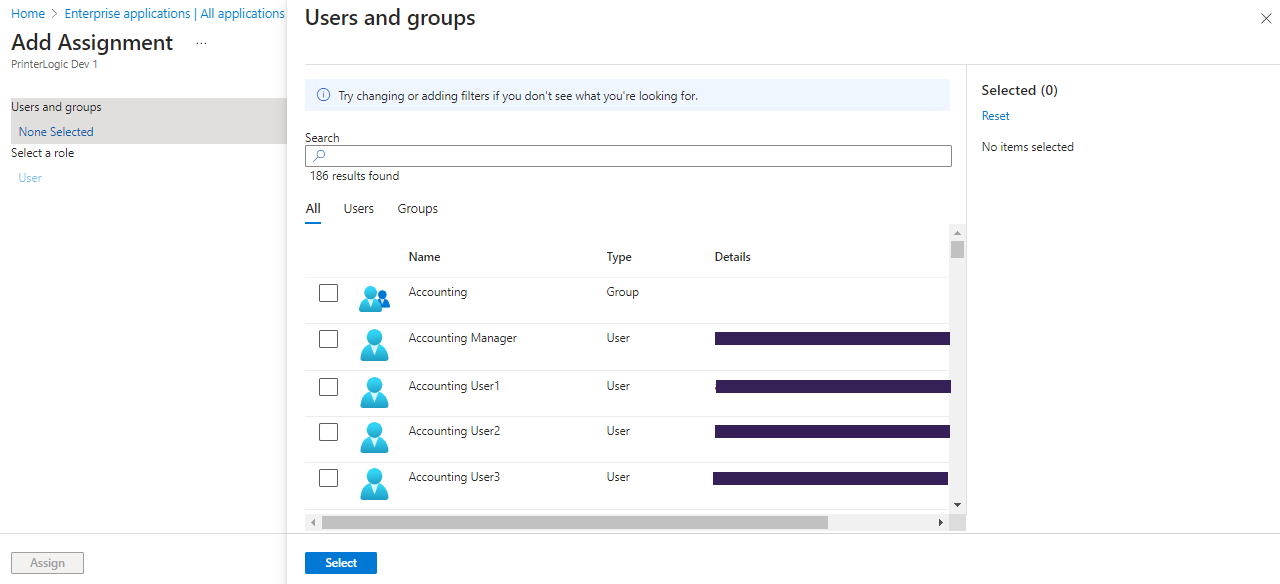
- On the app's Overview page, and select 1. Assign Users and Groups.
- Verify the desired users and groups show.
- Select the + Add User/Group option to add more.
- In the Users and Groups section of the Add Assignments page, select None Selected.
- Add the users and groups you want to provision over.
- The user roles the Users role for end users.
- Select the Select button.
- Select Assign.
Adjust Provisioning
- On the app's Overview page, select Provisioning from the left-side Manage menu.
-
Expand the Admin Credentials section, and verify the Tenant URL follows the structure below. (e.g., example.printercloud.com would be
example).SCIM Tenant URLs are instance-specific and should not change. This step is verifying the instance subdomain is correct, and should match to SCIM Tenant URL copied in step 1.
Copy Codehttps://gw.app.printercloud.com/<Your_Instance_Subdomain>/scim/v2 - In the Vasion Automate IdP Information go to the SCIM Token section and select Generate New Token.
- Copy the new OIDC SCIM token and paste it into the Entra Secret Token field.
- Select Test Connection.
-
Verify the Provisioning Status is set to On.
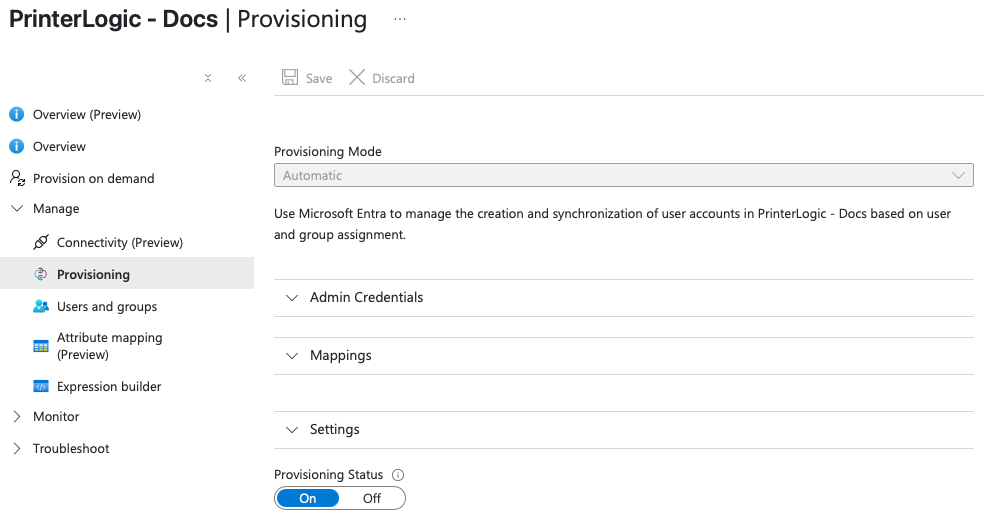
- Select Save.
The initial provisioning can take up to 45 minutes to "Automatically" provision after changes are made. Select the Start Provisioning option on the Provisioning tab to start the process sooner. Use Provision on Demand to provision specific users for testing purposes.
Next Steps
- Microsoft Intune Support (Optional, supporting Mobile app Microsoft Intune Login tied to the, OIDC configuration.)
- For steps on assigning users and roles to the PrinterLogic and Vasion Automate Admin Console, refer to Admin Console Users.
In this topic: