Last Updated: July 03, 2024
Connect SharePoint
SharePoint Connection Requirements
To connect Vasion Automate Pro to SharePoint you need the following:
- Access to the Azure.
- Access to SharePoint and permissions to create a site, if necessary.
- Register the Vasion Product application.
- Vasion Admin rights.
If you previously connected OneDrive to Vasion Automate Pro you don't need to create a new app registration in Entra ID (Azure AD). You can skip down to Find Client ID and Tenant ID.
Create a New App Registration
Register the Vasion application to obtain the Client ID, and get or create Client Secret details.
Manage App Registrations
- Navigate to https://portal.azure.com/
- Go to Manage Azure and click on App registrations
- Select New registration, and complete the necessary steps on the Register an application page
For more information about authentication in Azure, see their help section https://docs.microsoft.com/en-us/azure/active-directory/develop/quickstart-register-app.
Find Client ID and Tenant ID
Once the app registration is complete, do the following:
- In the registered application list, select the Vasion app.
- In the app Overview page, locate the following:
- Application (client) ID — When you get to Step 4 of the connection instructions below copy and paste this value.
- Directory (tenant) ID — When you get to Step 4 of the connection instructions below copy and paste this value.
Find the Client Secret
- Under the Manage section on the left-side navigation selectCertificates & secrets. If you need to create the Client secret you can see the Azure documentation using the link above.
- When you get to Step 4 of the connection instructions below copy and paste this value.
It can take up to 3 minutes or more for the connection to register before it is available to configure in Vasion
Grant API Permissions
The SharePoint connection requires both Microsoft Graph and SharePoint API permissions.
- Under the Manage section on the left-side navigation select API Permissions.
- Select Add a permission.
- In the Request API Permissions modal, select Microsoft Graph.
- In the OpenId permissions section, select offline_access
- Scroll down to the Files section and select Files.ReadWrite.All.
- Scroll down to the Sites section and select Sites.ReadWrite.All.
- Scroll down to the User section and make sure User.Read is selected.
- Select Add Permissions.
- Scroll back to the top and select < All APIs.
- Scroll down and select SharePoint.
- From the AllSites section, select AllSites.FullControl.
- From the MyFiles section, select MyFiles.Write.
- From the Sites section, select Sites.SearchAll.
- Select Add Permissions.
To connect to SharePoint you also need the name of the site and the name of the document library you want to connect. For information on how to create a site, see the Microsoft documentation create-a-site-in-sharepoint-4d1e11bf-8ddc-499d-b889-2b48d10b1ce8.
Connect SharePoint
- Click on the Admin App and click on Cloud Storage in the navigation menu
-
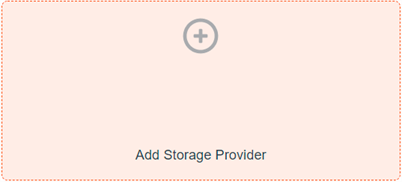
Double-click Add Storage Provider
-
In the Add Cloud Storage Provider modal, select SharePoint and then Continue
- In the Connect SharePoint modal, enter the following:
- Cloud Connection Description — enter a unique name that identifies this cloud storage connection. This name is displayed when navigating to this location in the Vasion apps.
- Client ID — enter the Application (client) ID details from the Azure application browser tab (Step 2 of Find Client ID and Tenant ID).
- Client Secret — enter the Secret from the Azure application browser tab (Step 2 of Find the Client Secret).
Tenant ID — enter the Directory(tenant) ID details from the Azure application browser tab (Step 2 of Find Client ID and Tenant ID)
- Site Display Name — enter the name of the SharePoint site.
Drive Name— enter the name of the document library.
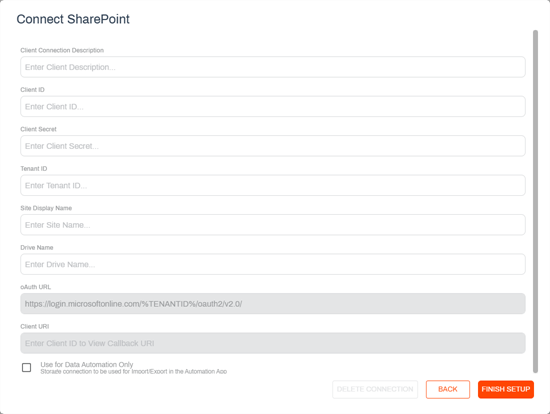
Use for Data Automation Only — check this box if the storage connection is only used for the Import or Export automations.
- Copy the Client URI text and go back to the Azure browser tab.
- Click on Authentication on the left side navigation.
- Find the Redirect URIs section and paste the client URI you copied from the Vasion module in the text box field
- If the Redirect URIs section does not exist, see the Azure help documentation configure platform settings
- Click Save at the top of the Authentication page
- Go back to Vasion Connect OneDrive modal in the browser tab and click Finish Setup
-
Once you're redirected to the Microsoft Authentication page, log in and authorize the app
When the drive is connected you should see a successful connection alert.
If you have selected to use the drive for data automation only, the drive does not display when navigating storage locations in the Vasion apps. The drive is only visible when configuring Import or Export automations. For more details, see Import / Export.
Edit the SharePoint Connection
You can make any updates to the connection at any time by doing the following:
-
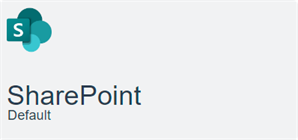
Double-click the cloud storage connection tile
-
Update the information in the appropriate fields
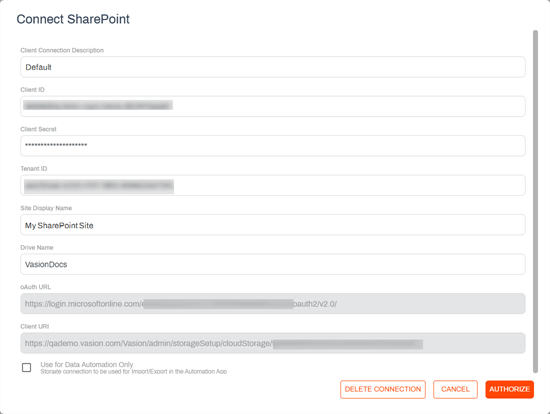
- Click Authorize
Delete the SharePoint Connection
To delete the cloud storage connection, do the following
-
Double-click the connection tile
-
Click Delete Connection
-
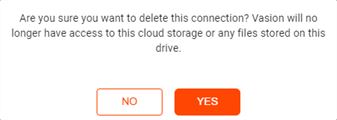
In the delete confirmation modal, click Yes