Last Updated: August 13, 2024
Workspace Overview
If your organization manages business processes through tasks and signature workflows, use the Workspace app to start new workflows and view tasks assigned to you or group in which you are a member.
Manage your tasks and take action on any current workflows. Details on how to manage tasks and the available views follow.
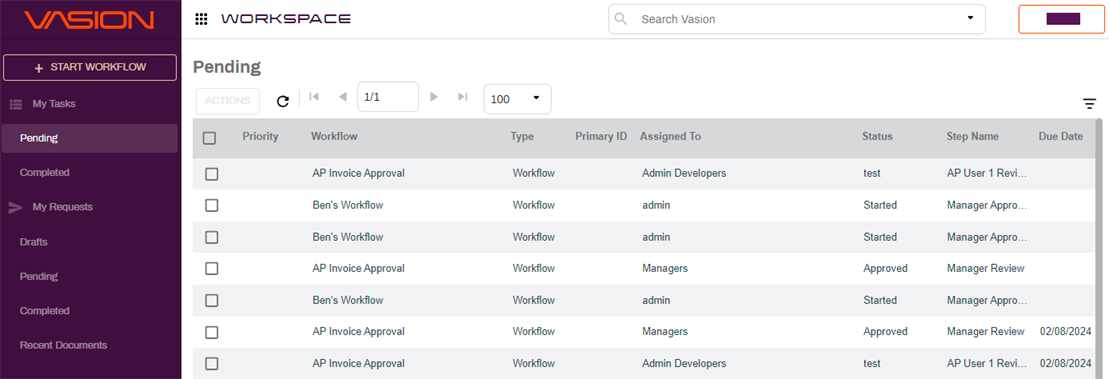
Important Parts of Workspace
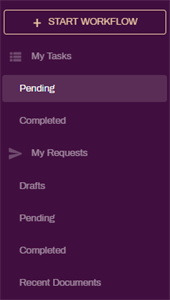
Side Navigation
- + Start Workflow — click button to begin a new workflow.
- My Tasks
- Pending Tasks — tasks waiting for your review or approval
- Completed Tasks — completed tasks in which you participated at any point in the workflow
- My Requests
- Drafts — form drafts you have not submitted yet.
- Pending Requests — tasks you created and are awaiting review or approval by another user
- Completed Requests — tasks you created and were completed
- Recent Documents — documents you recently accessed
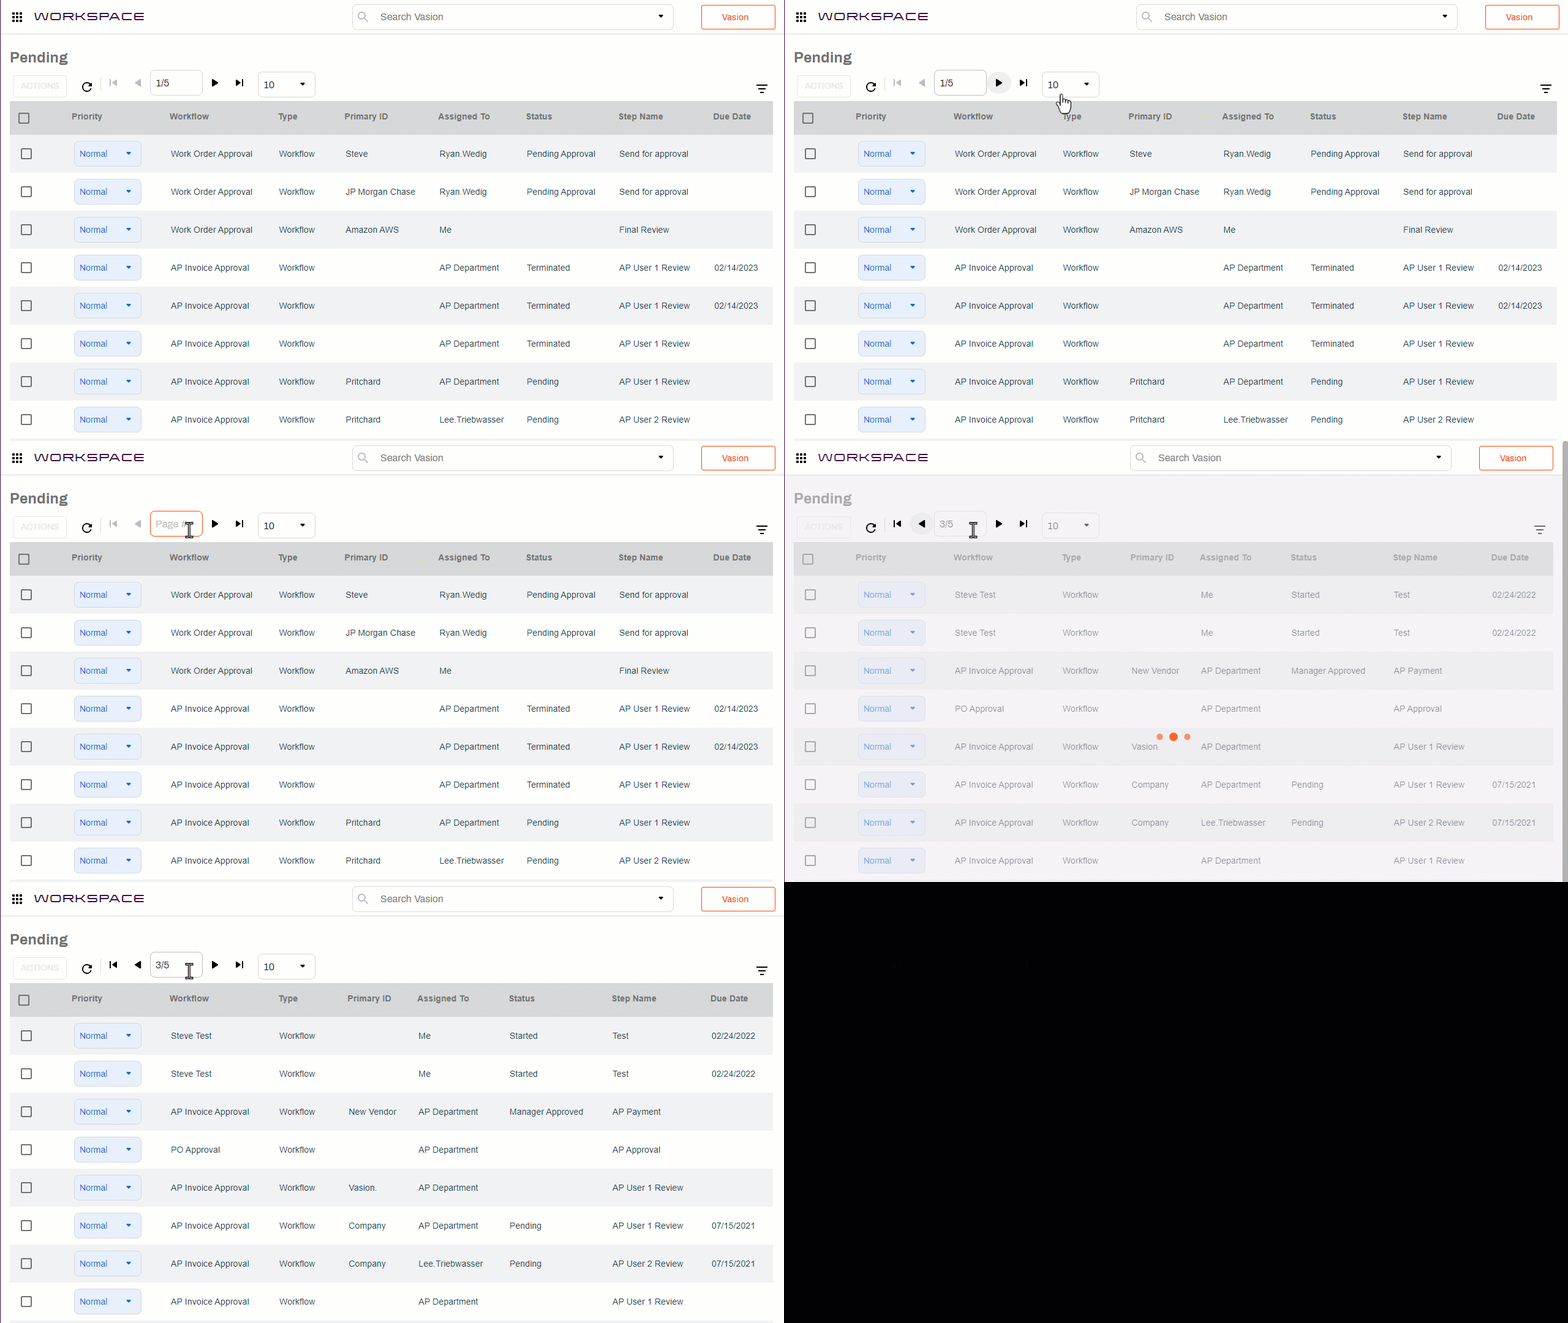
Tool Bar
- Action Button — click to see the actions that are available for the selected task. Available actions may vary depending on your role and the selected task.
- Refresh Button — click to refresh the task list.
- Navigation Bar — the navigation bar helps you move through the pages of the task list. Click the single forward or back arrow to move forward or back by one page. Click the double forward or double backward arrow to move to the first or last page in the task list.
- Task List Item Display — by default, there are 25 tasks shown on each page. Click the task list item display field to choose a different number of tasks to show on each page.

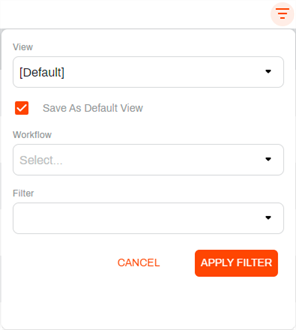
Change the View
On the far right of the toolbar you have a View Filter button  . You can use this button to adjust the display in Workspace as follows:
- View — use the drop-down to select a custom folder view. You have the option of having the view only display while you are in your current session.
- Save As Default View — check this box if you want to set the selected custom folder view to load when you log in and navigate to Workspace.
- Workflow — use the drop-down to select select from the following:
- all — use this option to view all workflow types assigned to you. This is the default option.
- Only Workflow — use this option to view only business process workflows.
- Only Signature Documents — use this option to view only Signature documents.
- Filter — use the drop-down to select from the following:
- Show Items that I can see — use this option to view all the items I have permission to see, for example, items assigned to a group I belong to.
- Show Items Assigned to Me — use this option to view only the items assigned to me, or that I have taken ownership.
Filtering is only available when signed in as an admin user.
Task Lists
Any tasks of the selected type (pending tasks, completed tasks, pending requests, completed requests) are shown in a list for you to take action. By default, for each task, you see:
- Priority — the priority of the task, which can be set when the task is created or at any other point in the workflow.
- Workflow — the workflow in which the task is currently.
- Type — the type of workflow the task is currently in, such as basic, signature, task.
- Primary ID — a key attribute field used to distinguish one task from another.
- Assigned To — the person or group to which the task is assigned.
- Status — where the task is in the workflow process.
- Step Name — The title associated with the current workflow step.
- Due Date — the date the task is due.
If custom folder views are configured, you can switch the task list view. You can also apply a workflow type filter. See Task Lists for more details.
Start a Workflow
Follow the instructions to start any workflows in which you or your groups are designated as the initiator.
- Select + Start Workflow on the side navigation.
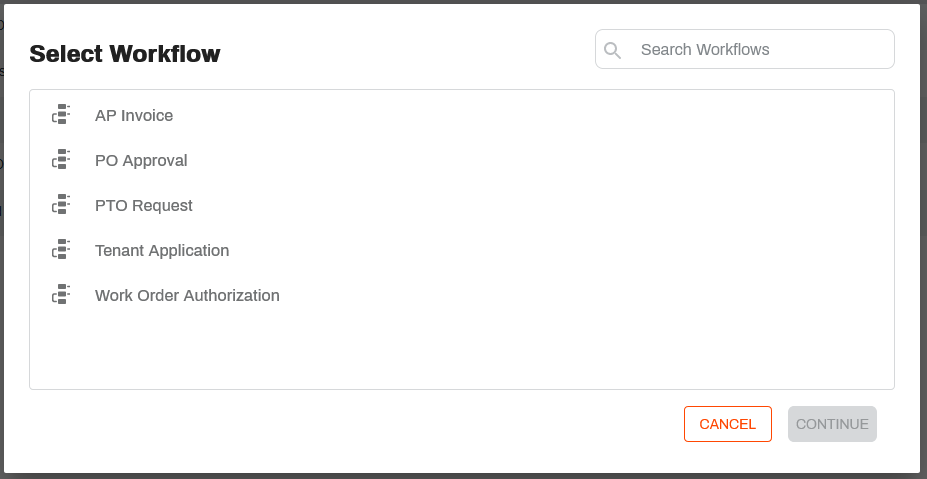
- In the Select Workflow modal, select the workflow you want.
-
Click Continue.
Depending on the way the workflow is configured, you may be required to fill out a form or upload a document.
-
If starting a document workflow, you may be required to enter information about the document.
-
Once you have completed all the fields, select Start Workflow.
Workflow Drafts
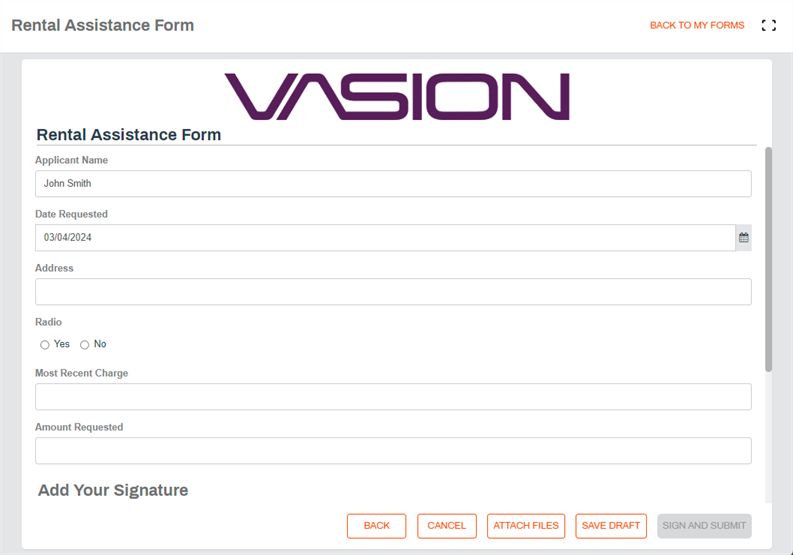
If you select a form workflow, you can save a draft of the form if you need to complete and submit your form to start the workflow at a later time. If you have attached any files to the workflow the file attachments are saved with the draft. For more details, see Drafts.
The default draft name is the name of the form with the date and time the draft is saved. Once the draft is saved, you can exit the workflow by selecting the Back button.
Save a Form Workflow
To save your form to complete later, do the following:
- Select the Save Draft button.
-
Update the draft name, if desired.
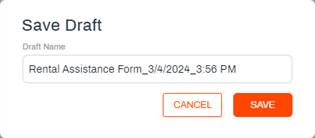
- Select Save.
Exit the Workflow
- Once the draft is saved, select the Back button.
-
In the confirmation modal select Yes.
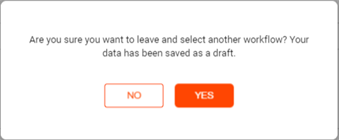
- In the Select Workflow modal select Cancel.