Last Updated: August 13, 2024
Manage Tasks
Tasks listed are workflow tasks assigned to you or a group in which you belong. You can start taking action on any task and the actions you can take depend on your user role and the status of each task.
Below is a quick overview on some of the things you can do from the task list. The advantage of using the Actions menu options here is that you can select multiple tasks to then take a quick action. However, depending on your business process you most likely need to open each task to view the documents and any attachments. To learn more about viewing documents see Document View.
Set Task Priority
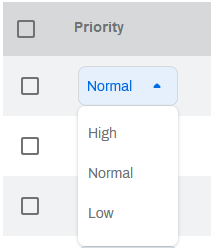
Each task can be set to high, medium and low priority. The creator of the task can set the priority at the start or the priority can be changed at any time in the workflow. by using the drop-down.
Action Menu
The Actions button above the task list provides options for actions you can take on the tasks. Select one or more tasks and then select the action. Any actions that are grayed out are not available for the task(s) you’ve selected.
The items available depend on which tasks list you're viewing and roles assigned to you.
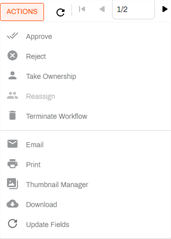
To save time, you can take the same action on multiple tasks by checking the box for each task first and then selecting the action.
Approve a Task
The workflow configuration determines what happens when a task is approved. The task may move to another step, it may be completed, or it can kick off another workflow.
To approve a task:
- Click the check box for the task you want to approve.
- Click the Action button and select Approve.
The task(s) move either to the next step, get marked completed, or kick off another workflow.
Reject a Task
When you reject a task, that task can move back to the prior step in the workflow, be sent to a rejected folder which ends the workflow, or is assigned to the user that initiated the task. The workflow configuration determines what happens when you reject a task.
To reject a task:
- Click the check box for the task you want to reject.
- Click the Action button and select Reject.
The task moves to the prior step or the rejected folder.
Take Ownership of a Task
The Take Ownership option is typically used when a task is assigned to a group, and a user within that group takes ownership to avoid others working on the same task. When you take ownership of a task, the task is then assigned to you and does not display in the Pending list for other members of your group.
To take ownership of a task:
- Click the check box for the task for which you want to take ownership.
- Click the Action button and select Take Ownership.
The task is now assigned to you and your name appears in the Assigned To in the task list.
Reassign a Task
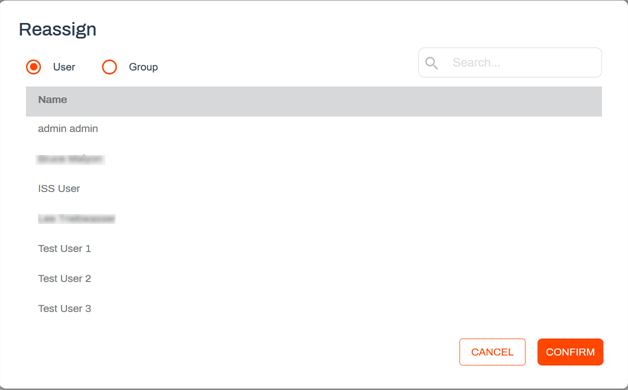
When you reassign a task, you’re giving that task to another group or person. The ability to reassign is dependent on the role you’re assigned.
To reassign a task:
- Click the check box for the task you want to reassign.
- Click the Action button and select Reassign.
- In the User list, click on the name from the list.
- To assign to a group, select the Group radio button and then select the name from the list.
The contents of the list depend on your permissions.
Terminate Workflow Task
When you terminate the workflow on a task, that task is removed from the workflow and is moved to a workflow folder for that specific workflow. The status of the task is updated and notifications may be sent to the task owner or requester.
To view the Terminate Workflow action you must have the Workflow - Terminate permission role assigned.
To terminate the workflow for a task:
- Click the check box for the task for which you want to terminate the workflow.
- Click the Action button and select Terminate Workflow.
The task is removed from the workflow.
With the appropriate permissions, you can use the Email option to send a link to the document via email, or send the document as an attachment. Some options available when using this feature are:
- Send Document as Attachments.
- Sending only selected pages as attachments.
- Burn annotations.
- Send a link to a document.
- Set a maximum number of views for the document.
- If you want to allow the recipient to download the document, you can set a maximum number of downloads.
- Set document access limit in hours.
- Do not require the recipient to log in to view the document.
For more details, see Email.
Print the selected document and any annotations. If the document is part of a signature workflow, you can also print the signature history.
- Select the document you want to print.
- Select the Actions button and then select Print.
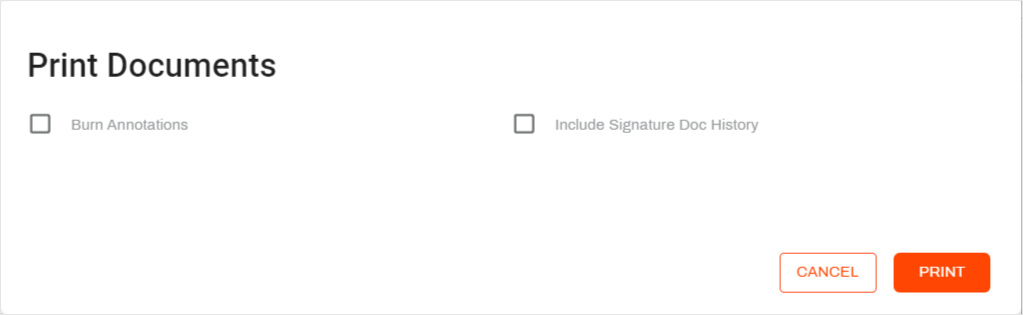
- In the Print Documents modal, select from the following options:
- Burn Annotations — select this option to include unburned annotations on the document you’re printing.
- Include Signature Doc History– this option only displays if a document is part of a signature workflow. When selected, it downloads the current signature audit trail in a separate PDF.
- Select Print.
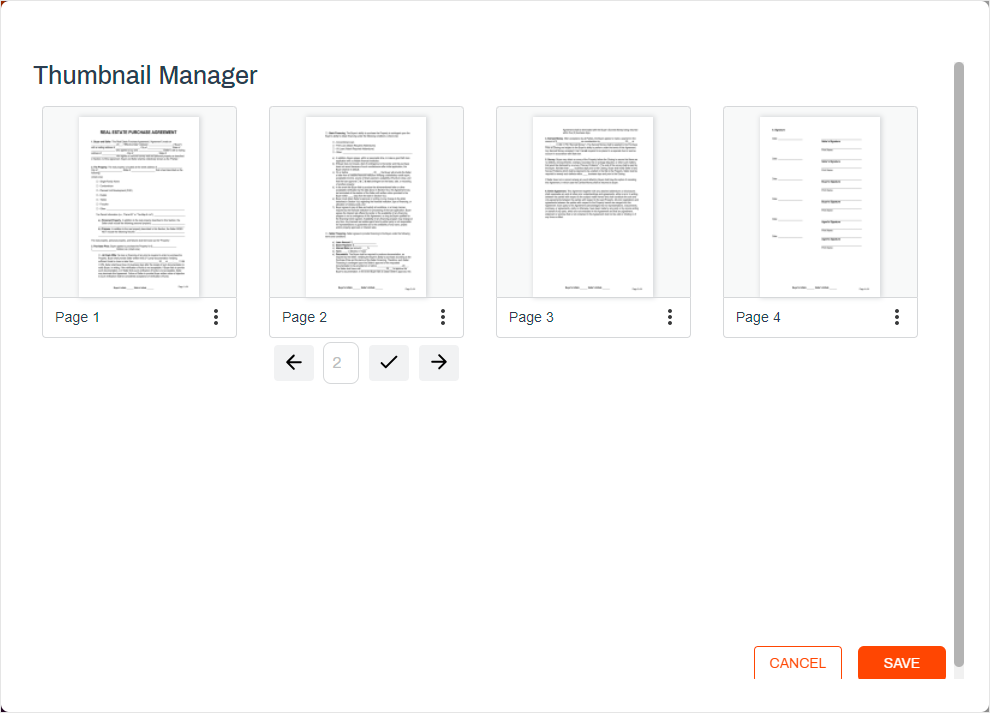
Thumbnail Manager
The Thumbnail Manager displays a small image of every page included in the selected document. Additionally, you can do the following:
- Rotate page orientation.
- Delete pages.
- Change the order of the pages.
- Split Document.
If you need to split a document and remove pages, the recommended practice is to perform two separate actions. Delete the pages you do not want first, and then split the document, or vice versa.
For more details, see Thumbnail Manager.
Download
Use the Download option to save a copy of the
- Select the document.
- Select the Actions button and then select Download.
-
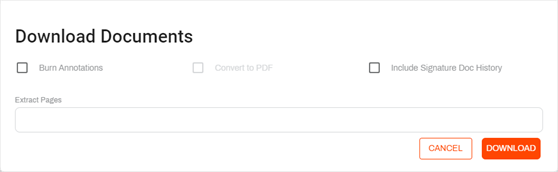
In the Download Documents modal, select your download options:
- Burn Annotations – includes annotations on the document. If you leave this box unchecked, the document will not include unburned annotations.
- Convert to PDF — select this option to download a form as a PDF.
- Include Signature Doc History– this option only displays if a document is part of a signature workflow. When selected, it downloads the current signature audit trail in a separate PDF.
- Extract Pages – use this option if you want to download specific pages from the document. To save a range of pages, use a hyphen between the first page number and last page number, for example, 2-7. To extract single pages, use a comma, for example, 3, 7, 9. You can combine hyphens and commas to get the pages you need, for example 2-7, 9, 15.
- Select Download.
The file is saved to your system's default download location.
Update Fields
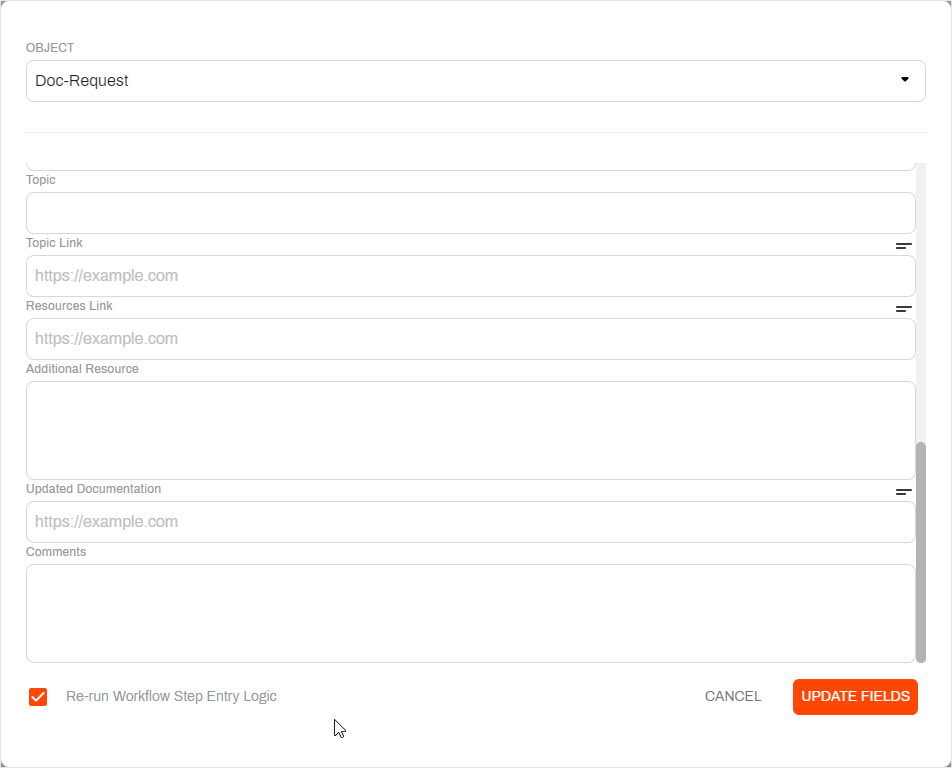
Use this option to make adjustments to the object fields if needed. This will confirm that you have the most up to date changes and updates to the documents and forms.
- Select the document
- Select the Actions button
- Select Update Fields from the list.
- Make any changes to the object fields as needed.
- If you would like to Re-run the workflow Step Entry Logic, check the box for that option.
- Select Update Fields.