OneLogin
Last Updated: October 08, 2026
An identity provider (IdP) uses an authentication token to vouch for a person's identity. Vasion Automate uses IdPs for several tasks, including logging in to the Admin Console and portals, deploying printers, releasing print jobs, and more.
The CPA supports only badge and PIN authentication for cloud IdPs.
Configure Connection
To add and configure app properties for the Vasion Automate connection do the following:
- Create OneLogin SAML App
- Set Authentication Type
- Configure Single Sign On
- Add X509 Certificate
- Configure Provisioning
- Add PrinterLogic Admins
1. Create OneLogin SAML App
- In your preferred browser, log in to your OneLogin portal. You can add your domain name to the following URL to access your portal.
https://<your domain>.onelogin.com/login
-
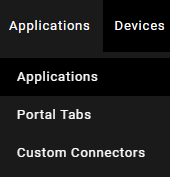
Hold the pointer over Applications in the top menu, and then select Applications.
- Select Add App in the upper-right corner of the Applications screen.
- Search for and select SAML Custom Connector (Advanced).
- Enter a name for the application in the Display Name field.
- (Optional) Adjust the icons or add a description.
- Select Save in the upper-right corner.
Leave the current browser on the new app page. To continue app configuration, open the Vasion Automate or PrinterLogic Admin Console in a new browser, and access the service provider information.
2. Set Authentication Type
In a separate browser window, log in to Vasion Automate, and do the following:
- Select Admin from the left-side navigation.
- Select the Authentication option.
-
Select the + New Authentication button.

- Select the IdP that you want to configure.
- Select Next.
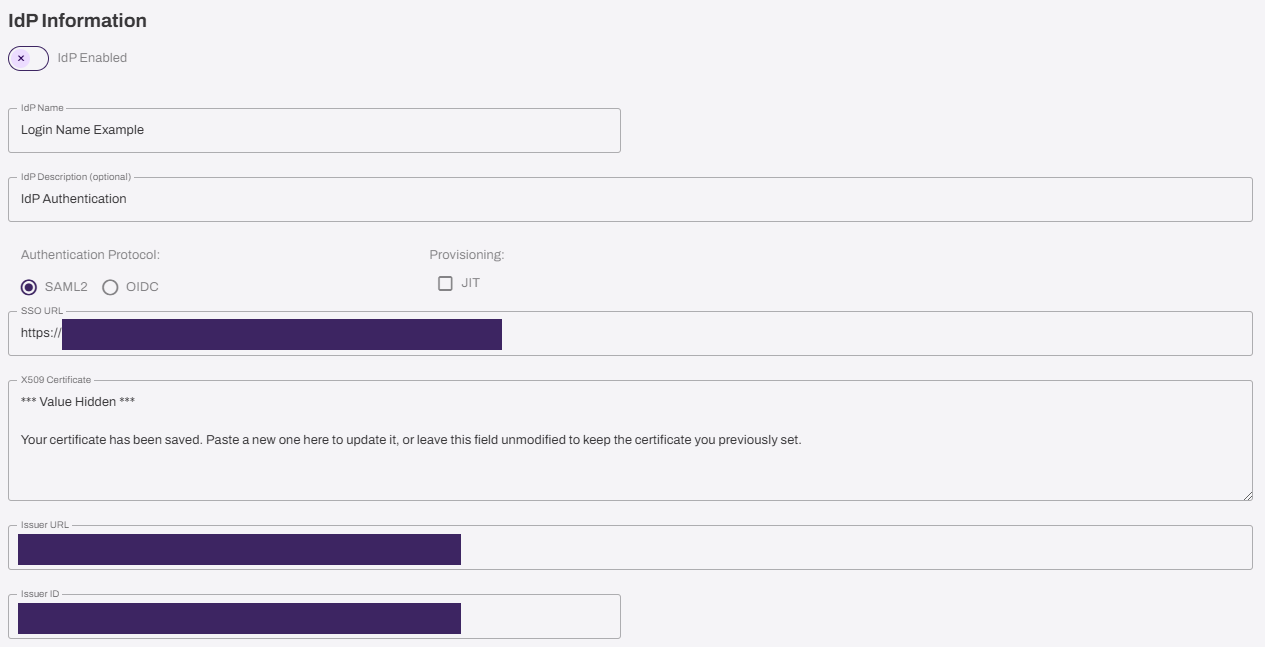
- Give your IdP a unique name.
- (Optional) Add a description.
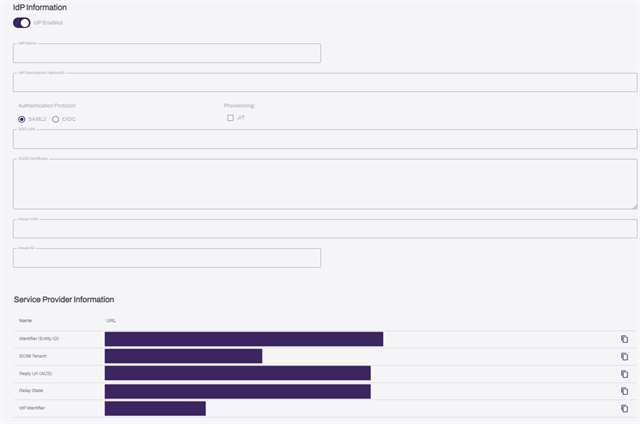
- Select SAML2 in the Authentication Protocol section.
-
In the Provisioning section, if you are using Systems for Cross-domain Identity Management (SCIM), leave the Just-in-Time (JIT) option deselected.
- Leave the IdP Information page open. You need this information for the next step.
3. Configure Single Sign On
- Select the Configuration option from the OneLogin app's left-side menu.
- Copy the Vasion Automate Identifier (Entity ID) and paste it into the OneLogin Audience (EntityID) field.
- Copy the Vasion Automate Relay State and paste it into the OneLogin RelayState field.
- Copy the Vasion Automate Reply Url (ACS) into the following OneLogin app configuration fields:
- Recipient.
- ACS (Consumer) URLValidator.
- ACS (Consumer) URL.
- Select the Parameters option from the OneLogin app's left-side menu.
- Select the NameID Value entry and update the Value to Username using the Value drop down.
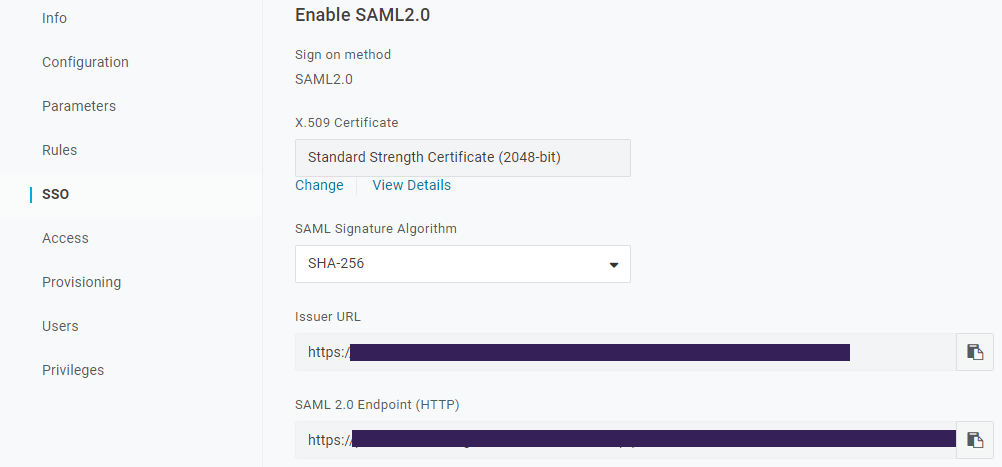
- Select SSO from the OneLogin app's left-side menu.
- Copy the OneLogin Issuer URL and:
- Paste it into the Vasion Issuer URL field.
- Cut the alphanumeric portion after metadata/ and paste it into the Issuer ID field.
- Example: Issuer URL: https://oneloginURL/metadata/, Issuer ID: 1e877fb7-550g56-4aa8-9b18-06d93d9fa65f
- Copy the OneLogin SAML 2.0 Endpoint (HTTP) value and paste it into the Vasion SSO URL field.
4. Add the X-509 Certificate
-
Select the SSO option from the OneLogin app's left-side menu.
-
In the X.509 Certificate section, right-click the View Details link and select Open in new tab.
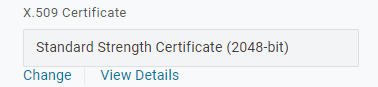
If you do not open the link in a new tab, navigate back to the app you created after completing this section. Hover over Applications in the top-menu, select Applications, then select your app from the Applications page.
-
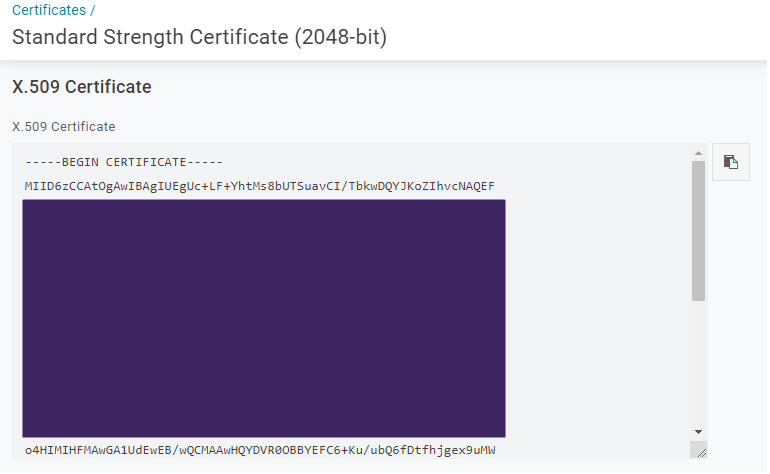
Copy the certificate body, including the Begin / End Certificate headers, and paste it into the Vasion X509 Certificate field.
- Select Save in Vasion Automate.
5. Configure Provisioning
The provisioning steps vary depending on whether you are using SCIM or JIT provisioning. Please choose the appropriate option below to view the corresponding steps for the method you are using.
SCIM Provisioning
Configure SCIM Provisioning
- In your preferred browser, sign in to your OneLogin portal. You can add your domain name to the following URL to access your portal.
https://<your domain>.onelogin.com/login
-
Hold the pointer over Applications in the top menu, and then select Applications.
- Select Add App in the upper-right corner of the Applications screen.
- Search for and select SCIM Provisioner with SAML (SCIM v2 Enterprise).
- Select the Configuration option from the OneLogin app's left-side menu.
- Copy the Vasion Automate SCIM Tenant URL and paste it into the OneLogin SCIM Base URL field.
- In the SCIM Token section Vasion Automate's Edit IdP page, select the Generate New Token button.
-
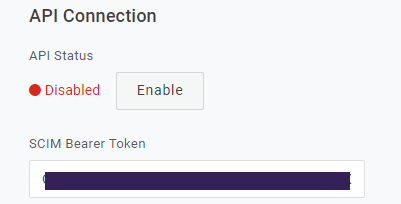
Copy the SCIM Token and paste it into the SCIM Bearer Token field.
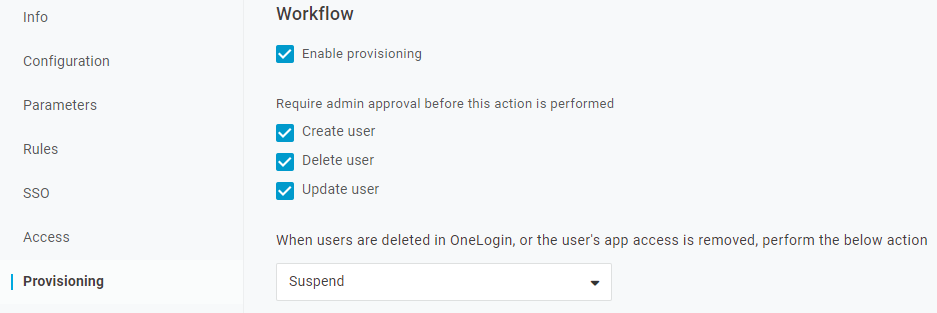
- In the OneLogin portal, select Provisioning in the left menu.
- Select Enable provisioning.
- Configure other user management options as desired.
- Select the OneLogin app's Configuration option from the left-side menu.
- Select the API Status Enable button.
- Select Save in OneLogin.
Add Users / Groups
Follow the steps below to add individual users to the application. If using OneLogin Roles for group provisioning, skip to Add Groups.
Add Users
- Hover over the top menu Users option and select the Users sub-option.
- Search for and select the desired user.
- Select Applications from the left-side menu.
- Select the Plus icon on the far-right.
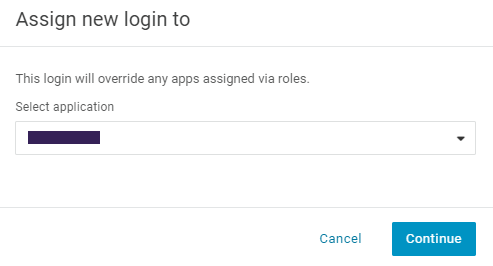
- In the Select application drop-down, select both the SAML Custom Connector (Advanced) and the SCIM Provisioner with SAML (SCIM v2 Enterprise) applications.
- Select Continue.
- Review the user information and select Save at the bottom.
- With the user now displayed on the Users page of the SCIM Provisioner with SAML (SCIM v2 Enterprise) application, check their Provisioning State.
- If pending, select Pending.
- In the Create modal, select Approve.
- Select Save User in the upper right.
Users begin provisioning once approved.
If the Provisioning State lists Unknown, select the Apply to all dropdown and select the Reset option.
Add Groups
To provision groups, use OneLogin Roles. The steps below guide you through setting the parameters and creating and assigning a new role.
1. Create / Assign Roles
The following steps guide you through creating a new role. If you already have roles created, proceed to the next step.
-
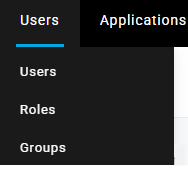
Hover over the Users option in the OneLogin top-menu and select the Roles sub-option.
- Select the New Role button in the upper-right.
-
Use the field in the upper-left to enter the role name, then select the checkmark.
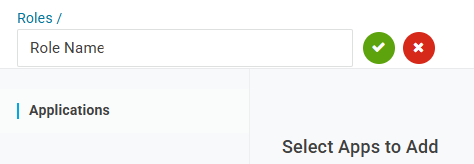
- In the Select Apps to Add section, select select both the SAML Custom Connector (Advanced) and the SCIM Provisioner with SAML (SCIM v2 Enterprise) applications.
- Select Save in the upper-right.
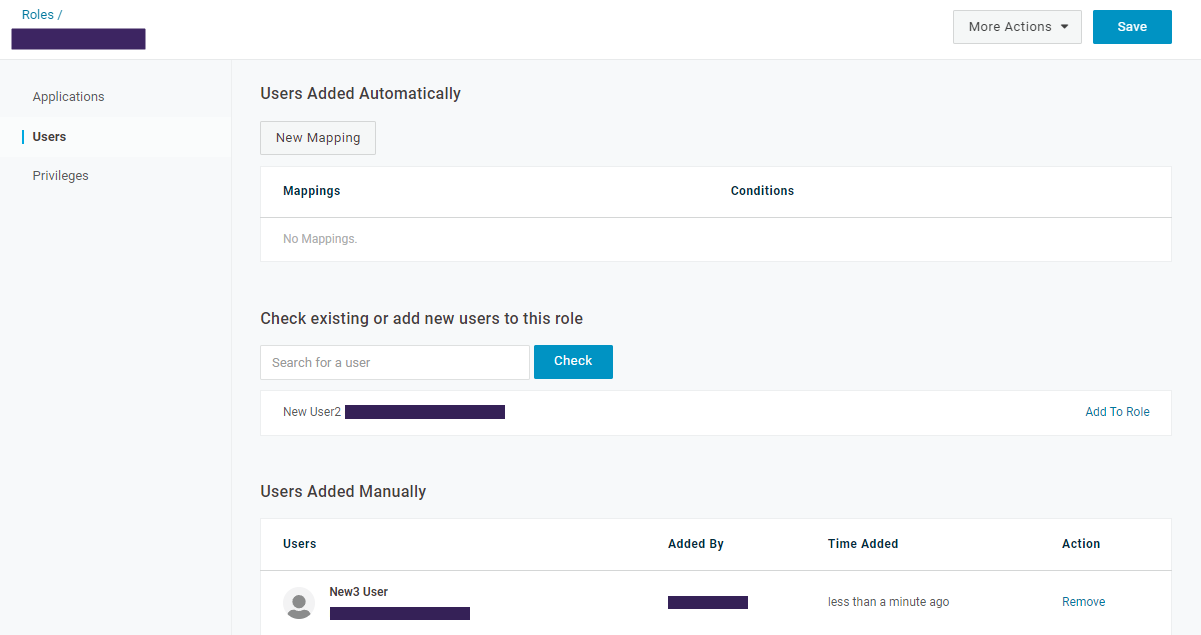
- Select your role from the list, then select the left-side Users option.
- In the Check existing or add new users to this role section:
- Search for the user(s).
- Select the user, then select Check.
- Select Add To Role.
- Repeat as needed for each user.
- Select Save when finished.
2. Set Parameters
- Navigate back to your OneLogin app, and select the Parameters option.
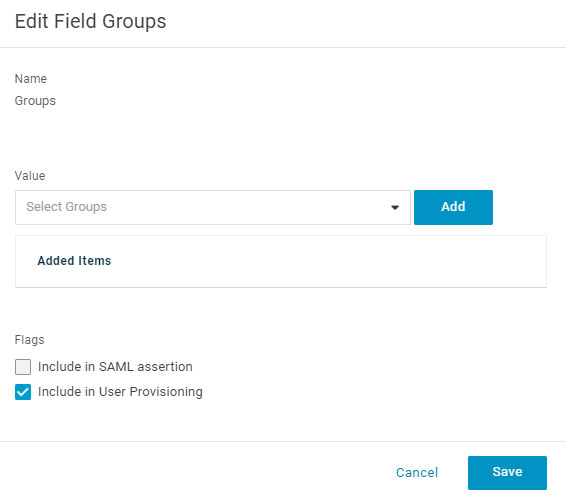
- In the Value column, select Groups.
- In the Edit Field Groups modal, select Include in User Provisioning.
- Select Save in the Edit Field Groups Modal.
- Select the Save button on the Application Parameters page.
3. Create Rules
- Select Rules from the OneLogin app's left-side menu.
- Select Add Rule.
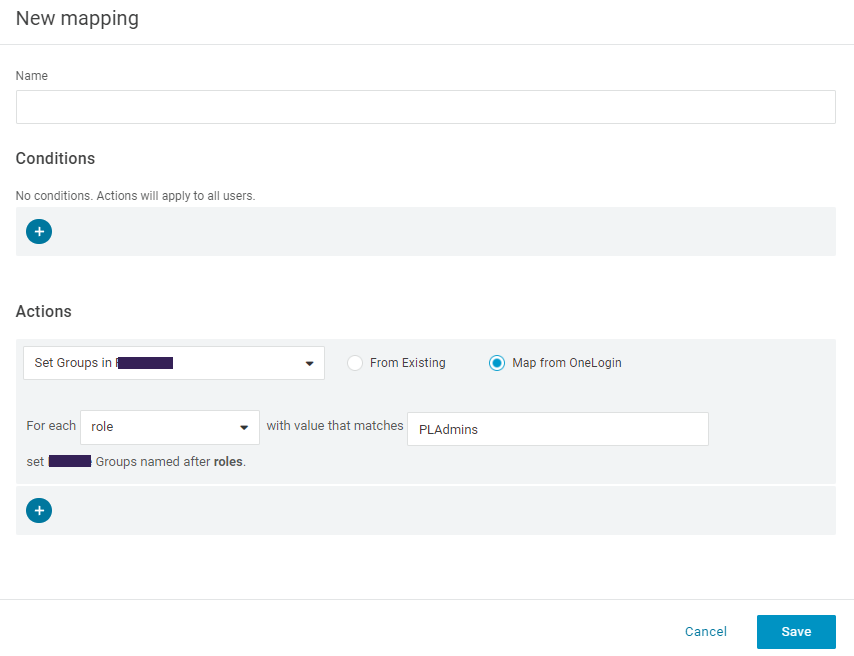
- In the New Mapping modal:
- Enter a name for the rule.
- Under Actions, select Set Groups in <Application Name>.
- Select Map from OneLogin.
- Set For each to role.
- Set the with value that matches to the role name previously created.
- Select Save in the modal.
- Repeat as needed for additional roles.
- Select Save in the Rules window.
4. Approve Pending Users
- Select the OneLogin app's left-side Users option.
- In the Provisioning state column, select the Pending option.
- In the Create modal, select Approve, or the approve bulk logins option.
Users begin provisioning once approved.
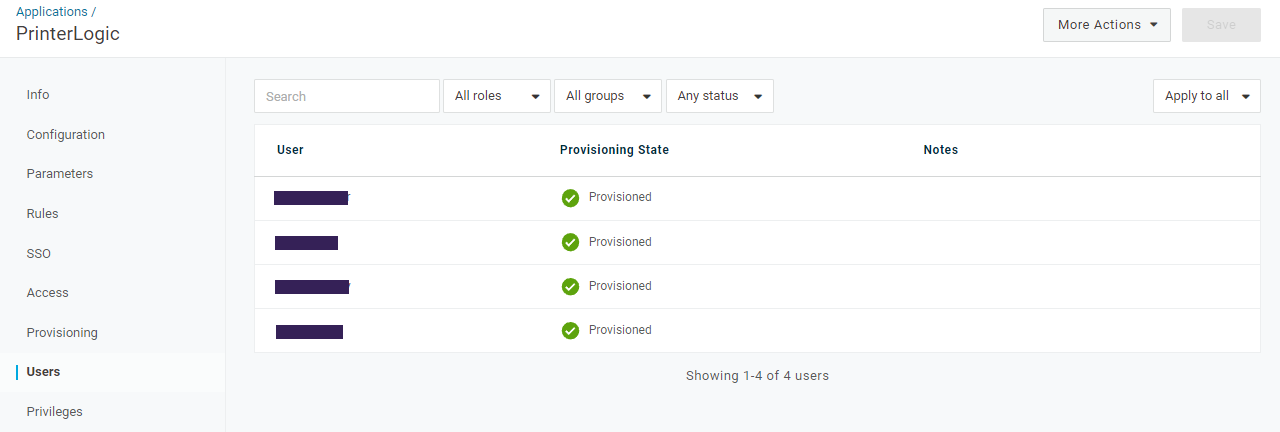
If the Provisioning State lists Unknown, select the Apply to all dropdown and select the Reset option.
Turn On IdP
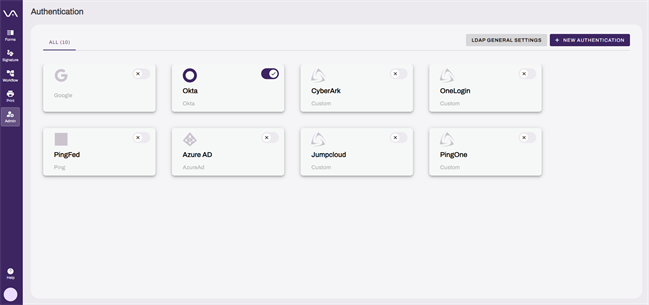
- In Vasion Automate, close the IdP Information page.
- In the Authentication page, select the button next to the configured IdP to turn it on.
JIT Provisioning
Turn On IdP
- In Vasion Automate, close the IdP Information page.
- In the Authentication page, select the button next to the configured IdP to turn it on.
JIT Provisioning
JIT does not support the provisioning of group membership associations, so you cannot apply Role-Based Access Control (RBAC) roles, printer deployments, or portal security roles to groups. You must create assignments individually for each user.
When using JIT provisioning, the app creates users during the first sign-in attempt:
- Access your Vasion instance, and select Sign In With <IdP Name>.
- Attempt to sign in with your IdP credentials.
-
This sign-in attempt fails and returns you to the sign-in screen.
This behavior is expected. With JIT, this action triggers user creation in the Vasion instance.
- The second sign-in attempt with valid credentials initiates a typical sign-in sequence.
For admins who need access to the Admin Console, you still need to add them to the Users page located in Tools  Users.
6. Add PrinterLogic Admins
For steps on assigning users and roles to the PrinterLogic and Vasion Automate Admin Console, refer to Admin Console Users.
In this topic: