Last Updated: July 22, 2024
Create a Form
Here are the steps you need to configure a form.
Requirements
- You must have an object. For details on how to create new objects see Create New Objects.
- If the form is used to start a workflow, you must already have a workflow created.
- If the form is used for data collection or to create a document you must already have storage folders configured.
- If you want the form data to be displayed in a specific document layout you must have already associated the form object to a document template.
- If you want to include a database lookup, the lookup must already be created. For more details, see Field Mapping.
Build a Single Page Form
Once your object fields are created, you can add them to a form. The process to build a form is as follows:
- Add a form heading
- Drag and drop components and fields
- Configure form settings
1 Form Heading
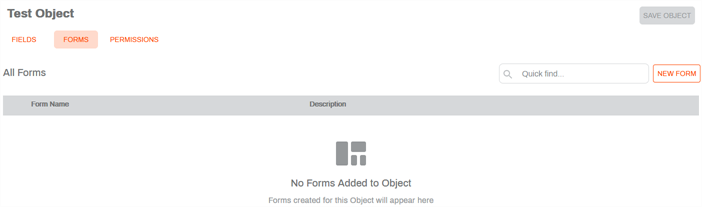
- With the desired object opened, click on the Forms tab.
-
Click New Form.
-
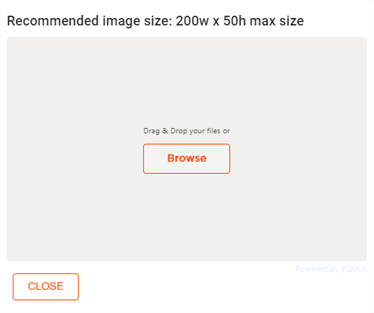
If you would like to add an image to the header of the form, select Upload Header Image, then either drag and drop the image or use the Browse option to find the desired image.
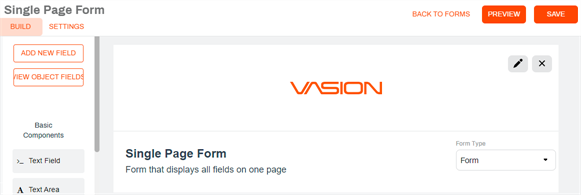
- Place your cursor on Untitled Form to enter a form name.
- Place your cursor on Form Description and enter a description for the form.
-
Use the Form Type drop-down and select
2 Drag and Drop Components and Fields
By default, the object fields display on the left hand side of the panel. To add
-
Click and drag Object fields and components onto the form.
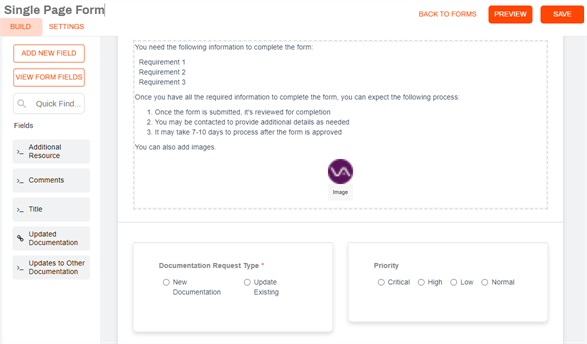
-
Use the Preview button to see what the finished form looks like when it's published. To go back to the form select Hide Preview.
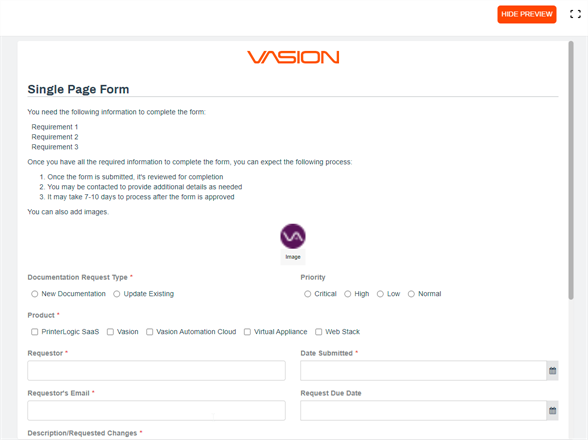
To save the form you need to complete the form settings.
3 Configure Form Settings
Once the form fields have been configured, go to the Settings tab.
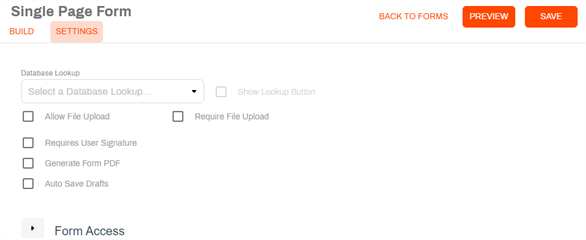
General Form Settings
- Database Lookup field — use the drop-down to run a DB lookup when the form is submitted, if applicable. This option also lets the user submitting the form to run this lookup prior to submitting. For more information see Field Mapping.
- Show Lookup Button — check the box if you want to display a button to trigger the lookup.
- Allow File Upload — check this box if you want users to upload any documents to attach to the form but they're not necessary to submit the form.
-
Require File Upload — check this box to require the user to upload documents in order to submit the form.

-
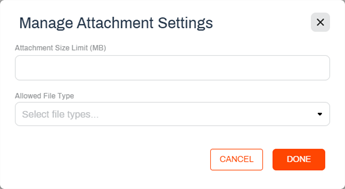
When either file upload option is checked you can optionally configure attachment settings by doing the following:
-
Select Manage Attachment Settings
-
Attachment Size Limit — limit the size of attachments by entering the total amount in MB.
-
Allowed File Type — use the drop-down to select the type of files users can upload. Multiple file types are allowed by checking the box next to each appropriate file type.
-
-
- Click Browse to navigate to the folder where you would like to store the file attachments added to the form. If you don't select an attachments folder, the documents are stored in the same folder as the form. If the form initiates a workflow, the attachments follow the form throughout the workflow process.
-
- Requires User Signature —check the box to add a signature component to the form requiring the user's signature to submit the form. When selected, you can optionally complete the following:
Enter Signature Label — enter text you want to display above the signature component. If left blank the default text reads "Add Your Signature".

- Generate Form PDF — this option is required if the object is not associated with a document template. To learn about document templates see Document Templates. When you select this option, use the drop-down to select the form destination.
Storage — when selected use the Browse button to select a storage folder.

To create a new folder while in the Browse dialog do the following:
- Right-click on the folder where you would like to create the new subfolder
- Select New Folder.
Type the desired subfolder name in the Folder Name text box.
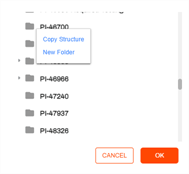
- Select Save.
Workflow — when selected use the Workflow drop-down to select the workflow.

- Auto Save Drafts — check this box to automatically save a draft of the form while a user is completing it. When this option is selected, the form saves automatically once minute.
-
Submit Form Anonymously — check this box to collect data anonymously. When this option is checked, user data is not captured and the Created By field in the object displays Anonymous.

Form Access
Form Access options determine who can see and complete the form. By default Allow for Public Access is not checked and you can see all the users and groups in Vasion. When Permitted Users and Permitted Groups are blank, the form is visible to all users in the Forms app under the My Forms section of the side navigation. When you add permitted users or groups, the form is then only available to the specified users or groups and is not visible to other users.
Below are steps on how to configure form access.
- Click the right arrow in the Form Access section to expand it.
-
Allow For Public Access — check this box if you would like the form to be available to all users. Anyone accessing a public form is not required to log into Vasion to complete it. Use this option if you want to embed the form into a web page or other location. The User Permissions and User Groups Permissions lists are not displayed.
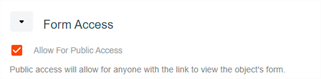
- If the Allow For Public Access box is not checked, you can assign specific users and user groups access to the form.
- Select the users or groups by clicking on the names.
Select the Arrow to move the selected names to the Permitted Users or Permitted Groups fields respectively.
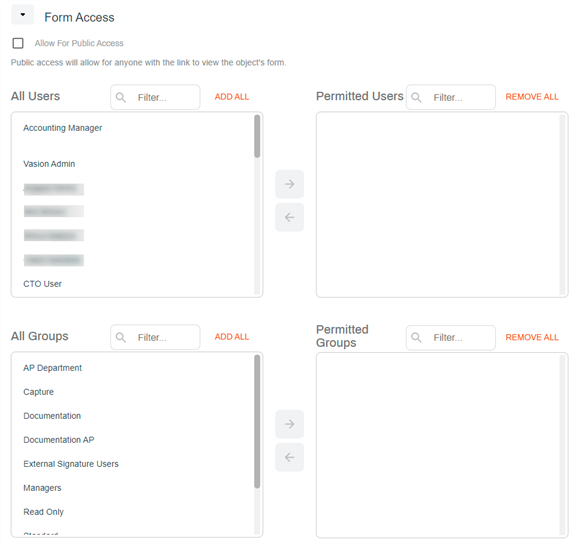
- Select Save to complete the form.
Vasion displays an error if there are any issues with the form and lists out what needs to be fixed before the form saves successfully.
Delete a Form
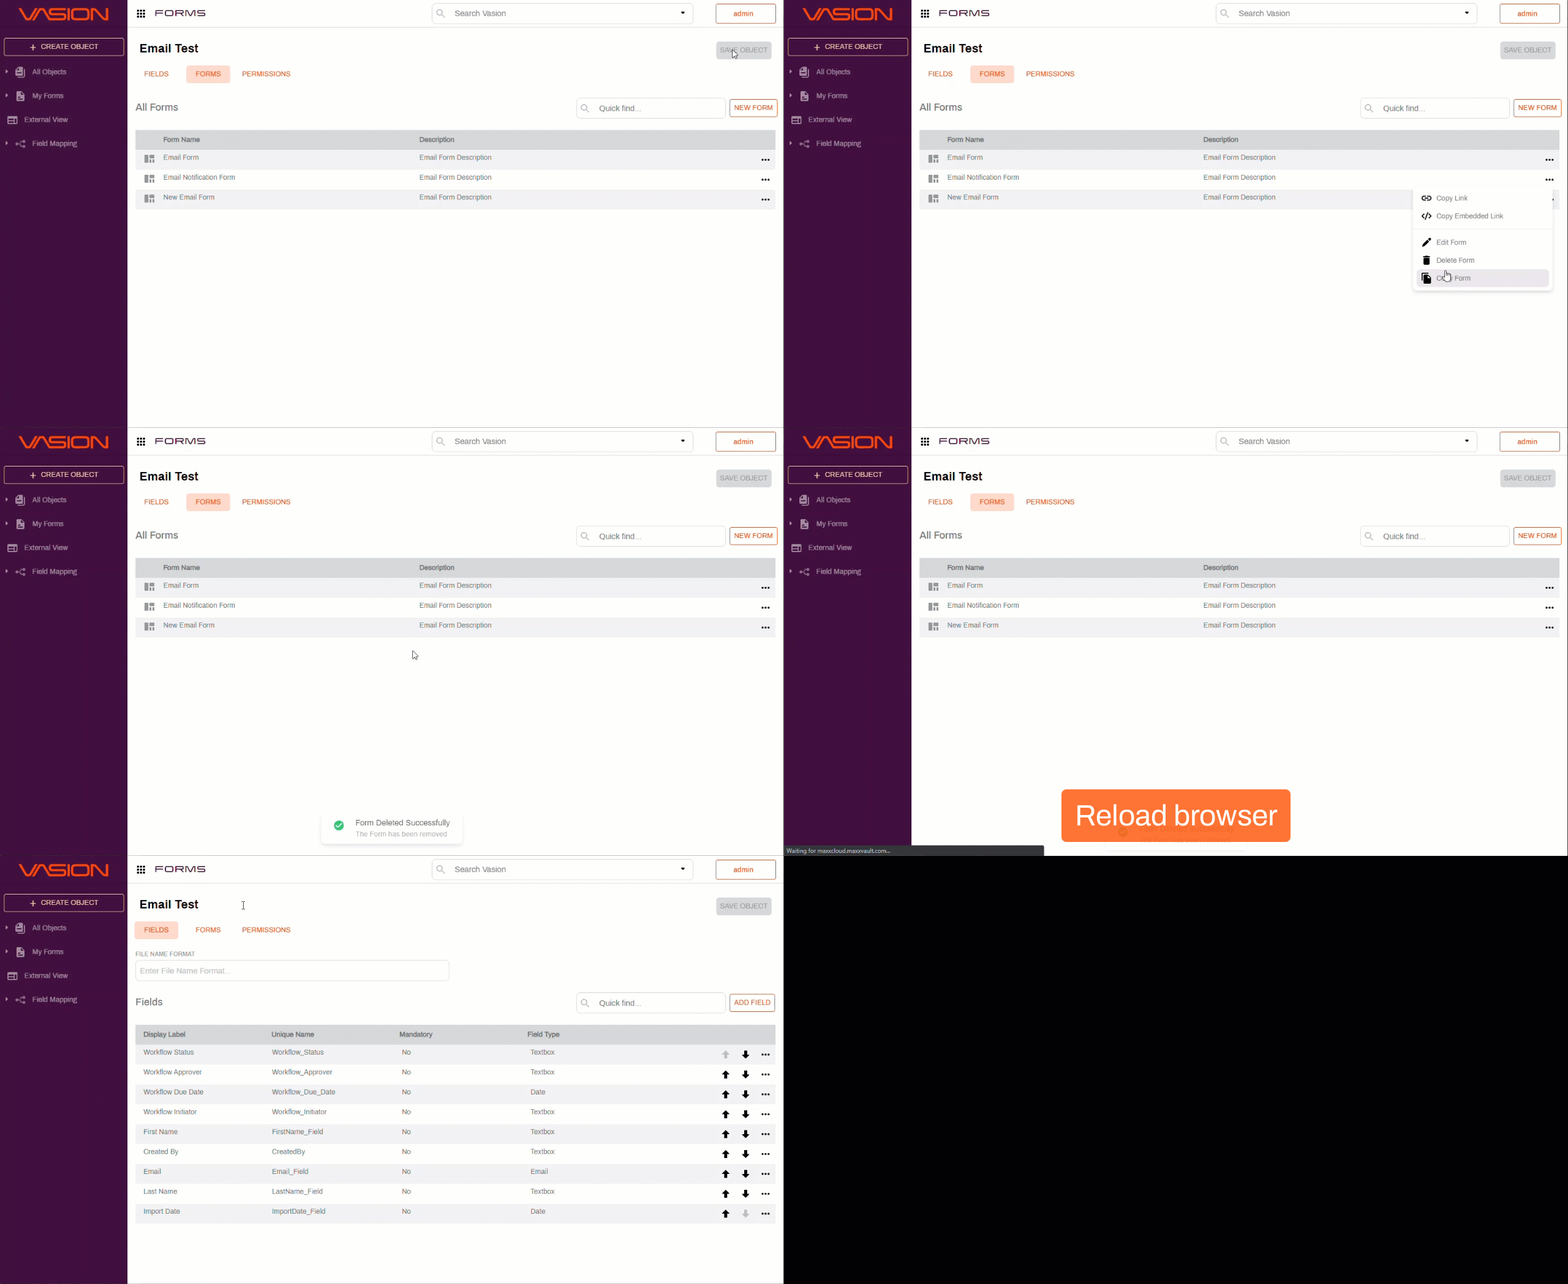
- With the desired object opened, click on the Forms tab.
- Click the More button
 on the form you would like to copy and select Delete Form.
 - In the confirmation modal, select Yes.