Last Updated: August 13, 2024
Document Templates
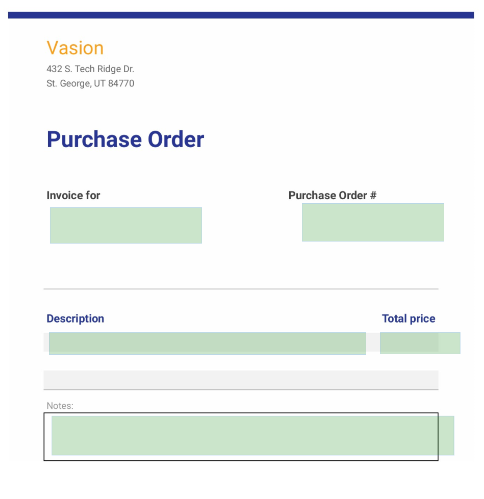
Document templates are used to generate a PDF of a document used as a form instead of the default PDF generated by the system that displays the unformatted form fields. A document is uploaded and the form fields are mapped to the document at specific locations so that data entered into a form is applied to the document and displays the data in the appropriate locations, as in the example shown here.
You can associate data from one form to multiple document templates. This allows a user to fill out the data from one online form and generate multiple documents. Essentially the person only has to enter in pieces of information once. We then take that data and apply it to the documents needed.
You can also add a custom action to workflows that can create a new document. Doing so triggers the process to create a new document by applying one of the document templates that are currently associated with the object configured for the given workflow.
Requirements
Before you create the document template, you must already have created at least one Object An Object is a group of related fields that can be applied to a document, workflow or form. The object fields are used to capture and index data that can be used to create forms, map to a document, and/or assign to a workflow.. For more details, see Objects.
Create a Document Template
To create a new document template you can use one of two options:
- Create a new document template by manually configuring all the options, or
- Create a copy from an existing template and update any options
To start a new document template, select Document Template on the side navigation and click on New Document Template on the right side.
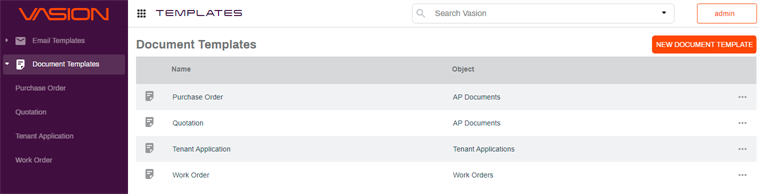
To create a new Document template using manual configuration do the following:
- Upload a document to use as the template
- Complete the template details
- Configure zones and apply object fields
1 Upload a Document
- In the Zone Configuration page, do one of the following:
- Drag and drop a file into the document section, or
Click in the box to browse your computer to select the file
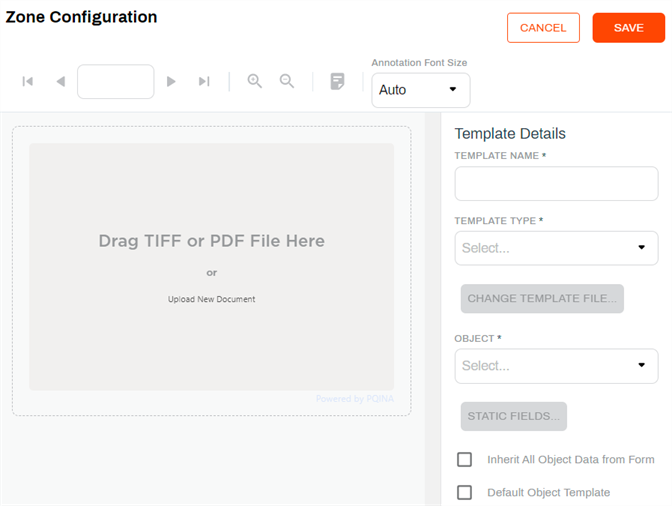
You can only add .tif, tiff, or pdf files.
2 Enter Template Details
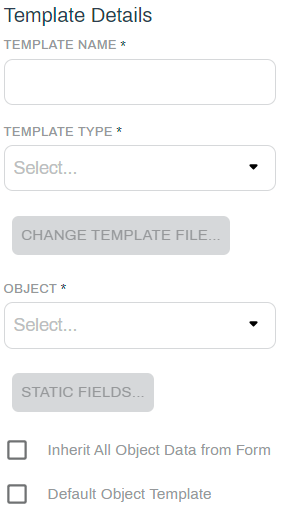
Complete the Template Details section. All fields with as asterisk (*) are required fields.
- Template Name — enter the name for the new document template.
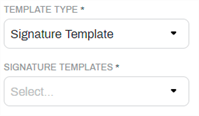
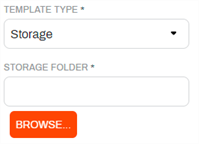
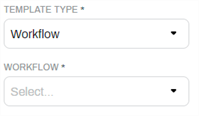
- Template Type — use the drop-down to select the type of template.
Signature Template — select this option to send the document for signature applying an existing signature template. When this option is selected, you can use the Signature Templates drop-down to select the signature template.
Storage — select this option to store document in a specific folder location. When this option is selected, use the Browse button to select the storage folder.
Workflow — select this option to use template to initiate an existing workflow. When this option is selected, use the Workflow drop-down to select the workflow.
-
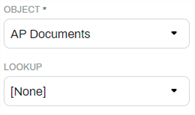
Object — select the object you want to associate with the document template. Once the object is selected, you can use the Lookup drop-down to select an existing database look up to apply associated information into the document before generating the PDF from the document template, if necessary.
-
Static Fields — you can set a static field value to a field that gets applied every time you use the template by doing the following:
-
Click Static Fields
-
In the Static Fields modal enter a value in the corresponding field text box
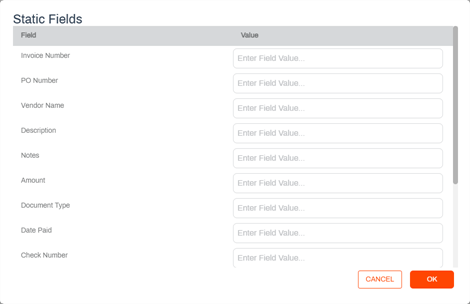
For example: You create a invoice approval template for a specific project. You can configure the project template using the Invoice Approval object and in the Project Number field enter the related project number so that it gets applied every time your new template is used.

-
-
Inherit All Object Data from Form —
-
Default Object Template — check this box if you would like this document template to be the default for the selected object.
3 Configure Zones
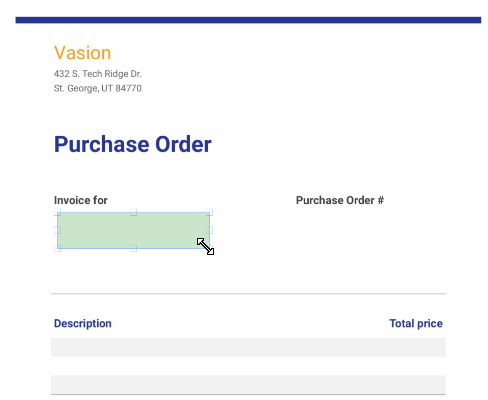
To configure the zones draw a box in the area where you would like the field values to display and then assign the field details.
- Click on the Add Form Field
 button in the Zone Configuration tool bar.
 -
Click and drag your mouse over the document location where you would like to display the information.
- Complete the Field Details:
- Field — use the drop-down to select the field from the current object.
- User Signature — check this box if you want to designate the field as a signature field. When this option is checked all other options are not required and no longer display.
- Name — name for the field. The name defaults to the name of the field selected.
Multi Select Details — use this option to add radio button or check box options to the form.
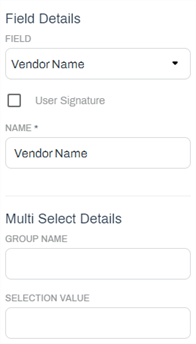
To Use Multi-Select Details, additional back end configuration is required. Contact Product Support at support@vasion.com for assistance.
Adjust Font Size
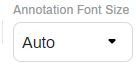
Once you configure the fields you have the option to select the size of the font you would like the annotation to display and print. The default setting is Auto, which automatically scales the annotation text to the size of the zone.
Use the drop-down to select the font size. The size selected is saved with the annotation and when completed, the document displays the selected size and when generating a PDF the annotation prints the selected size.
Copy an Existing Document Template
- Click on the More button
 for the template you want to edit
 -
Select Edit Template
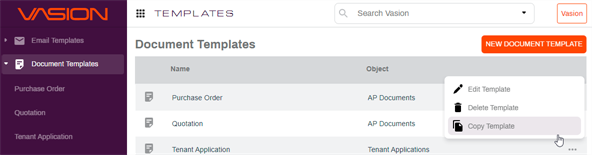
-
In the Zone Configuration page make your changes
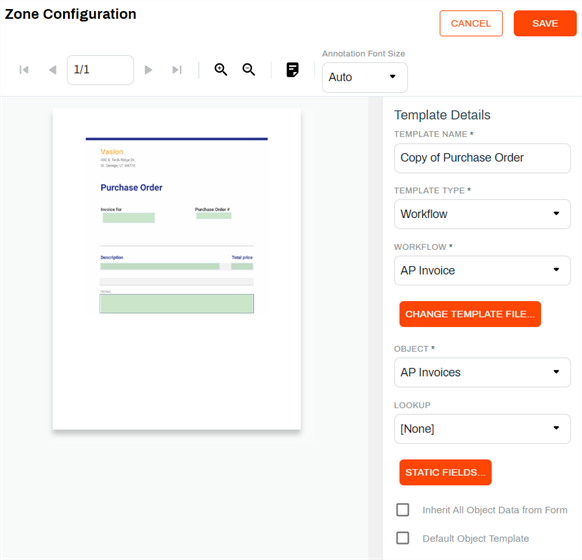
When you make a copy of an existing template, "Copy of" prefix is added to the template name because the system does not allow two document templates with the same name.
- Click Save
Edit Document Templates
To make changes to a template do the following:
- Click on the More button for the template you want to edit
-
Select Edit Template
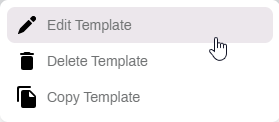
-
In the Zone Configuration page make you changes
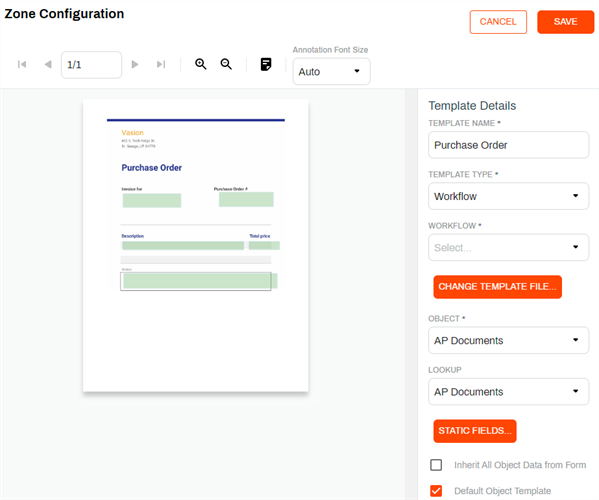
- Click Save
Change a Template File
You can change a template file with an updated version of the document that has the same number of pages and the same dimension and keep the zones already mapped to the template.
To change the template file and keep the zones:
- Select Change Template File...
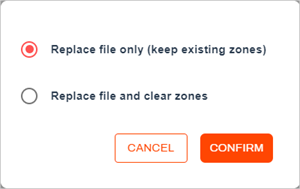
- In the confirmation modal:
- Select Replace file only (keep existing zones)
Select Confirm
-
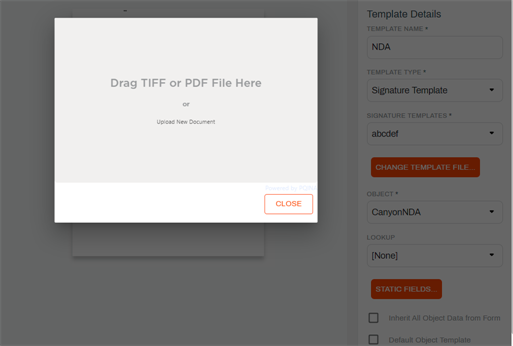
Upload the new file
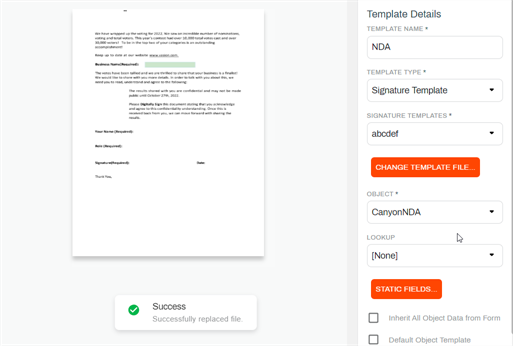
If the file has the same number of pages and passes the document check the template is updated with the new document.
Delete Document Templates
- Click on the More button for the template you want to delete
-
Select Delete Template
-
In the confirmation modal click Yes