Configure High Availability
Last Updated: September 09, 2026
Use this procedure to configure high availability (HA) for the Virtual Appliance. HA requires an external MySQL database, an NFS share, and one or more additional Virtual Appliance instances that connect to the shared infrastructure.
Requirements
Review the Requirements before beginning.
- Customers with an existing Virtual Appliance will configure a new primary and secondary Virtual Appliance separate from their production instance.
- Once the HA setup is complete and tested, the final change is directing network traffic from the current production environment to the HA environment. This allows for the current production environment to run uninterrupted until the final cut over.
1. Install and Configure MySQL
1. Install MySQL
Follow these steps to install MySQL on the database server:
- Review the Application and Compatibility table on the Release Notes 2026 topic to confirm the MySQL version compatibility of your current Host.
-
Go to https://dev.mysql.com/downloads/mysql/ and:
- Select 8.0.46 in the General Availability (GA) Releases tab.
-
Select the Go to Download Page button and select Download next to the MSI installer.
This download also includes the 64 bit installer.
- Run the MSI installer and complete the version installation.
- In the MySQL Installer window:
- In the Choosing a Setup Type window, select Custom.
- Select Next.
- In the Select Products window, select the compatible MySQL Server and MySQL Workbench version.
- Use the arrows to move them to the install side, then select Next.
- On the Download window, select Execute.
- Select Next and complete the installer modal.
-
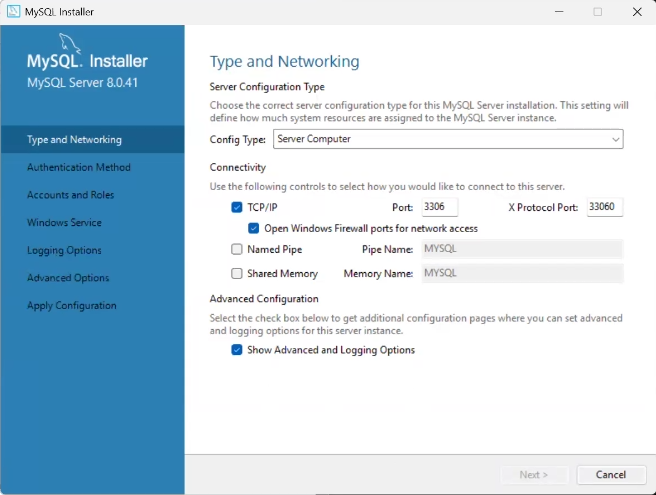
After installation, the first option on most installers is the Type and Networking tab. Complete the following:
- Config Type: Select Server Computer.
- TCP/IP: Enabled, Port 3306.
- XProtocol Port: Port 33060.
- Open Windows Firewall ports for network access.: Enabled.
- Show Advanced and Logging Options: Enabled if needed.
- Select Next to continue.
-
On the Authentication Method tab, select from:
- Use Strong Password Encryption for Authentication (Recommended).
- Use Legacy authentication Method (Retain MySQL 5.x compatibility).
- Select Next to continue.
Read through the information and use cases on the selection tab and choose the best option for your environment.
-
On the Accounts and Roles tab, create the username and password for the root account.
Document this password for use in later steps.
-
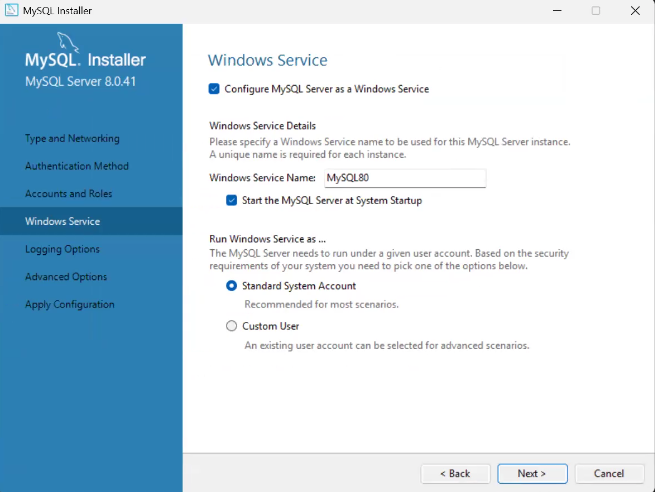
On the Windows Service tab, confirm the selected defaults are:
- Enabled: Configure MySQL Server as a Windows Service.
- Enabled: Start the MySQL Server at System Startup.
- Run Windows Service as: Standard System Account.
- Select Next to continue.
-
On the Server File Permissions tab, select the desired option, then select Next.
- If you selected Show Advanced and Logging Options in step three:
- Adjust the settings and file paths on the Logging Options tab as needed.
- Select Next to continue.
- Adjust the Advanced Options as needed.
- Select Next to continue.
- On the Apply Configuration tab, select Execute.
Allow time for the processes to complete.
2. Create the Database
Follow these steps to create the app_pi database using MySQL Workbench:
- Install MySQL Workbench on the database server.
-
Open MySQL Workbench and connect to localhost:3306 in the lower-right using your credentials.
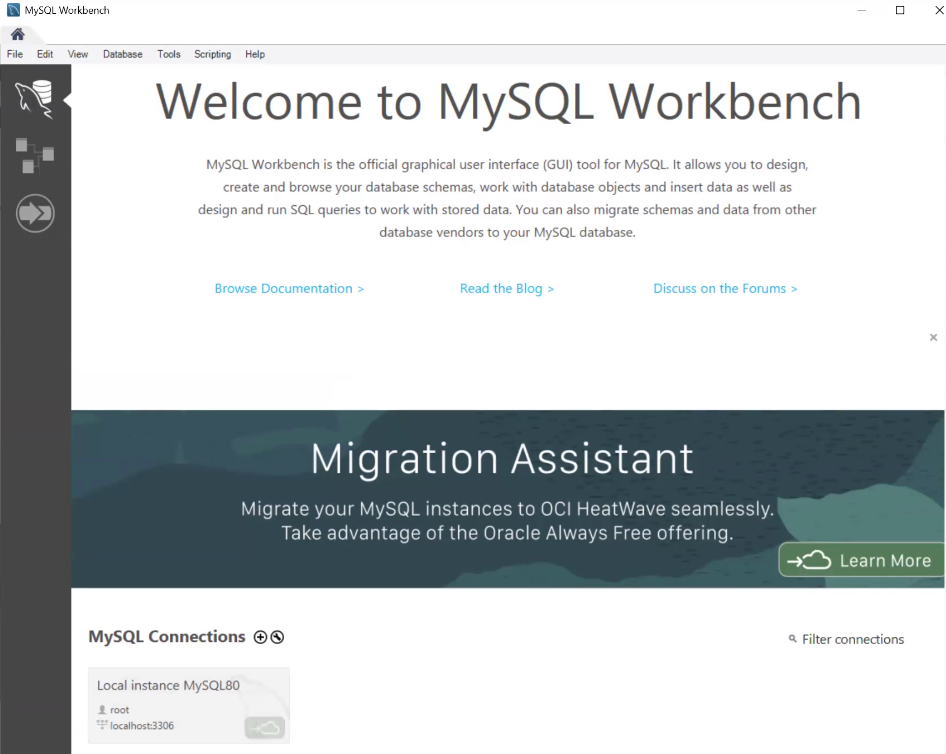
If you don't see your local instance connection, select the + icon to add it.
-
Run the following command in the main Query field:
Copy CodeCREATE DATABASE app_pi; - Configure SQL Modes:
Run the following command:
Copy CodeSET GLOBAL sql_mode = 'ONLY_FULL_GROUP_BY,STRICT_TRANS_TABLES,ERROR_FOR_DIVISION_BY_ZERO,NO_ENGINE_SUBSTITUTION';Close the instance, reconnect. Verify the setting with the following command:
Copy CodeSHOW VARIABLES LIKE 'sql_mode';- Confirm that NO_ZERO_IN_DATE and NO_ZERO_DATE do not appear in the result.
2. Configure the NFS Share
Follow these steps to configure the NFS share:
- Set the NFS version to 4.1.
- Set the anonymous UID and GID to 0.
-
Configure the export using the following format:
Copy Code/nfs_share <Virtual_Appliance_IP_Address> (rw,sync,no_root_squash,no_subtree_check,anonuid=0,anongid=0,nfsvers=4.1)
Refer to your NFS provider's documentation for full setup instructions.
3. Deploy the Virtual Appliance
1. Configure the Primary Virtual Appliance
In this section you set up your initial Virtual Appliance. Follow the configuration steps on the topics linked below. When you reach the Launch the Virtual Appliance Wizard section on the selected topic, follow the link back to this topic and continue with the steps below.
- AWS New Install.
- Azure New Install.
- ESXi New Install.
- Google Cloud Platform New Install
- Hyper-V New Install.
- Virtual Machine Manager New Install.
- VMware Workstation Pro New Install.
2. Launch the Virtual Appliance Wizard HA Setup
Follow these steps to finish configuring the primary Virtual Appliance instance:
- In your preferred, supported browser, paste or enter the Virtual Appliance IP address including port 8080. Example: 192.168.10.20:8080
-
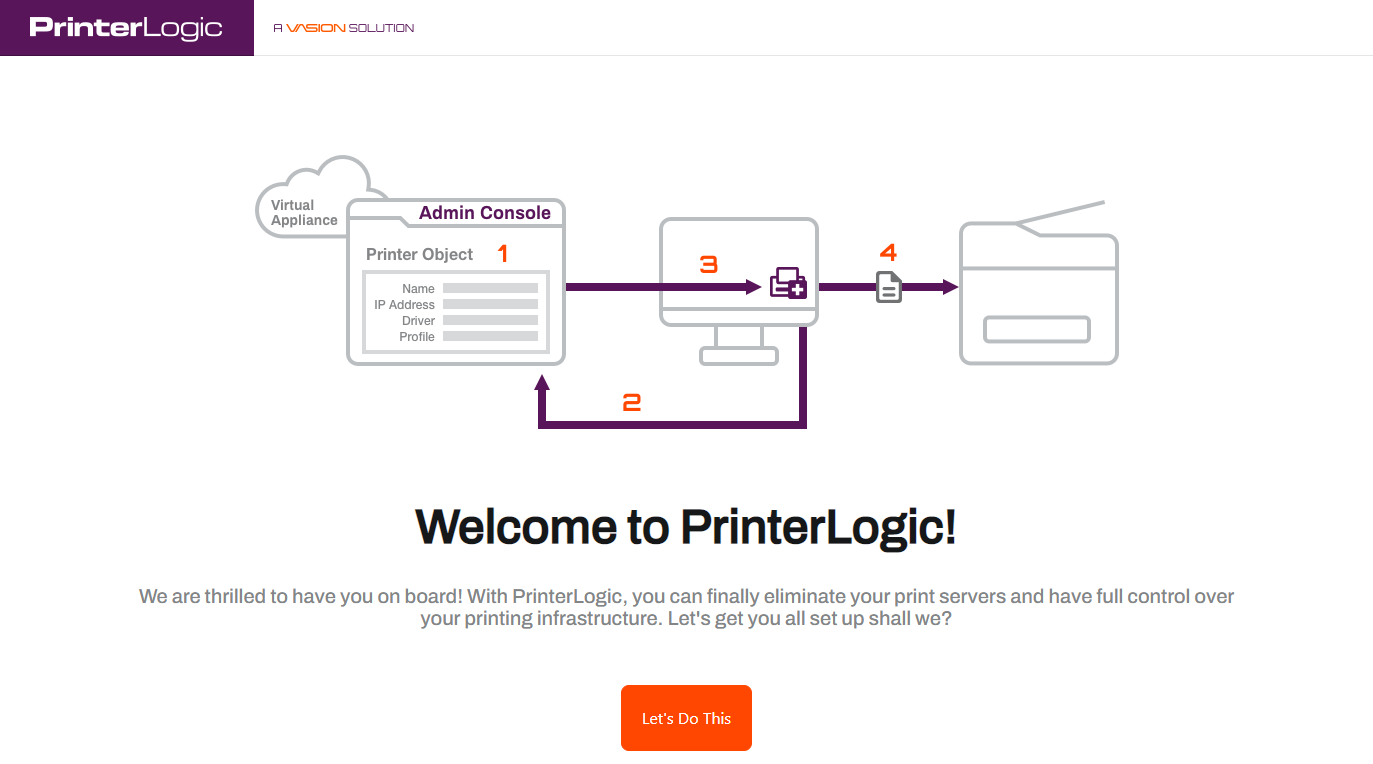
Once the setup wizard displays, select Let's Do This.
- Under Configure Storage:
- Select NFS Network Storage.
- Enter the IP address or hostname.
- Enter the storage path.
- Select Continue.
-
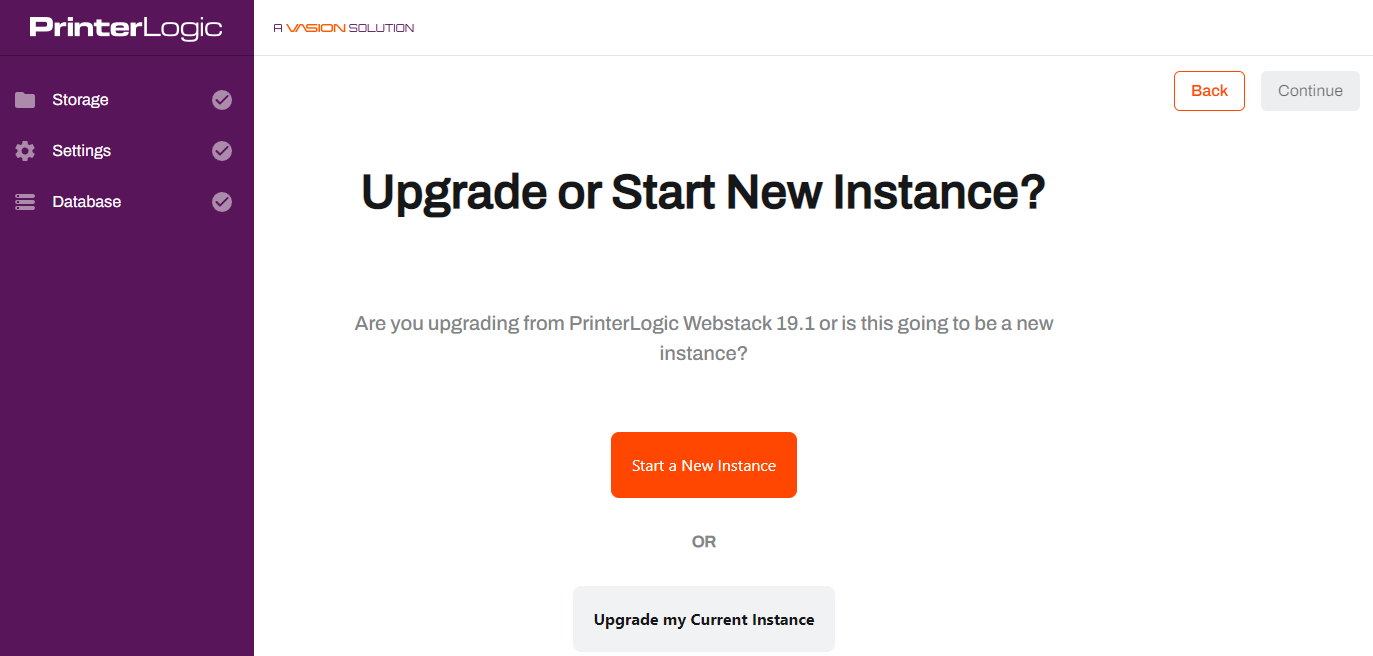
Select Start a New Instance.
-
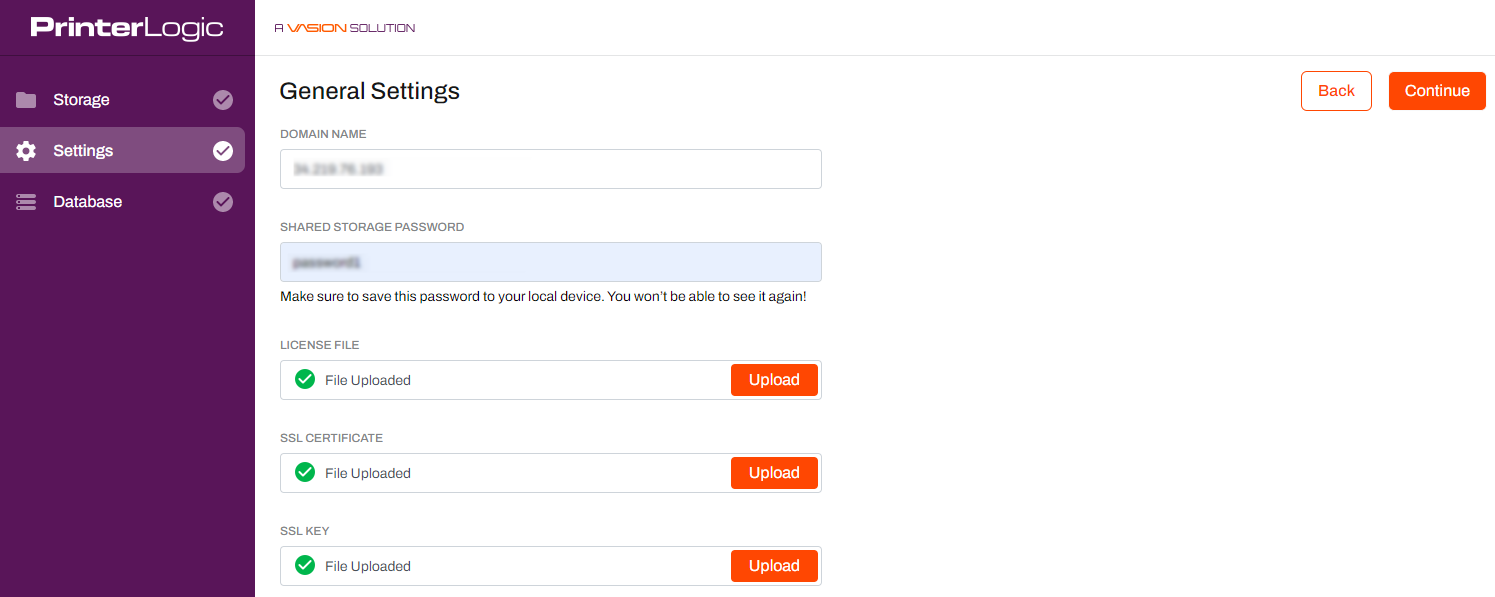
On the General Settings tab:
- Add the domain name.
-
Enter a Shared Storage Password.
Passwords can contain any alphanumeric character (a-z, A-Z, 0-9), the following special characters (%^()_-+={}[]<>,.;), and up to 128 characters.
- Upload your license file.
- Upload your SSL certificate and key.
Document and save the Shared Storage Password. It is available only during the web portion of the new Host configuration steps.
- Select Continue when finished.
-
On the Setup Database tab:
-
Select I will provide a MySQL 8.0+ database outside of the Virtual Appliance.
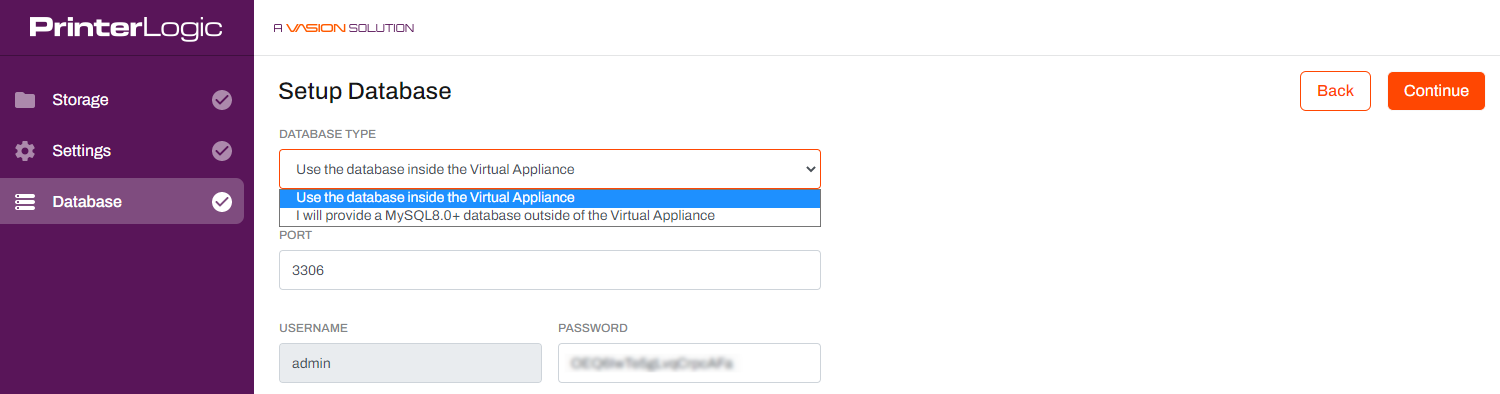
- Enter the following database details:
- Database name: app_pi
- Port: 3306
- Enter the Host, username, and password for your MySQL server.
Passwords can contain any alphanumeric character (a-z, A-Z, 0-9), the following special characters (%^()_-+={}[]<>,.;), and up to 128 characters.
-
-
Select Continue, then select Finish Setup.
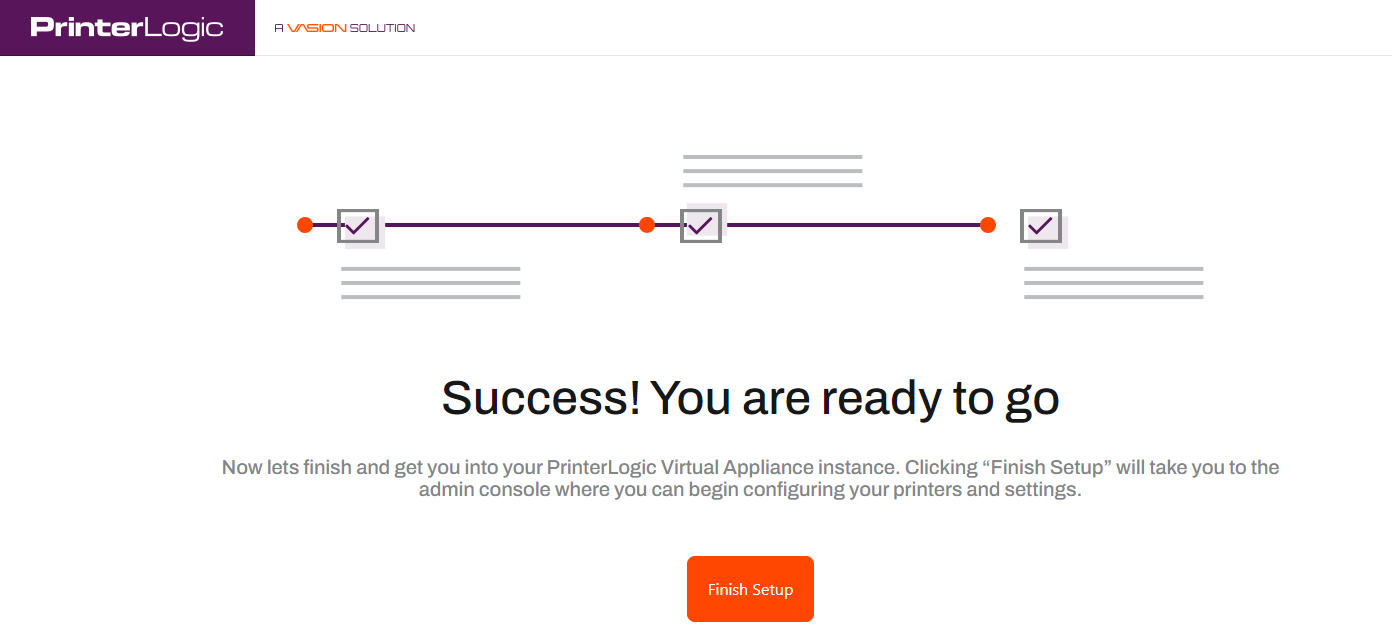
Please do not refresh the page during the setup procedure.
- A new "Thank You" browser window will open when the installation is complete. This window can be closed as needed.
4. Migrate Data from an Existing Virtual Appliance
If you are moving from an existing Virtual Appliance deployment to an HA setup, follow these steps to migrate your data. If you are not migrating existing data, skip to 5. Configure Additional Virtual Appliance Instances.
1. Export Current Virtual Appliance Data
To export the database:
- Open MySQL Workbench and connect to the existing Virtual Appliance.
- Select the Administration tab in the left-side Navigator menu.
- Select Data Export.
- Select the app_pi database schema.
- Under export method, select Export to Self-Contained File to create a single .sql dump file.
- Alternatively, select Export to Dump Project Folder.
- Select Start Export.
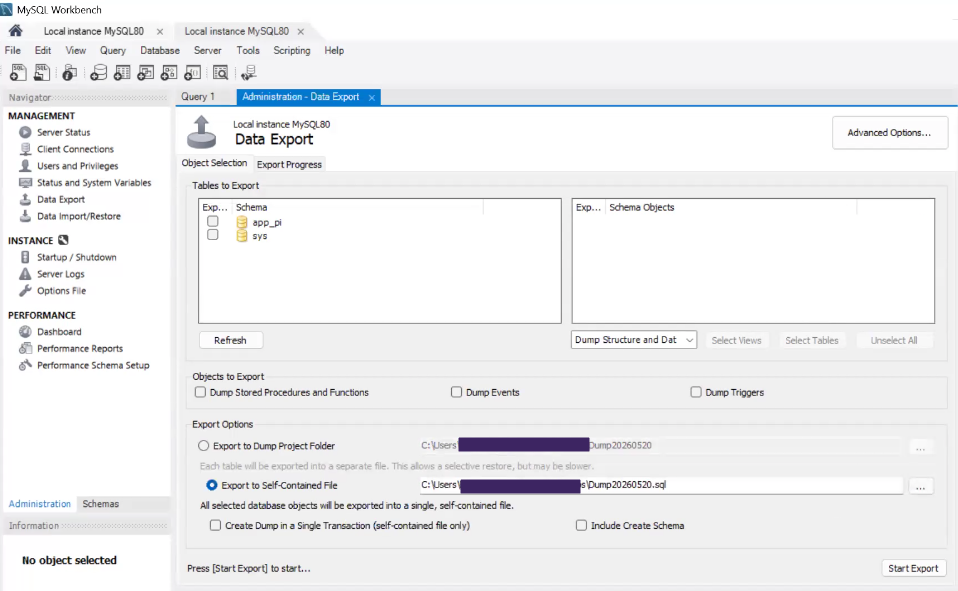
Please note, there is not progress bar for the export in MySQL Workbench, but it will show once complete.
2. Prepare New Primary Virtual Appliance
To adjust the secrets.env file:
- Connect to the new Virtual Appliance's NFS share.
-
Open secrets.env and change the DB_DATABASE="app_pi" line to:
Copy CodeDB_DATABASE="app_pi_temp" -
Save the file.
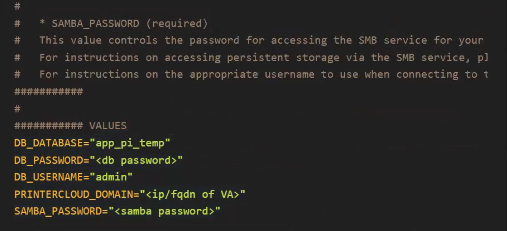
- The Virtual Appliance creates a new app_pi_temp database.
- Verify that the new database appears in MySQL Workbench Schemas list.
3. Reset the Target Database
Because of differences in database versions, the cleanest route is to drop the database before the data import then recreate. This creates a fresh database that won't conflict if the database template does not match your current database structure.
To drop the schema:
- In MySQL Workbench, connect to the new external database.
- In the Schemas tab, right-click app_pi and select Drop Schema.
- Right-click in an empty area of the Schemas tab.
- Select Create Schema to create a new, empty app_pi schema.
4. Import Data
Follow these steps based on your export method.
Self-Contained Filed:
To import the existing database:
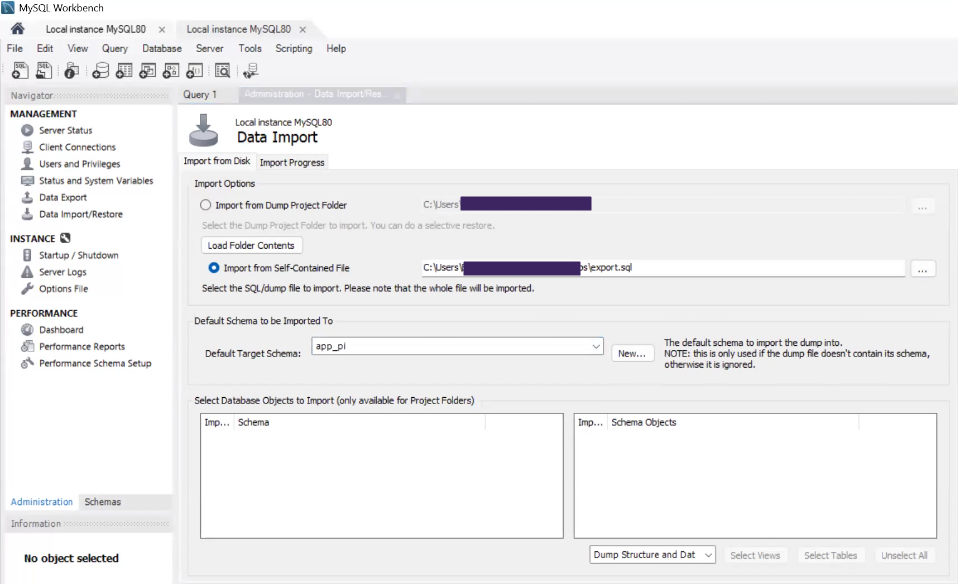
- Select the Administration tab, then select Data Import / Restore.
- Select Import from Self-Contained File and browse to the .sql file.
- Set Default Target Schema to app_pi.
- Select the Import Progress tab.
- Select Start Import.
Dump Project Folder
To import the existing database:
- Select the Administration tab, then select Data Import / Restore.
- Select Import from Dump Project Folder and browse to the dump project folder.
- Select Load Folder Contents.
- Set Default Target Schema to app_pi.
- In Select Database Object, select the database in the left pane and the tables in the right pane.
- Select the Import Progress tab.
- Select Start Import.
5. Update Database and Verify Data
- Connect to the new Virtual Appliance's NFS share.
-
Open secrets.env and revert the DB_DATABASE="app_pi_temp" database name:
Copy CodeDB_DATABASE="app_pi" - Save the file and allow a few minutes for the Admin Console to come online.
- If it wasn't added before:
- Add the license file.
- If applicable, add the SSL certificate and key to \\<nfs-share>\applicance-storage\certs.
- Sign in and verify that the data matches the original Virtual Appliance.
5. Configure Additional Virtual Appliance Instances
The process for adding additional Virtual Appliance instances in your HA setup starts the same as 1. Configure the Primary Virtual Appliance. The difference occurs when running the Virtual Appliance Wizard for the instances after the primary.
- Create the next Virtual Appliance and configure the network settings.
- In your preferred, supported browser, paste or enter the Virtual Appliance IP Address including port 8080. Example: 192.168.10.20:8080
-
Once the setup wizard displays, select Let's Do This.
- Under Configure Storage:
- Select NFS Network Storage.
- Enter the IP address or hostname.
- Enter the storage path.
- Select Continue.
-
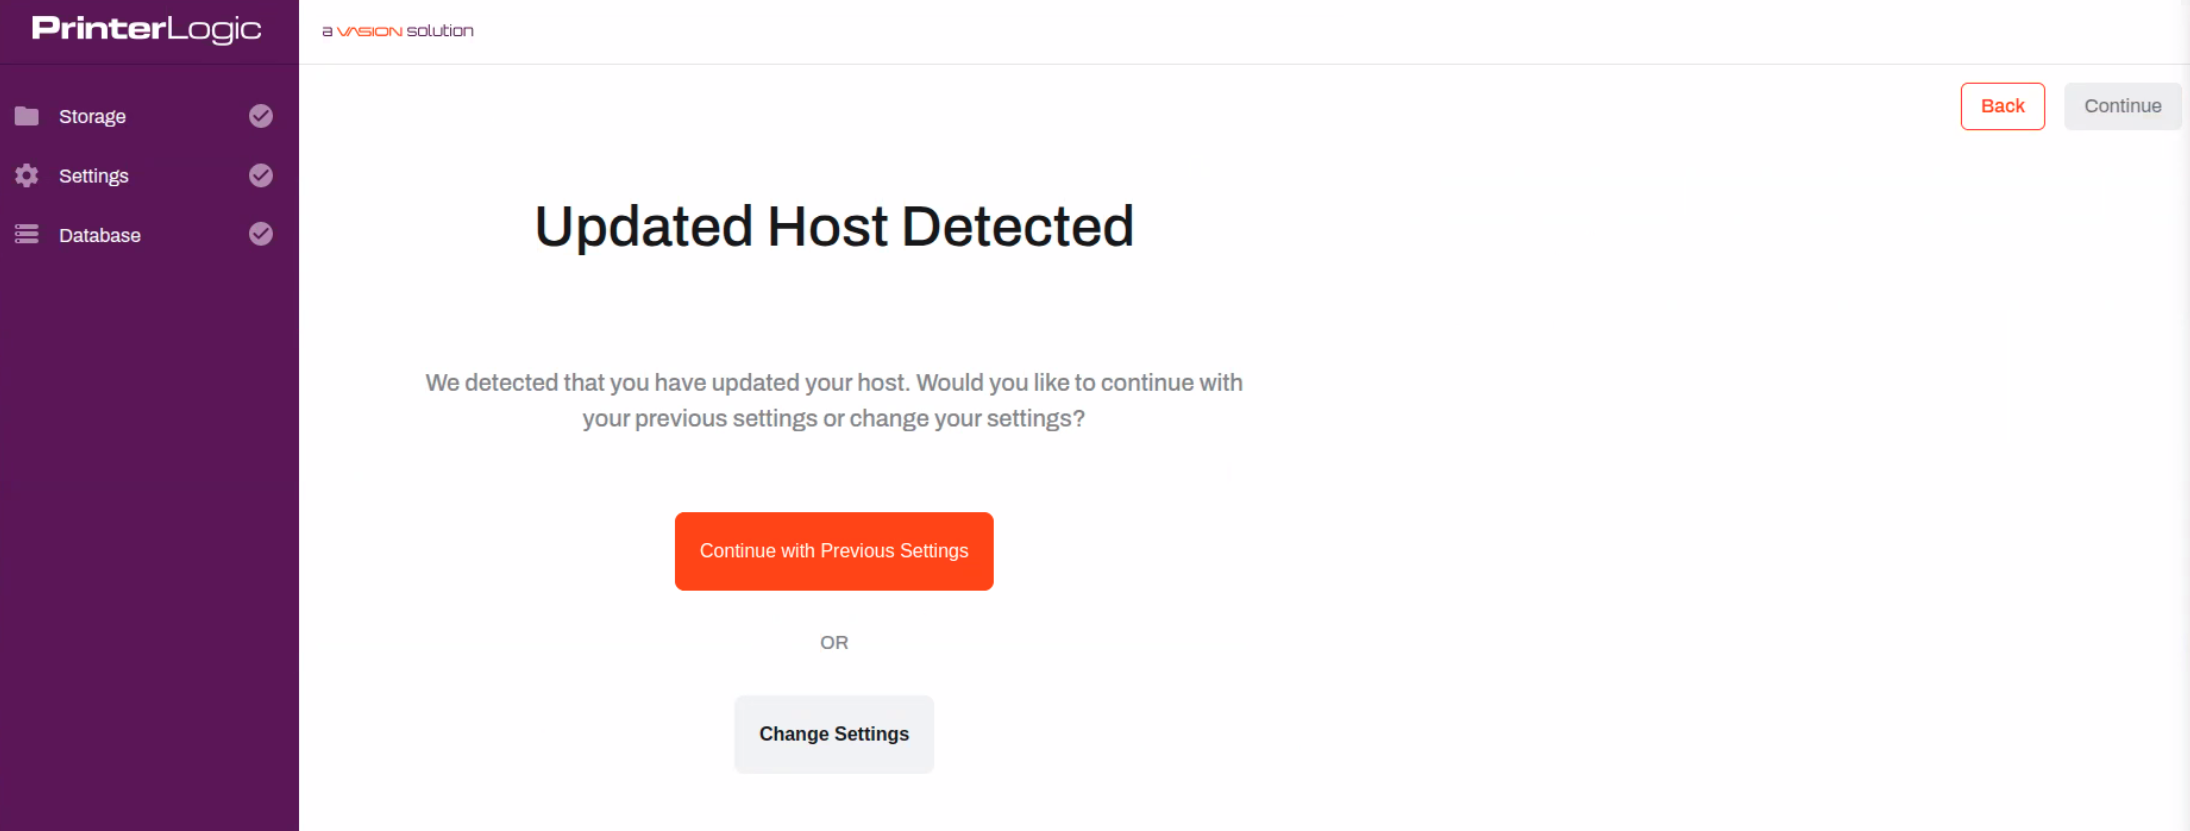
In the next window, select Continue with Previous Settings.
-
Allow time for the Virtual Appliance wizard to finish.
Please do not refresh the page during the installation procedure.
- This connects your additional Virtual Appliance to the same NFS Network Share as the primary Virtual Appliance.
6. Finalize the Migration
The final steps in the HA configuration are verifying Admin Console accessibility and configuring your instance. If you are not migrating data from an existing Virtual Appliance environment, your setup is complete. Ensure you can access and log into the Admin Console.
If you did migrate data from an existing Virtual Appliance, confirm your settings and feature configurations migrated over correctly. Thoroughly test to make sure the instance is functioning correctly.
When you are ready to cut over, redirect network traffic to the new Virtual Appliance. After verifying a successful cut over, you may decommission the previous Virtual Appliance.
In this topic: