Last Updated: June 25, 2024
Advanced Image Processing (AIP)
Vasion's AIP feature processes document images obtained with the Capture app or uploaded to Vasion to identify and store text, barcode and optical mark recognition (OMR Optical Mark Recognition (OMR), also called optical mark reading, is the process of capturing human-marked data from document forms such as surveys, tests, product evaluations, time sheets, etc. They are used in the form of lines or shaded areas.) data. With AIP you can configure the following areas within a document:
- Text zones
- Barcode zones
- OMR zones
Processing an Image
-
Click on the Capture app from the Home page or from the App button
 at the top of any app.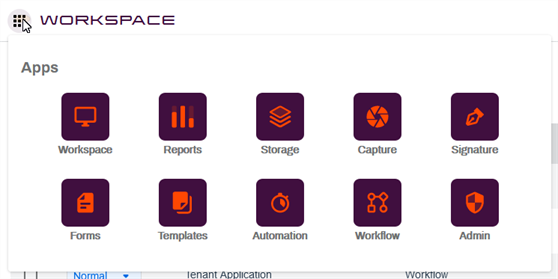
- On the side navigation, click ADV Image Processing.
-
In the Advanced Image Processing page, click Create New on the top-right corner.

-
In the new process page complete the following:
-
Untitled Process — click directly in the title to give the process a name.
-
Object — use the drop-down to select the object to which you want to add this process.
-
Upload Template File — click the button to upload a template file. Browse to the document you want to upload. This should be a file that is external and not currently in Vasion.

-
Run Lookup After Process — check this box to run the default lookup configuration to populate additional field data.
-
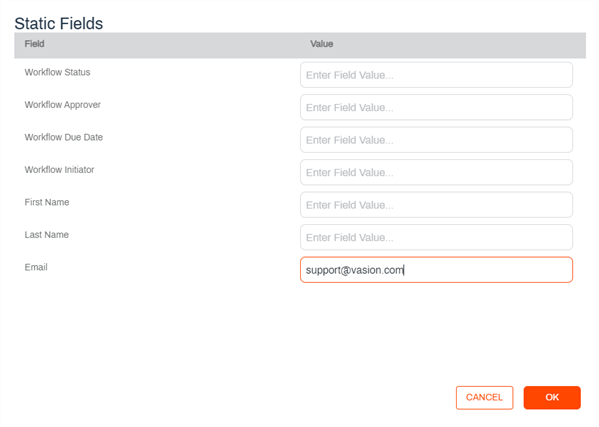
Static Fields — click this button to give users the ability to set static field values. For example, if you enter username@example.com into the email field, this address displays in that field for any document that uses this AIP configuration.
-
Click OK.
-
-
Click Save.
You must save the process now so you can configure the zone in the document you uploaded. Once the zones are added, you can continue to configure the process.
View Zones
When you reopen the process you just saved, you can now add zones to the document image you uploaded. There are several types of view zones you can configure in the document image. To open the form you just saved, click on the three dots on the right side of the page and click Edit AIP.
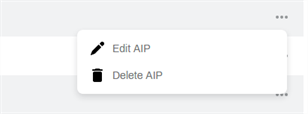
Click on View Zones to open the document and configure the zones. In the Zone Configuration page use the tool bar to add zones by navigating to the appropriate page and use one of the icons on the tool bar. Details on how to do this follow.

Check Zones
The Check Zone feature looks for a specific value in a zone. When found, you can move the page that the check zone value was found on to a different page. This can be used to reorder pages based on the check zone logic entered.
To add a Check Zone, do the following:
- Click the View Zones button to open the document you uploaded.
- Click the Add a Check Zone icon
 .
. - Draw a box around the area of the form where you want to add a Check Zone.
-
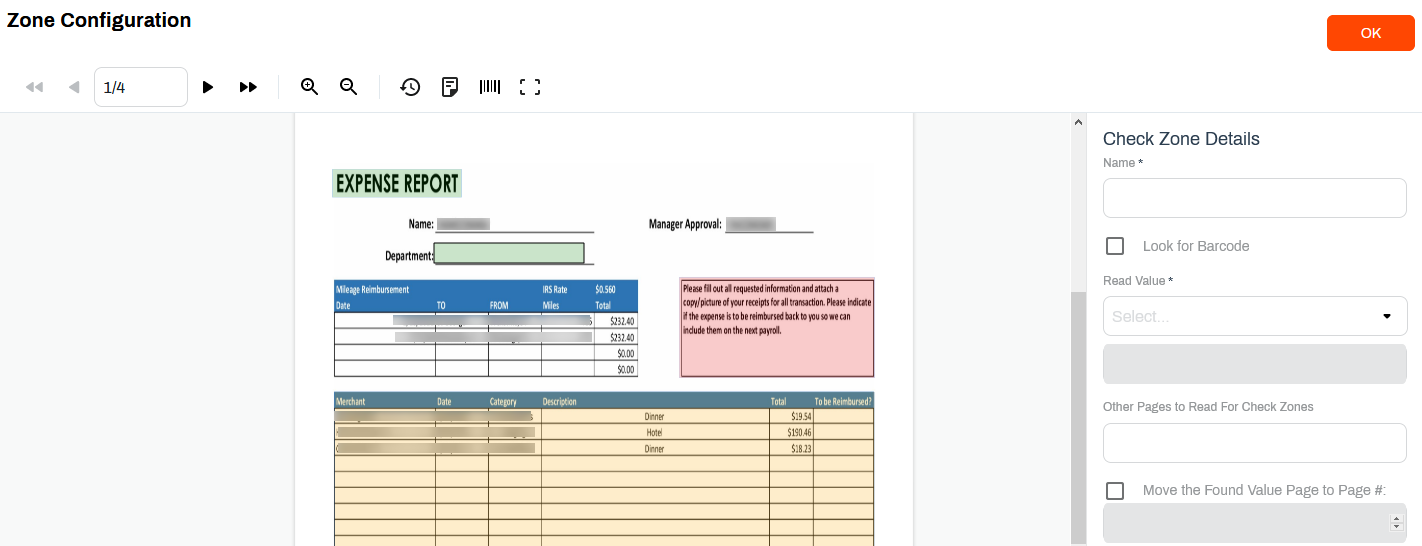
Complete the Check Zone Details options on the right side of the page.
- Name — enter the name for the zone.
- Look for Barcode — check this box to look for a barcode in the zone to check.
- Read Value — use the drop-down to select from equals, contains, ends with, starts with, and then enter a static value in the field below to use for the check.
- Other Pages to Read — enter other pages to check in a multi page document.
- Move the Found Value — check to specify a page # where you would like to move the value page.
- When you complete the options you want to configure, click OK.
Text Zones
Do the following to add a Text Zone:
- Click the View Zones button to open the document you uploaded.
- Click the Add a Text Zone icon
 .
. - Draw a box around the area of the form where you want to add a Text Zone.
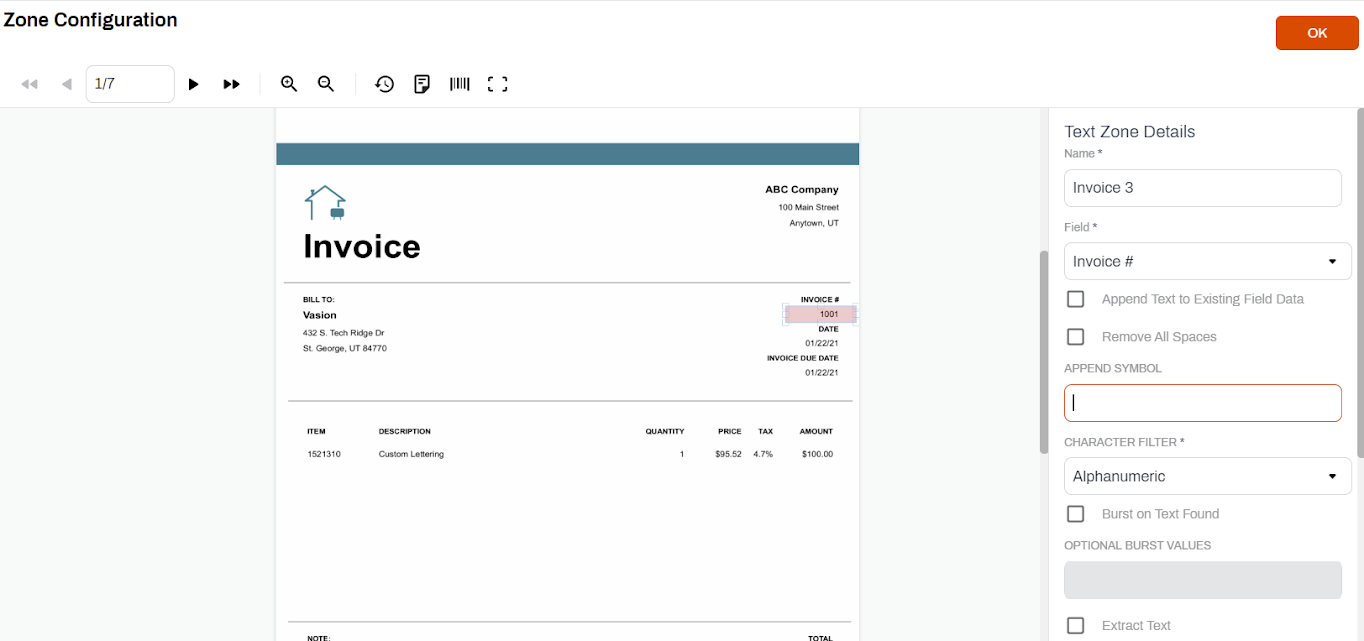
- Complete the Text Zone Details options on the right side of the page.
- Name — enter the name for the zone.
- Append text to existing fields data — check this box to append the value of this zone to the fields, if the field is already populated.
- Remove all spaces — check this box to remove any spaces in the zone value.
- Append Symbol — enter any static data you would like to append to the field.
- Character Text Filter — use this drop-down to select a filter for the zone value to look only for Numeric, Alpha and Alphanumeric characters.
- Burst on Text Found — check this box to split pages based on specific text found in the zone. Add static text to use for the split in the Optional Burst Values text box.
Extract Text — check this box to extract text based on a delimiter symbol, word amount (1-5), starting position (text number, input), and extract direction (left, right).
- When you complete the options to configure, click OK.
Barcode Zones
Do the following to add a Barcode Zone:
- Click the View Zones button to open the document you uploaded.
- Click the Add a Barcode Zone icon
 .
. - Draw a box around the area of the form where you want to add a Barcode Zone.
- Complete the Text Barcode Details options on the right side of the page.
- Name — enter the name for the zone.
- Field — use the drop-down to select the field where you want to save the zone value.
- Append Text to Existing Fields Data — check this box to append the value of this zone to the fields, if the field if the field is already populated.
- Remove All Spaces — check this box to remove any spaces in the zone value.
- Append Symbol - enter any static data you would like to append to the field.
- Character Text Filter — use this drop-down to select a filter for the zone value to look only for Numeric, Alpha and Alphanumeric characters.
- When you complete the options you want to configure, click OK
OMR Zones
OMR stands for Optical Mark Recognition
- Click the View Zones button to open the document you uploaded.
- Click the Add a OMR Zone icon
 .
. - Draw a box around the area of the form where you want to add a Check Zone.
-
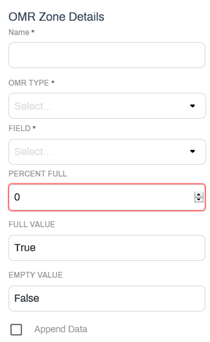
Complete the OMR Zone Details options on the right side of the page.
- Name — enter the name for the zone.
- OMR Type — use the drop-down to select the OMR type used in the zone.
- Field — use the drop-down to select from the list the field into which you want to save the zone value.
- Percent Full — type a number in the field or use the up / down arrows to assign a percentage number to indicate the fill quantity.
- Full Value — enter True or False.
- Empty Value — enter True or False
- Append Data — check this box to append the zone data to the configured field.
Additional Settings
Once you have added zones to the document, you can continue to configure the process by completing the following, if applicable:
-
Processing Checks — this tab displays any check zones that you have configured.

-
Zonal Processing — this tab displays any text, OMR, and Barcode zones that you have configured.

- Rotate Zone to Check for Matching (Optional) — check this box if you need to rotate the zone.
-
Compare Fields — click this button to check and compare fields and fields values to determine whether to run this AIP configuration or not. On any of the fields, click the corresponding drop-down and select an option from the Compare drop-down to use a criteria for the text or value you enter in the Value column.
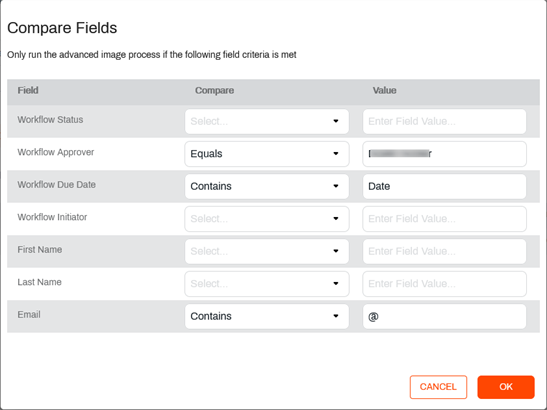
In the example above this AIP configuration only runs on documents where the Workflow Approver matches the name entered in the value field, the Workflow Due Date contains a date and the Email field contains an "@".