Last Updated: June 09, 2026
Email Settings
The email settings page is where you configure the connection to your email server to define the email address from which to send all emails in Vasion.
Email Setup
Email setup can be configured through SMTP or Microsoft 365. See below for configuring these options.
SMTP Setup
- Select System Settings from the side navigation
- Select Email Settings
- Select
- Complete the following:
- Send Email From — enter the email address you want to display as the sender (From:).
- SMTP Server — enter the server information
- SMTP Port — enter the number of the port to use for the connection
- SMTP Username — enter the username for the email account
- SMTP Password — enter the email account password
- Enable SSL — select this box to enable SSL.
- Send Test Message — select the button to send a test message. The test email is sent to the email of the user who configured the settings. For configuring a user's email see Edit a User.
- Select Save

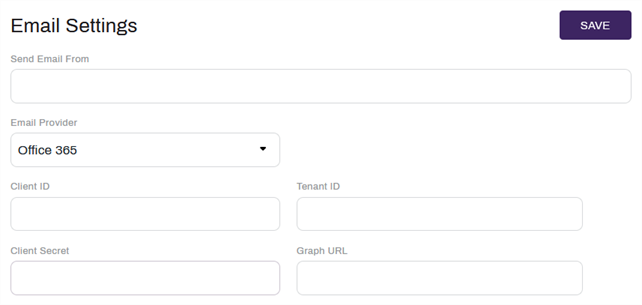
Office 365 Setup
To configure email using an Office 365 configuration, an Entra application will need to be configured in your Entra Admin Console.
-
The Mail.Send permission is required on the Entra Application for Vasion Automate Pro to be able to send emails.
For information on doing so, reference your Microsoft Entra documentation.
- Select System Settings from the side navigation
- Select Email Settings
- Select
- Complete the following:
- Send Email From — enter the email address you want to display as the sender (From:).
- Client ID — enter the Client ID from the created Entra application.
- Tenant ID — enter the Tenant ID from the created Entra application.
- Client Secret — enter the Client Secret from the created Entra application.
Graph URL — enter the Graph URL from the created Entra application.
The default Graph URL is https://graph.microsoft.com
- Send Test Message — select the button to send a test message. The test email is sent to the email of the user who configured the settings. For configuring a user's email see Edit a User.
- Select Save
Optional Settings
The optional settings are not necessary to complete the email configuration but can be configured, if necessary, to accommodate specific business processes
- Max Merge and Mail Size (in bytes) — enter the maximum size of email and attachments that can be sent from Vasion. This is only necessary if any attachments are larger in size than your email service provider's file limits.
- Prompt to Burn Annotations — check this box if you want the user to be prompted to burn any annotations into the document before sending.
- Prompt for PDF Password — check this box if you want the user to be prompted to enter a password to open a password protected PDF.
- Logoff User Request Template — use the drop-down to select a template from the list. This setting only applies to customers currently using the Thick Client and can view users currently logged into Vasion.
- Document Link Default Access User — use the drop-down to select the user profile to apply to the document link in the email notification. This setting is only used if you need external users to access documents stored using Vasion for a limited time. For configuring the selected user's access, see Assign Roles.

Test Email
When sending a test message, the email will be sent to the logged in admin user's configured email. The test email should look like this:
