Last Updated: August 13, 2024
Storage Actions
Here we outline some of the actions you can perform on documents stored in this folder.
The actions available depend on your role and permissions.
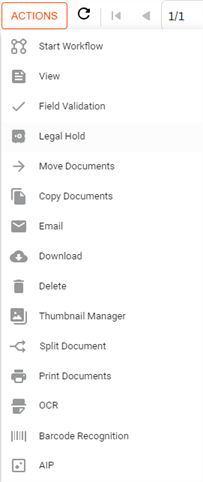
You can select multiple documents by clicking the check box for each document you want to include.
Signature Documents
By default, all documents sent out by hosted customers are certified. We use Hardware Security Module (HSM) A physical computing device that safeguards and manages secrets (most importantly digital keys), performs encryption and decryption functions for digital signatures, strong authentication and other cryptographic functions. technology to certify the authenticity and integrity of the document once the signature process is complete. Once a document is certified it cannot be modified in any way. For this reason, when selecting certified signature documents, the following options are not available:
- Merge — certified documents cannot be merged with other documents.
- Split — certified documents cannot be split.
- Thumbnail Manager — you cannot view or take action on the document using this option.
Additionally, the following options are limited:
- Print — the only option available when you want to
- Download — the only option available when you want to
- Email — the only option available when you want to
Start Workflow
You can assign documents to a workflow from a folder as long as you have permission to do so.
- Click on the box next to a document.
- Click on the Actions button.
- In the list of actions, click on Start Workflow.
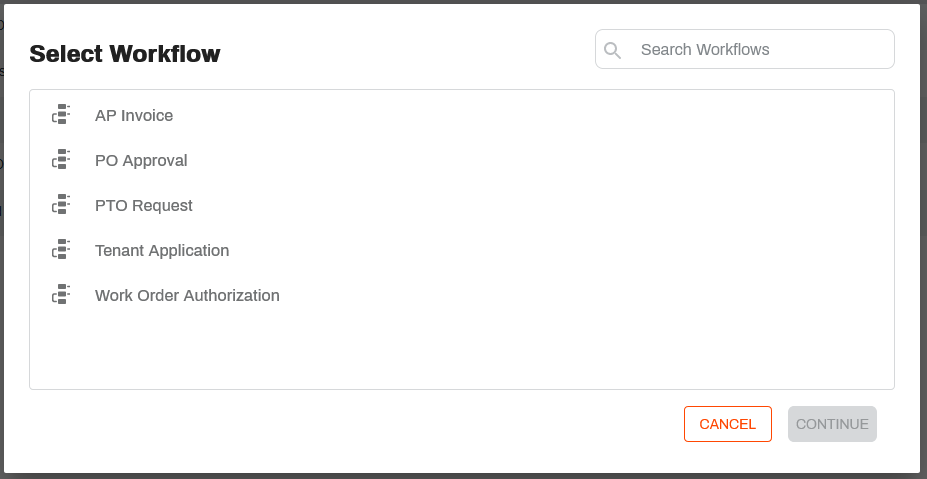
- In the Select Workflow modal click on one of the available workflows.
-
Click Continue.
You may be required to fill out a form at this point, depending on the way your system is configured. The selected document is assigned to that workflow.
View
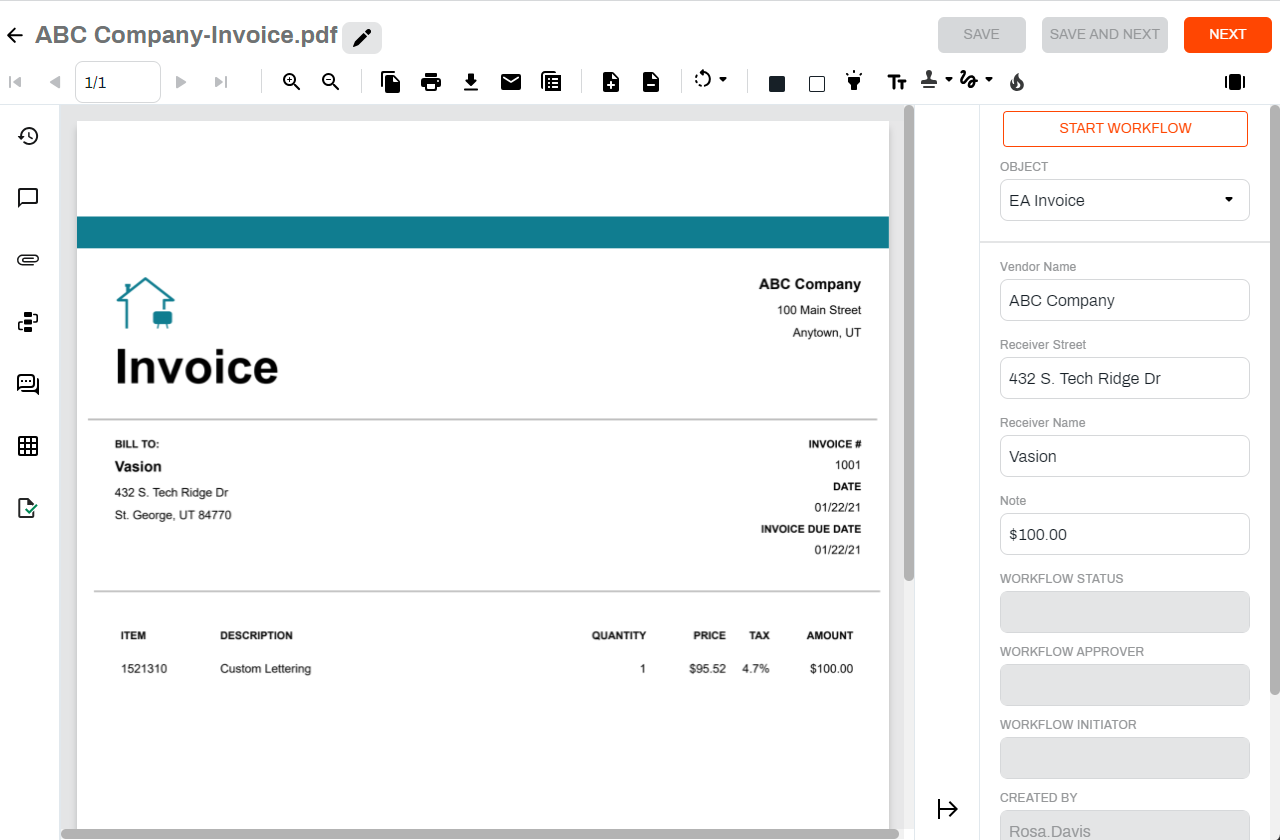
Use the View option to with multiple documents.
- Click on the box next to all the documents you want to view.
- Click on the Actions button and select View
- In Document View click the Next button to move to the next document in the selection
To update object data:
- Update the appropriate field(s).
- Click Save and Next.
Field Validation
Use the Field Validation option to view and update object data for multiple documents at the same time, regardless of the object associated with the documents.
To use Field Validation:
- Select all the documents you want to view and validate.
- Select the Actions button and then select Field Validaton.
The document or form is displayed on the left and the object fields on the right. To learn more see Field Validation.
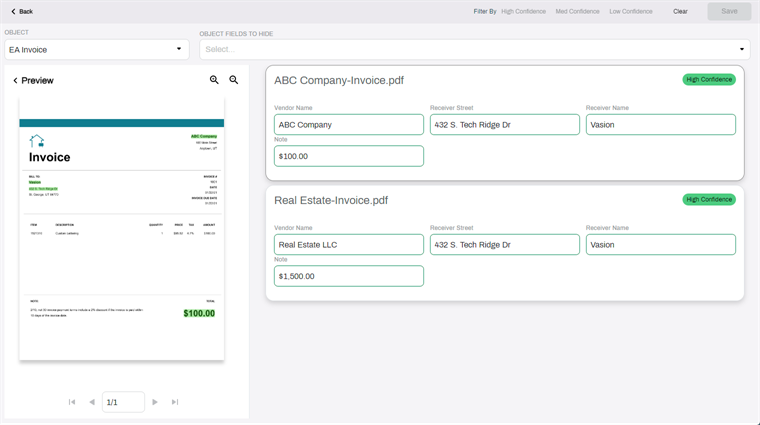
If the folder has a custom view applied, any fields not selected for display in the folder view are automatically added to the Object Fields to Hide setting.
Legal Hold
Legal Hold is a status that can be assigned to a document to prevent it from being deleted or moved. To apply a Legal Hold to a document:
- Select the document from the list.
- Select the Actions button.
- Select Legal Hold.
Move Documents
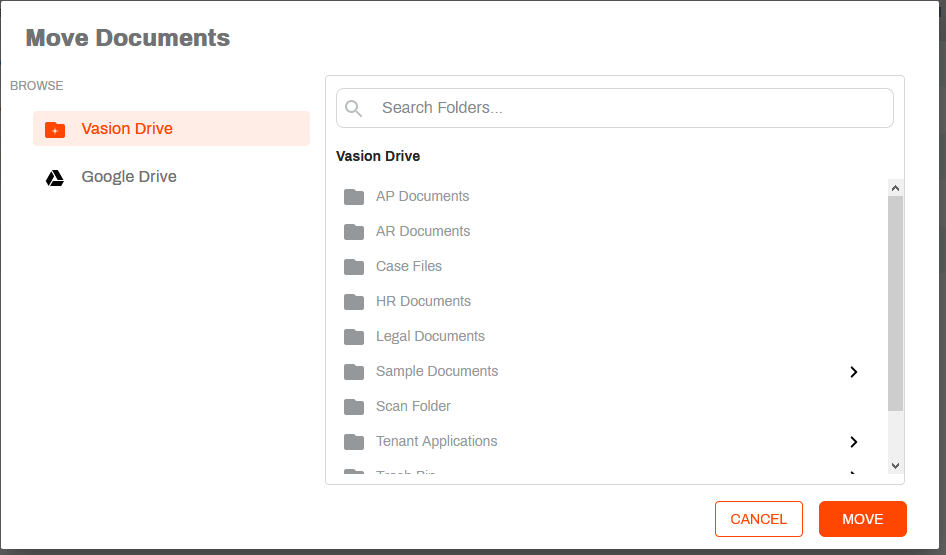
Use the Move Documents option to move one or multiple documents from their current storage folder to another configured drive or folder.
- Select the document(s) to move.
- Select the Actions button.
- From the list select Move Documents.
- In the Move Documents modal, navigate to the folder where you want to move the document(s) and select Move.
You must have access to the destination folder to see it as an option.
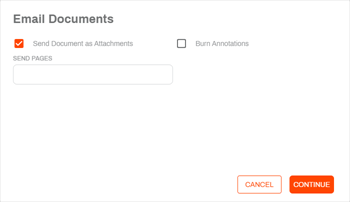
With the appropriate permissions, you can use the Email option to send a link to the document via email, or send the document as an attachment. Some options available when using this feature are:
- Send Document as Attachments.
- Sending only selected pages as attachments.
- Burn annotations.
- Send a link to a document.
- Set a maximum number of views for the document.
- If you want to allow the recipient to download the document, you can set a maximum number of downloads.
- Set document access limit in hours.
- Do not require the recipient to log in to view the document.
For more details, see Email.
Download
Use the Download option to save a copy of the
- Select the document.
- Select the Actions button and then select Download.
-
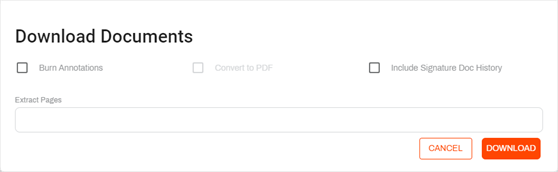
In the Download Documents modal, select your download options:
- Burn Annotations – includes annotations on the document. If you leave this box unchecked, the document will not include unburned annotations.
- Convert to PDF — select this option to download a form as a PDF.
- Include Signature Doc History– this option only displays if a document is part of a signature workflow. When selected, it downloads the current signature audit trail in a separate PDF.
- Extract Pages – use this option if you want to download specific pages from the document. To save a range of pages, use a hyphen between the first page number and last page number, for example, 2-7. To extract single pages, use a comma, for example, 3, 7, 9. You can combine hyphens and commas to get the pages you need, for example 2-7, 9, 15.
- Select Download.
The file is saved to your system's default download location.
Delete
When you delete a document, it may move to a trash folder if that’s how your system is configured. If there is no trash folder, the document is deleted completely and cannot be recovered.
- Select the document you want to delete.
- Select the Actions button.
- Select Delete.
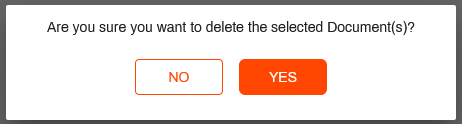
- Select the Yes button to delete the selected documents.
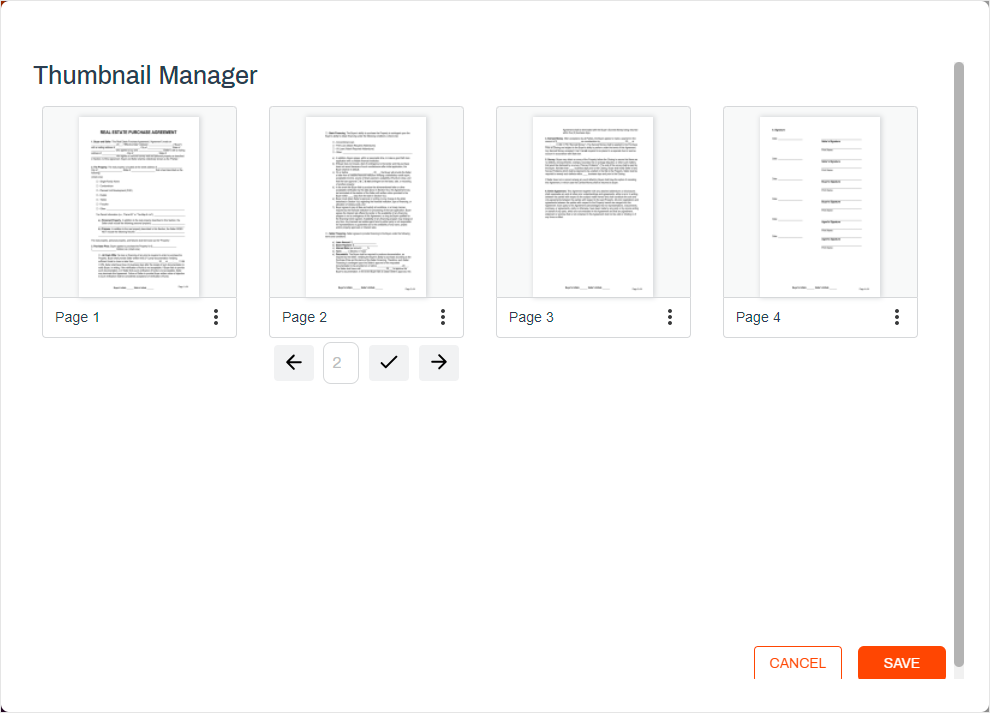
Thumbnail Manager
The Thumbnail Manager displays a small image of every page included in the selected document. Additionally, you can do the following:
- Rotate page orientation.
- Delete pages.
- Change the order of the pages.
- Split Document.
If you need to split a document and remove pages, the recommended practice is to perform two separate actions. Delete the pages you do not want first, and then split the document, or vice versa.
For more details, see Thumbnail Manager.
Split Document
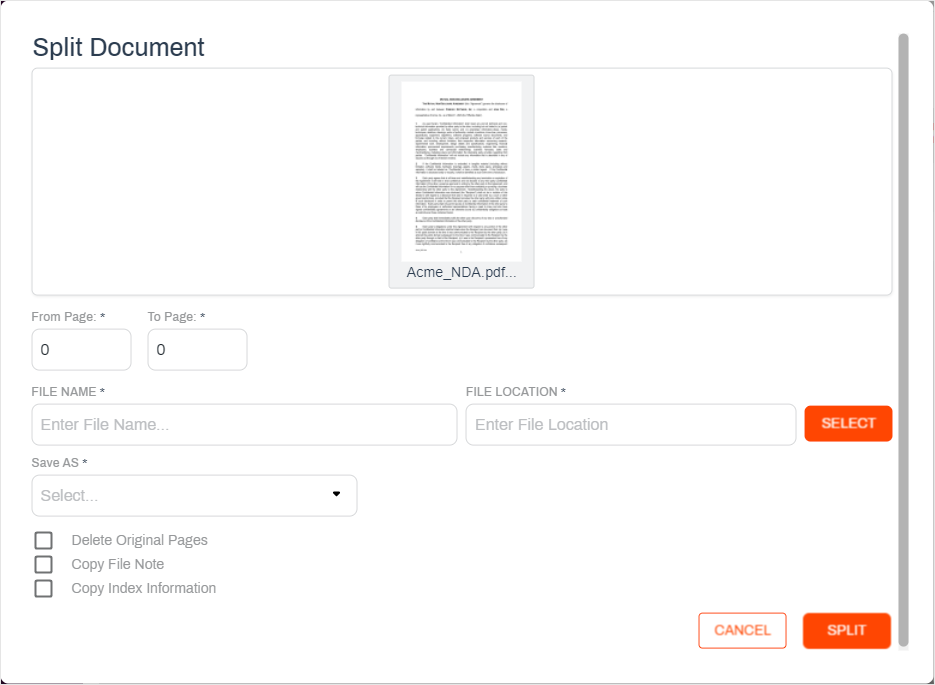
The Split Document option displays if you have a PDF or TIFF file selected. Use this option to create a new document by selecting a specific page range. You also have the option to:
- Delete Original Pages.
- Copy File Note.
- Copy Index Information.
- Select the document.
- Select the Actions button and then Split Document.
- In the From Page, enter the page number you want the new document to start.
- In the To Page, enter the page number you want as the last page of the document.
- In the File Name, field enter the new document name.
- Select the Browse button to choose the folder where you want to save the new document.
- Use the Save As drop-down to select the file type for the new document.
- TIFF
- Choose additional options, if applicable.
- Delete Original Pages — deletes the selected pages from the original document.
- Copy File Note — copies any notes to the new document.
- Copy Index Information — if the document is associated with an object, this option copies the object data to the new document.
- Select Split.
Merge Documents
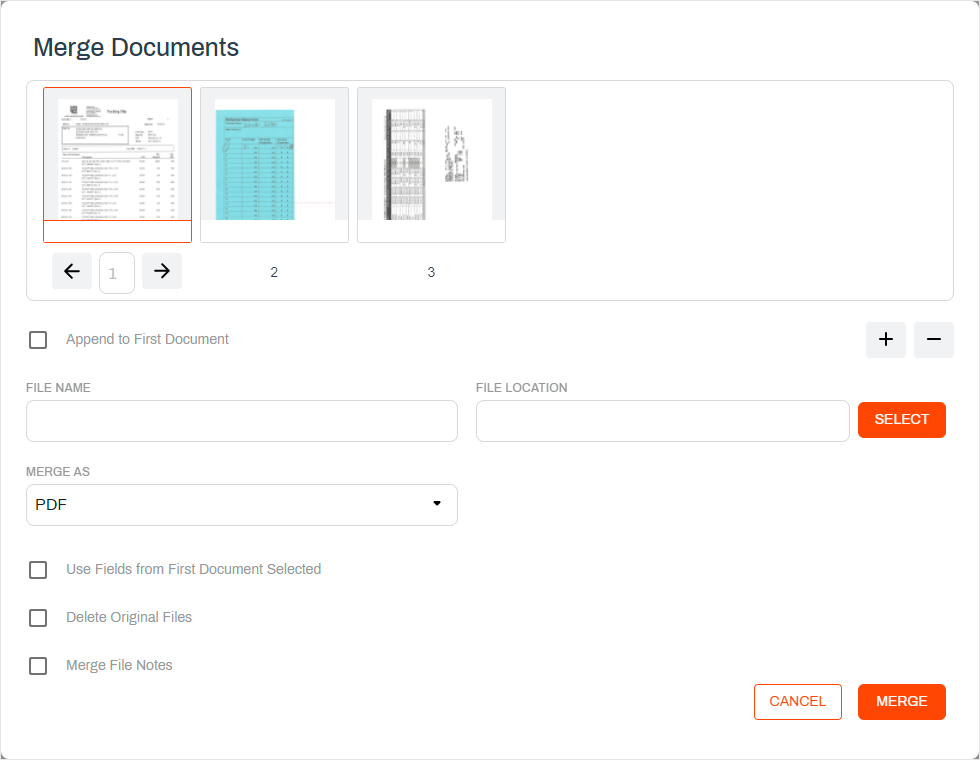
The Merge Document option displays if you have multiple files selected. Use this option to create a new document by combining the selected documents into a new file. You also have the option to:
- Rearrange the selected document order.
- Append to First Document.
- Use Fields from First Document Selected.
- Delete Original Pages.
- Merge File Notes.
- Select the documents.
- Select the Actions button and then Merge Documents.
- Select one of the documents and use the arrows to rearrange the order of the pages. By default, the first document is selected.
- Select Append to First Document if you want the remaining documents to merge into the first document selected.
- In the File Name field enter the new document name.
- Select the Browse button to choose the folder where you want to save the new document.
- Use the Save As drop-down to select the file type for the new document.
- TIFF
- Choose additional options, if applicable.
- Use Fields from First Document Selected — if the document is associated with an object, this option copies the object data to the new document.
- Delete Original Pages — deletes the selected pages from the original document.
- Merge File Notes — copies any notes from the original files to the new document.
- Select Merge.
Print Documents
Print the selected document and any annotations. If the document is part of a signature workflow, you can also print the signature history.
- Select the document you want to print.
- Select the Actions button and then select Print.
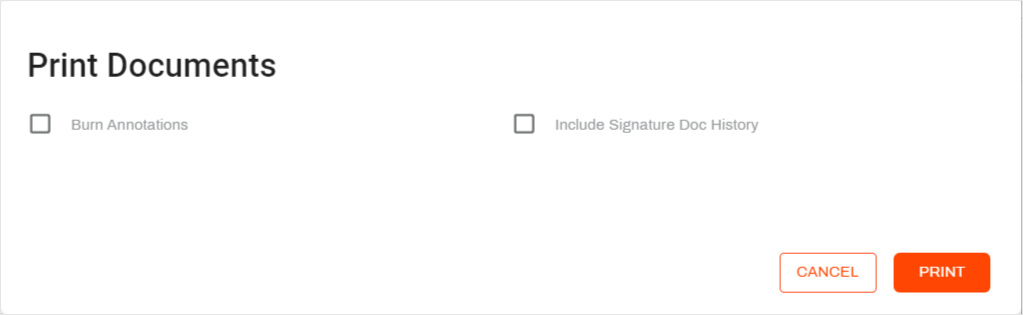
- In the Print Documents modal, select from the following options:
- Burn Annotations — select this option to include unburned annotations on the document you’re printing.
- Include Signature Doc History– this option only displays if a document is part of a signature workflow. When selected, it downloads the current signature audit trail in a separate PDF.
- Select Print.
OCR
Optical Character Recognition (OCR) Optical Character Recognition (OCR) is the electronic conversion of images of typed or printed text into machine-encoded text. This allows for easier reading and searching of content. scans the document for text recognition so that any image that has text can be converted into machine readable and searchable text data.
- Select the document you want to scan.
- Select the Actions button.
- Select OCR.
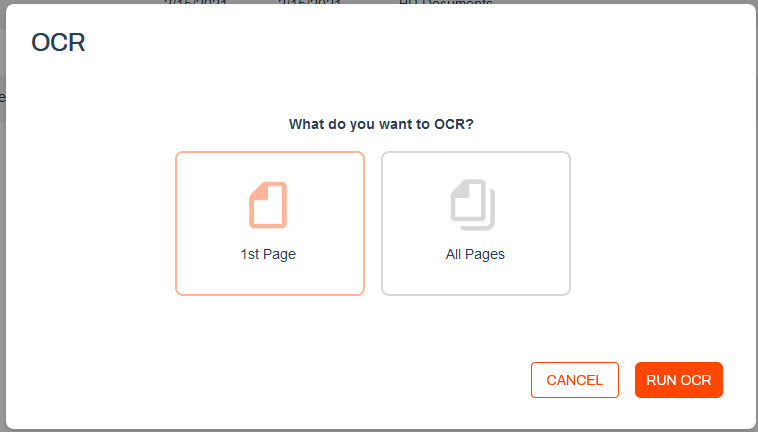
- In the OCR modal select one of the following:
- 1st Page — lets you run OCR on only the first page.
- All Pages — lets you run OCR on all the pages in the document.
- Select Run OCR.
Barcode Recognition
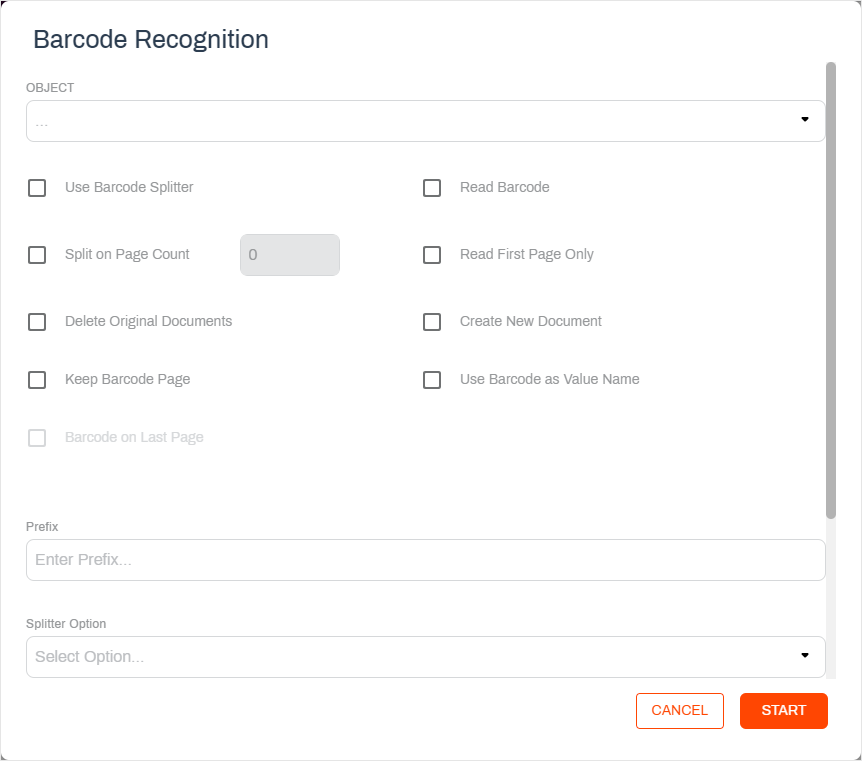
Barcode recognition functionality is used to capture one or more barcode values from a selected document and populates it into an existing object field. Capturing and saving the barcode data is also known as barcode indexing. You can also use barcode recognition to split documents based on barcode data.
For more details, see Barcode Recognition.
AIP
Advanced Image Processing (AIP) Advanced Image Processing (AIP) is a feature that allows Administrators to set up image processing based on Zonal OCR, Barcode, and Zonal OMR. scans the document for text, barcode, and optical mark recognition (OMR) Optical Mark Recognition (OMR), also called optical mark reading, is the process of capturing human-marked data from document forms such as surveys, tests, product evaluations, time sheets, etc. They are used in the form of lines or shaded areas. data that can be applied to object fields. You can then choose what you want to do with the document after it is successfully processed:
- Send to Folder — save the document in Vasion Storage.
- Send to Workflow — use the document to start a new workflow.
For more details, see AIP.
To use this option, AIP processes must already be configured. See your Vasion Automate Pro administrator for assistance.