Last Updated: August 13, 2024
Manage Folders & Documents
Storage Toolbar
The storage tool bar lets you navigate, activate actions, update and scan documents.

Actions
The Actions button above the task list provides options for actions you can take on the tasks. Select one or more tasks and then select the action. Any actions that are grayed out are not available for the task(s) you’ve selected.
Refresh
Click the Refresh button  to refresh the storage page.
Multiple Page Navigation
If there are multiple pages, you can move through them using the page navigation buttons. Click the single forward or back arrows to move forward or back by one page. Click the double forward or backward arrows to move to the first or last page in the document.

Quantity Display
Number of records to display per page — click in the down arrow to see a drop-down list from which you can select the amount of records to see per page: 5, 10, 15, 20, 25, 50, 75, 100.

Storage Tools
The Storage tools are as follows:
- If you are currently viewing a subfolder, click the Up button to go up one folder.
- Click the double Back button to go to the root folder.
- Click the Upload button to upload a document to storage.
- Click the Scan button to scan a document into Vasion.

Views
When you open a document you can have up to three views available. For details about each view click on a link below.
- Document View
- Data View
-
PDF View is only available if the document is associated with a template or if the Generate Form PDF option is selected in the form setting.
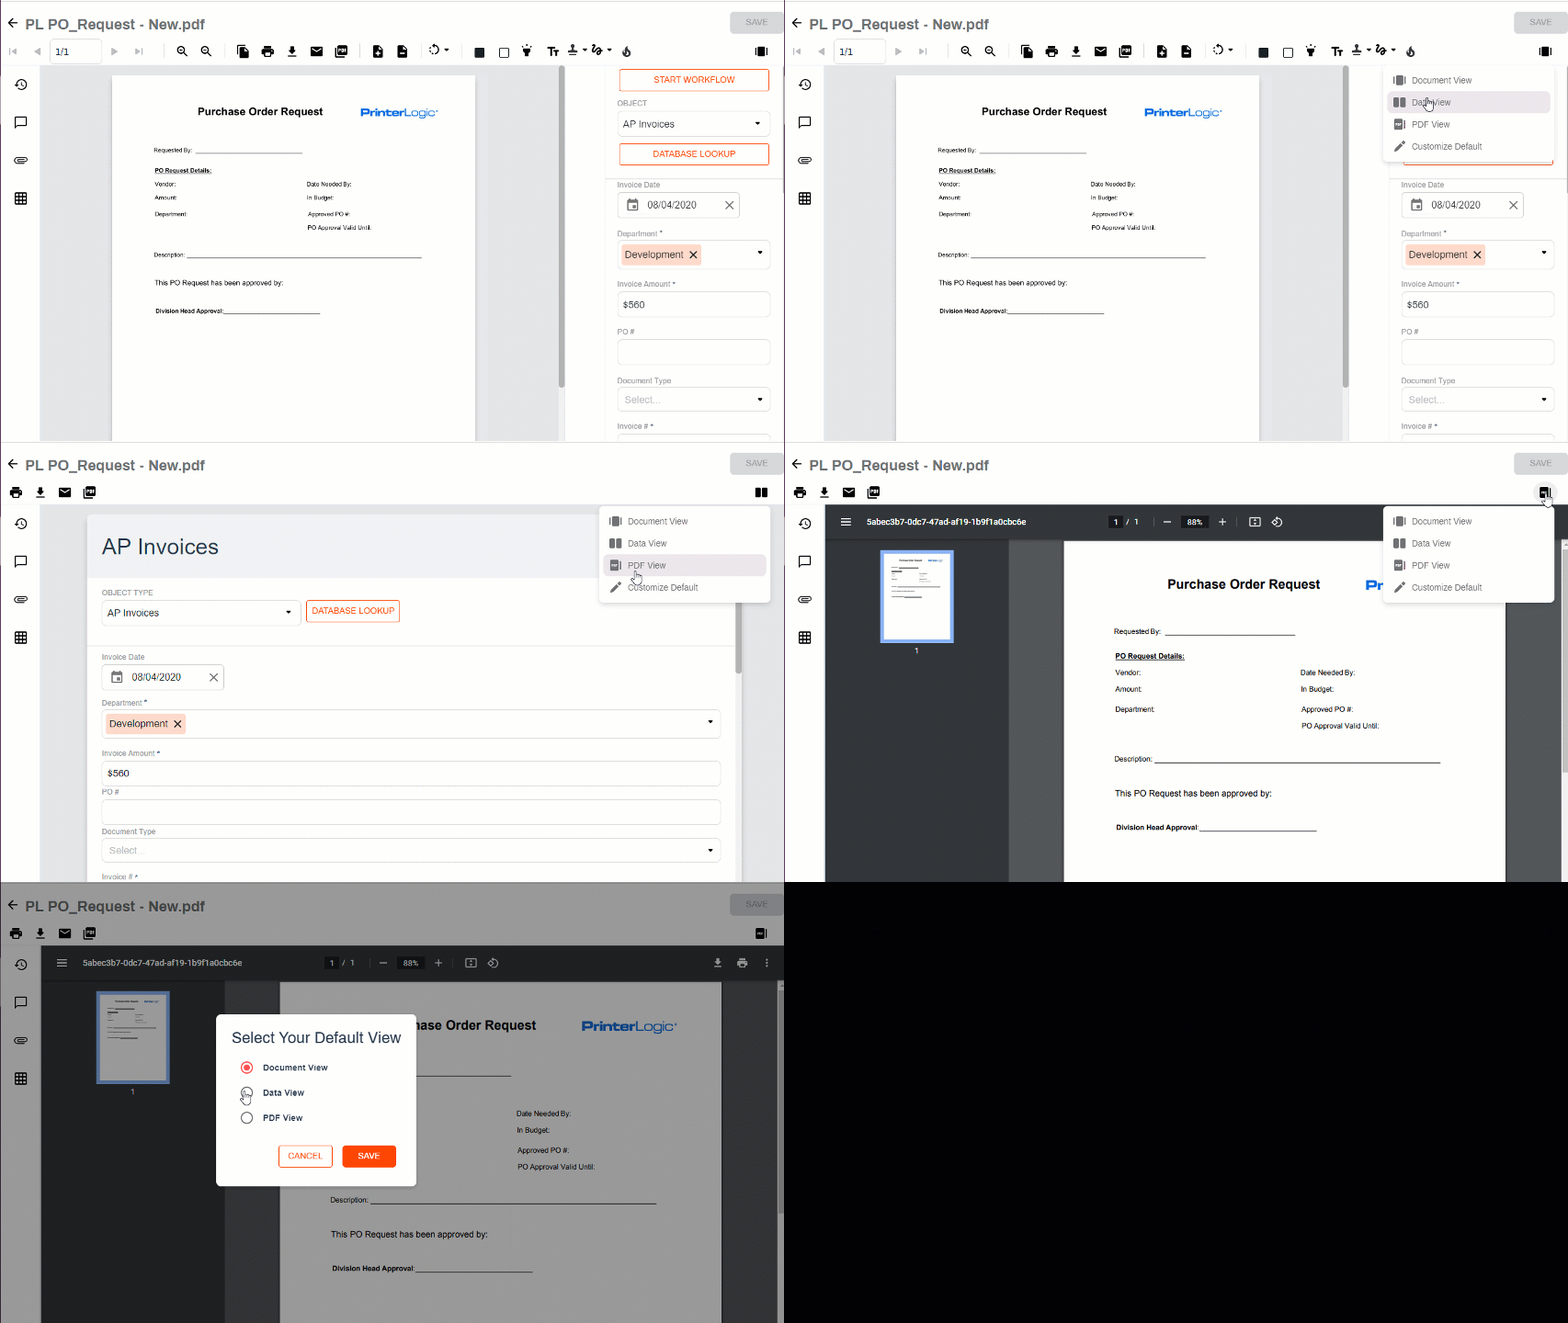
The default view is Document View. You can update the view by using the Viewer Filter when you open the document.
You can choose a view to display as the default view when you load a document from Storage or from search results. To set the default view:
- Click on the Viewer Filter
- Select Customize Default
- Select the appropriate view from the list
- Click Save.
Quick Menu
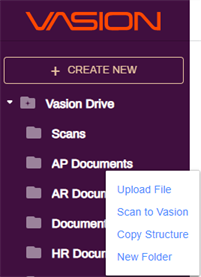
You can also right-click on a folder to access a quick menu that lets you upload a file, scan a document, or copy the folder and its subfolders.
Upload File
To upload a document into Storage do the following:
- Click on the folder in the directory tree where you want to upload the file.
- In the Actions list, click the Upload button or
- On the side navigation right-click on the folder where you want to store the file and select Upload File.
- In the Upload modal do one of the following:
Drag and drop the file you want to upload, or
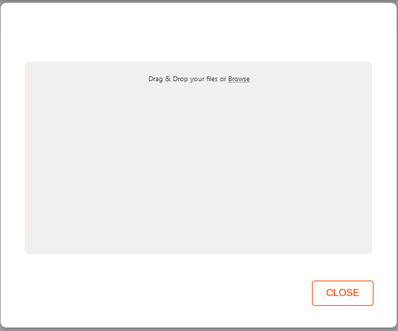
- Click Browse.
Navigate to the location in your computer to locate the file to load.
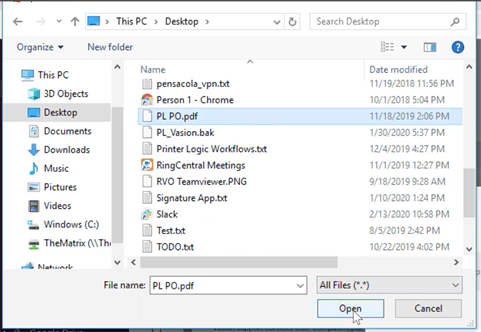
Click Open. You can view the progress of the upload in the Upload modal.
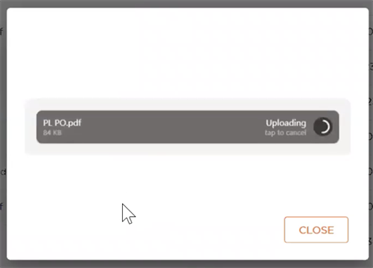
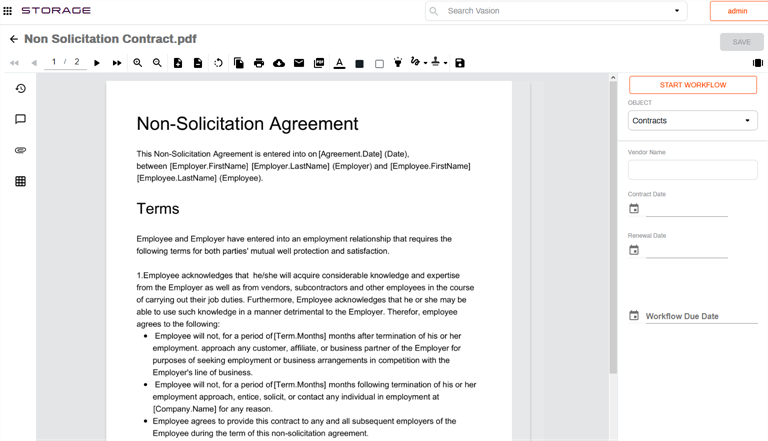
- From the document list in the folder, click the new document to open it.
-
In the fields on the right-hand side, enter document information. The available fields vary depending on the type of document selected from the Object drop-down.
Scan to Vasion
If you need to scan documents, you can scan them from the folder where you want to store them.
You must have a scanner set up to use the Scan to Vasion option. For details on how to setup a scanner see Capture.
- Click on the folder in the directory tree where you want to scan the file.
- Click the Scan button on the toolbar, or
- On the side navigation, right-click on the folder where you want to store the scanned file and select Scan to Vasion.
-
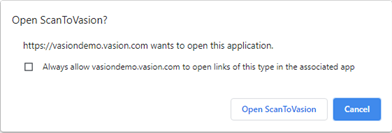
In the Open ScanToVasion? modal, click on the Open Scan To Vasion button. Check the box to always allow Vasion to open the Scan to Vasion app.
-
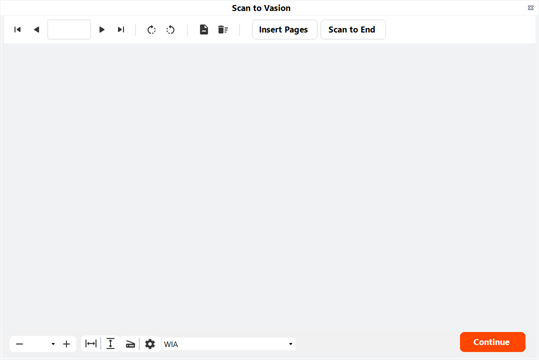
When the Scan to Vasion app opens, load the pages into the scanner and click the Scan to End button.
-
During the scan process, a progress bar displays. Once the process is complete, the document displays on the Scan to Vasion page.
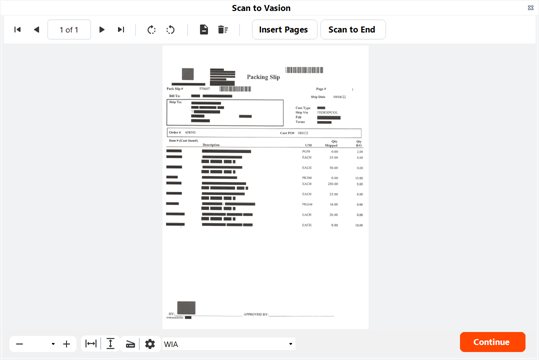
- Use the toolbar buttons for any of the following:
- Navigation — click on the arrows to move from page to page, forward or back.
- Rotate — click on the rotate buttons to rotate the current page clockwise or counterclockwise.
- Delete Page — click to delete the current page.
- Trash — click to delete all scanned pages.
- Insert Pages — click to scan more pages to the current document.
- Once you're satisfied with the pages, click Continue.
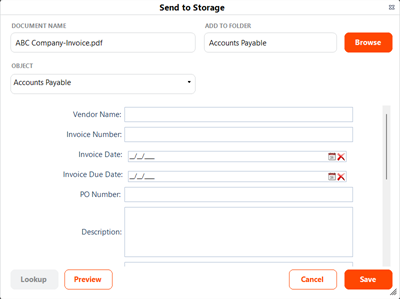
- In the Send to Storage modal complete the following:
- Document Name — enter the name for the file.
- Add to Folder — click the Browse button to change the file location, if necessary.
- Form — use the drop-down to select the form to assign to the file.
Fields and Values — these fields vary depending on the form you selected. Fields listed with an asterisk are required fields.
- Click Save.
Copy Structure
When you copy the structure of a folder, you are only copying the folder structure and not the documents that are in that folder and any subfolders. This allows you to set up the same folder structure in another location rather than setting up the folders and subfolders manually.
- On the side navigation, right click on the folder that has the structure you want to copy.
- Click Copy Structure.
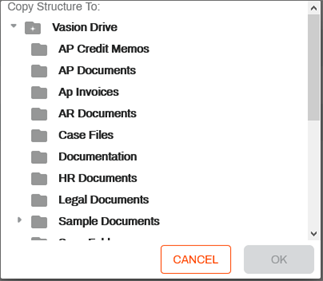
- In the Copy Structure To modal, navigate to the location where you want to copy the structure.
- Select the folder where you want to copy the structure and click OK.
New Folder
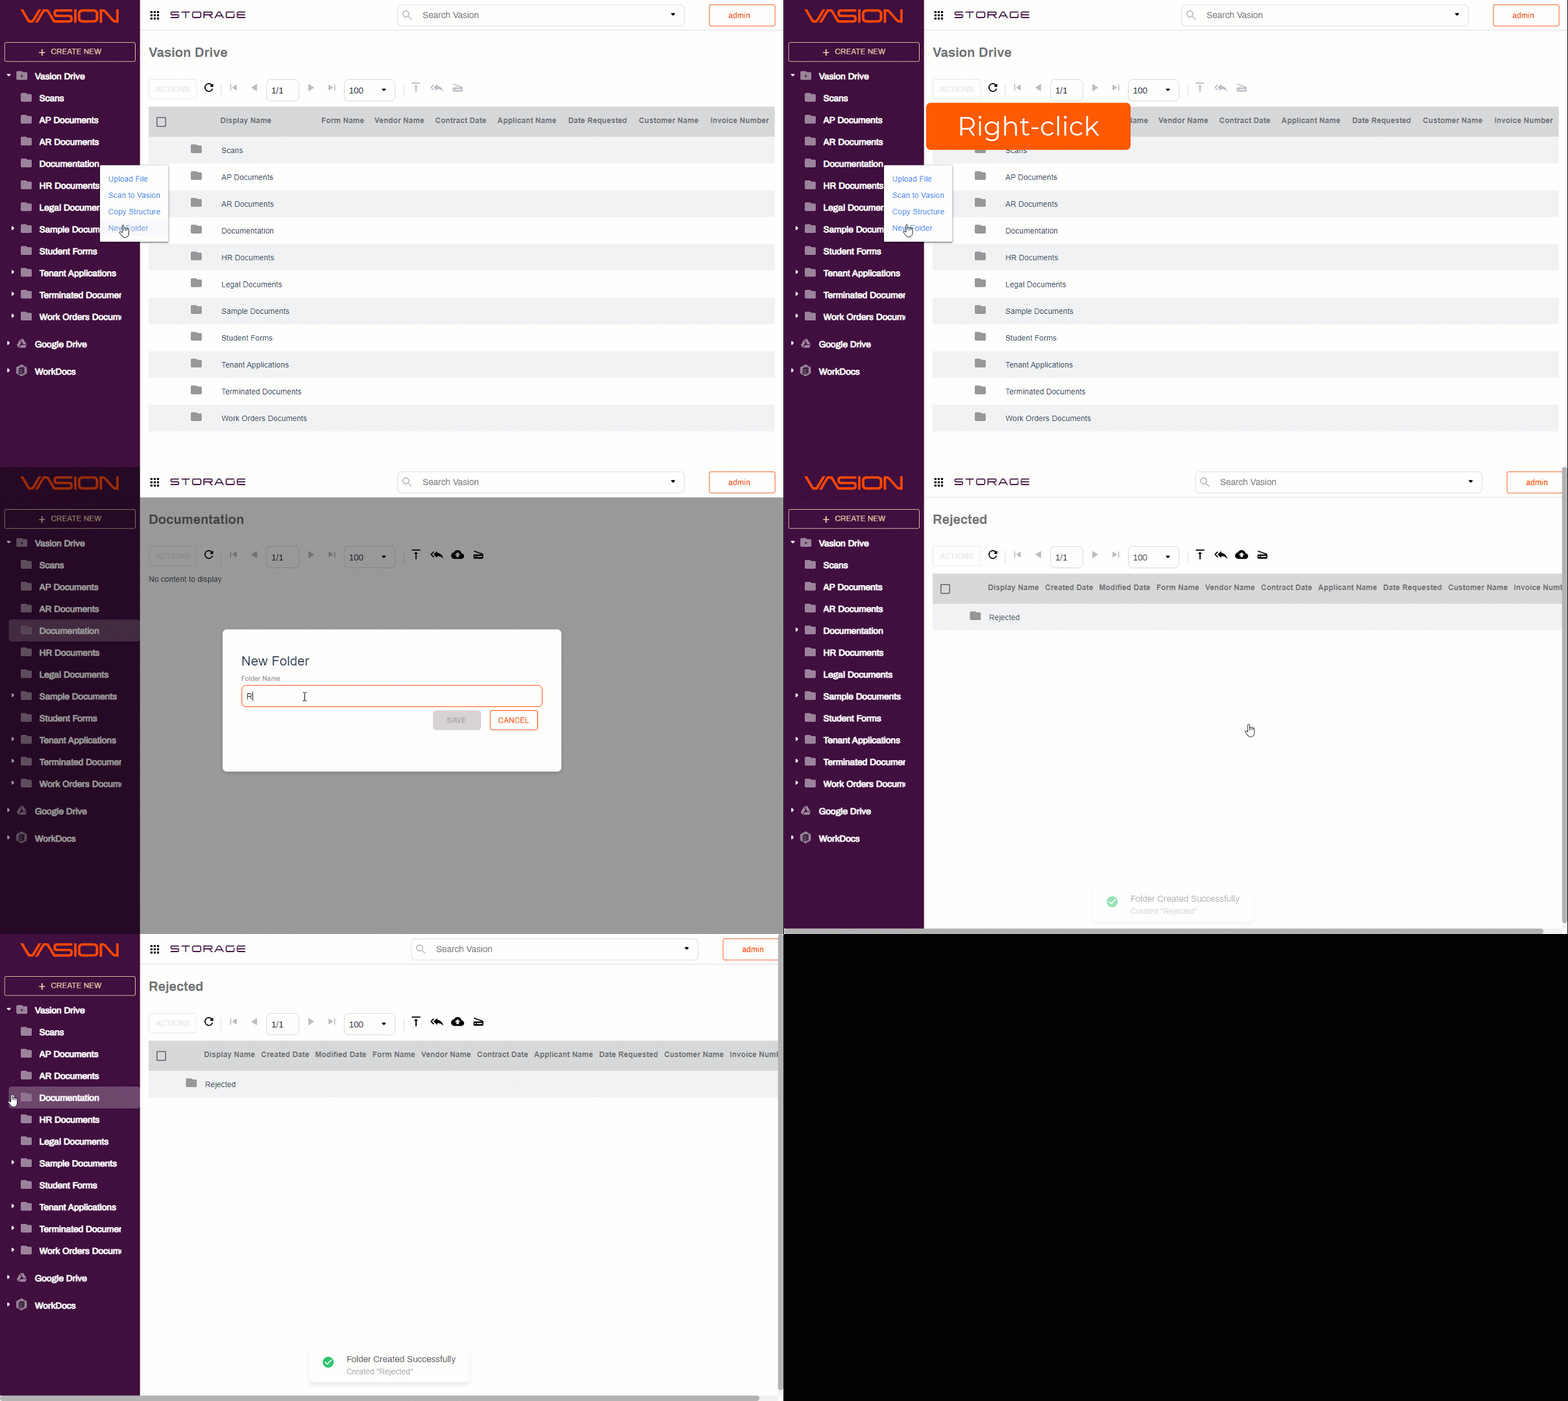
The New Folder option is for creating new subfolders in the selected location.
- On the side navigation, right-click on the folder where you would like to create a subfolder.
- Click New Folder.
-
In the New Folder modal, type the name for the new subfolder.
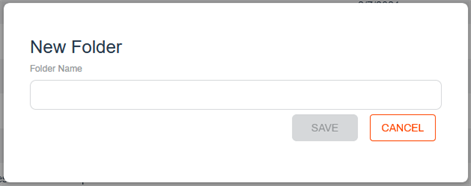
- Click Save.
Create Parent Folders
Permission to create parent folders requires the Admin - Folders role assigned to the user or group.
To create a new parent folder you must configure:
- General Settings
- Parent folder name
- Parent folder location
Optional settings:
- Configure Folder
- Folder Permissions
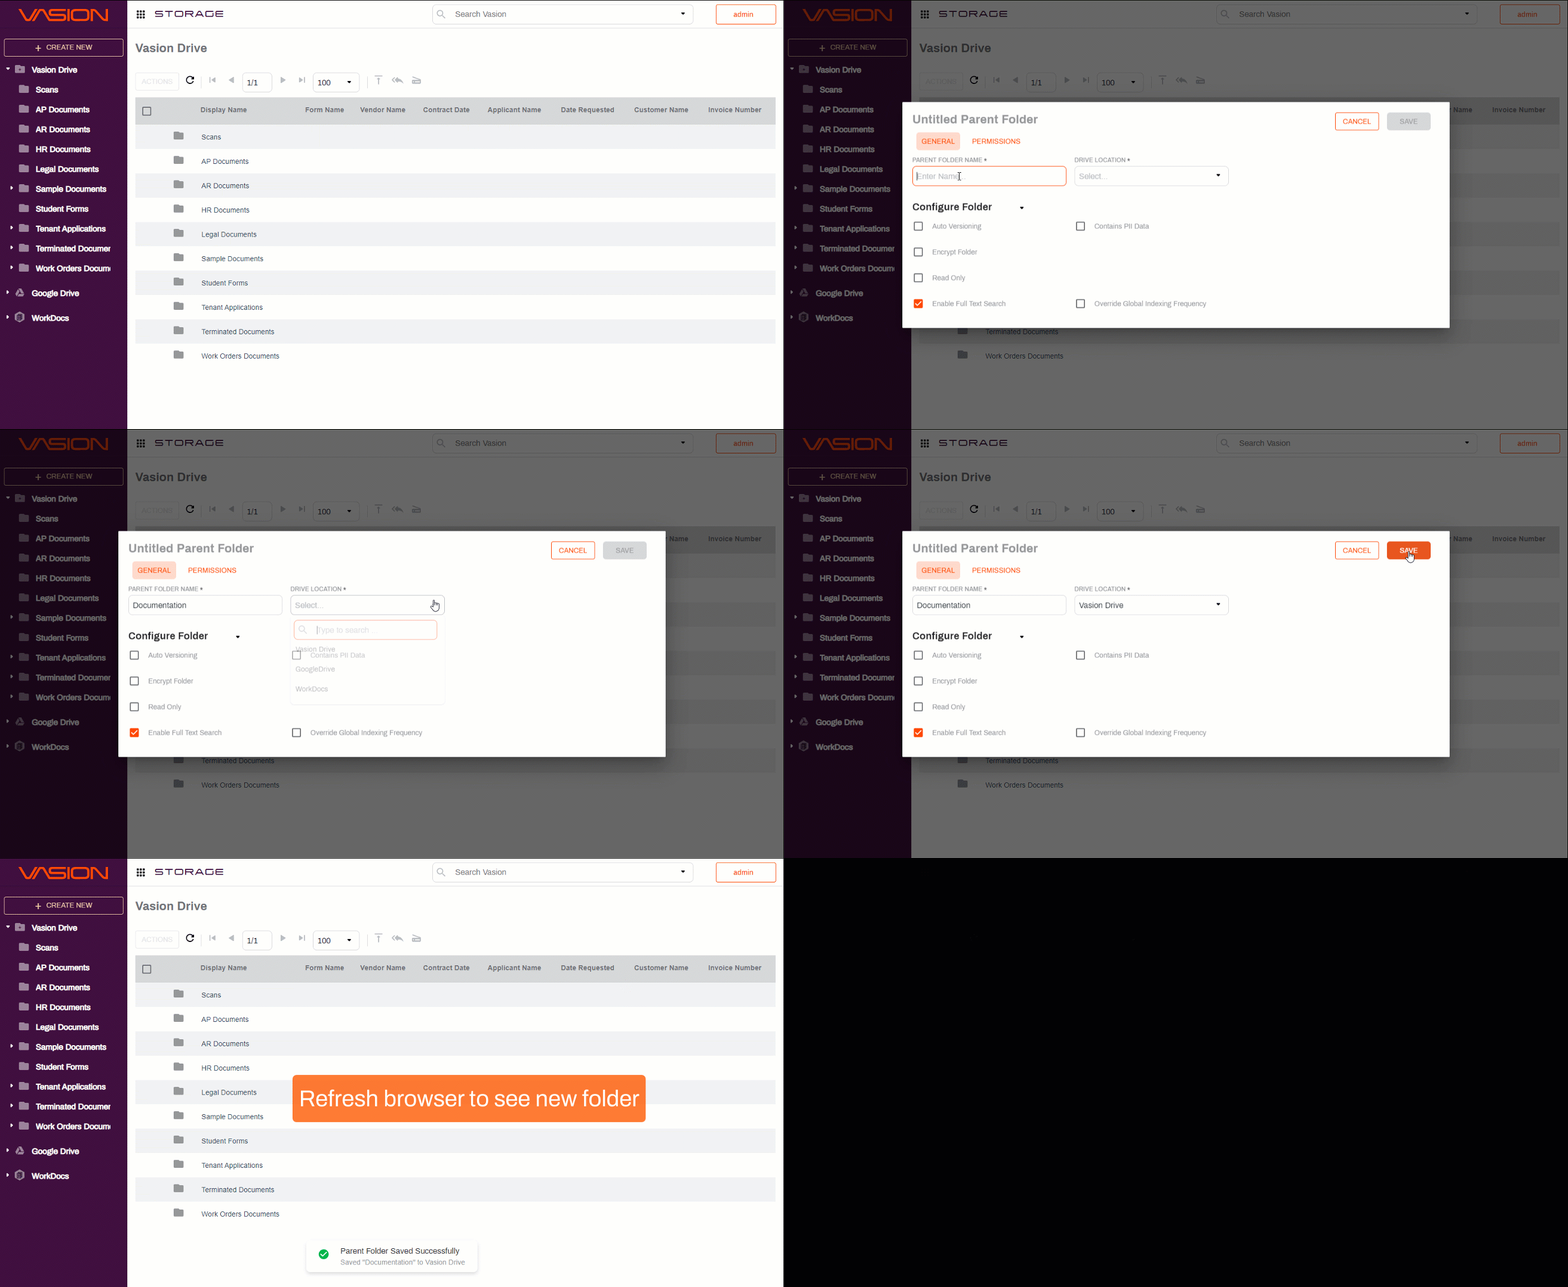
Click on the + Create New button and configure the folder.
General Settings
- Parent Folder Name — enter the name for the new folder
-
Drive Location — use the drop-down to select the drive where you want to save the new folder. The list includes any cloud storage set up in Vasion.

Configure Folder
-
Check the box next to the setting(s) you want to apply to the folder:
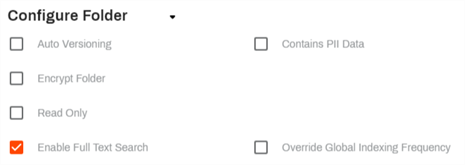
- Auto Versioning — automatically creates a new version of files stored in the folder automatically when a user edits the document.
- Contains PII Data — flags files within the folder as PII (Personal Identifiable Information).
-
Encrypt Folder — adds additional security to the folder by requiring a password to access files. When this box is checked enter a password for the folder.

-
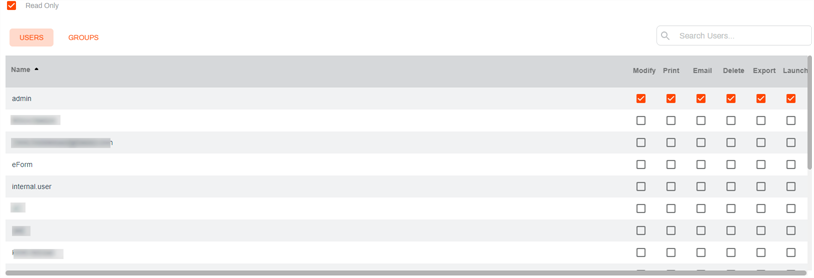
Read Only — limits access to only view files stored in the folder restricting any changes. When this box is checked you can grant additional rights to users, if needed, by checking the appropriate boxes for the user in the list.
-
Enable Full Text Search — allows folder contents to be indexed so its contents can be included in configured Full Text Searches.
-
Override Global Indexing Frequency — use this option override the frequency for the Full Text Update automation on this folder and configure the update frequency manually.
- Use the Perform drop-down to select the frequency you want the automation to run. The next fields that display depend on what you select here.
- Once — use this option to only run the automation once. The next field display updates to Start Date, and you can type the date in the format shown or click on the Calendar icon
 to pick the date.
 - Daily — use this option to run the automation every day. The only remaining option is the Start Time.
- Weekly — use this option to run the automation once a week. The next field updates to Weekdays and you can use the drop-down to select one or more days of the week by checking the appropriate box.
- Monthly — use this option to run the automation once a month. The next field updates to Months and you can use the drop-down to select one or more months by checking the appropriate box.
- Frequency — use this option to run the automation at a specified time interval in minutes. In the next field, type in the number of minutes for the time interval.
- Once — use this option to only run the automation once. The next field display updates to Start Date, and you can type the date in the format shown or click on the Calendar icon
- In the Start Time, enter the time of day to run the automation in the format shown or click on the Clock icon
 to pick the time.
 - If the Monthly option is selected, a Day of Month field is shown. Type in the day of the selected month(s) when you would like to run the automation.
Folder Permissions
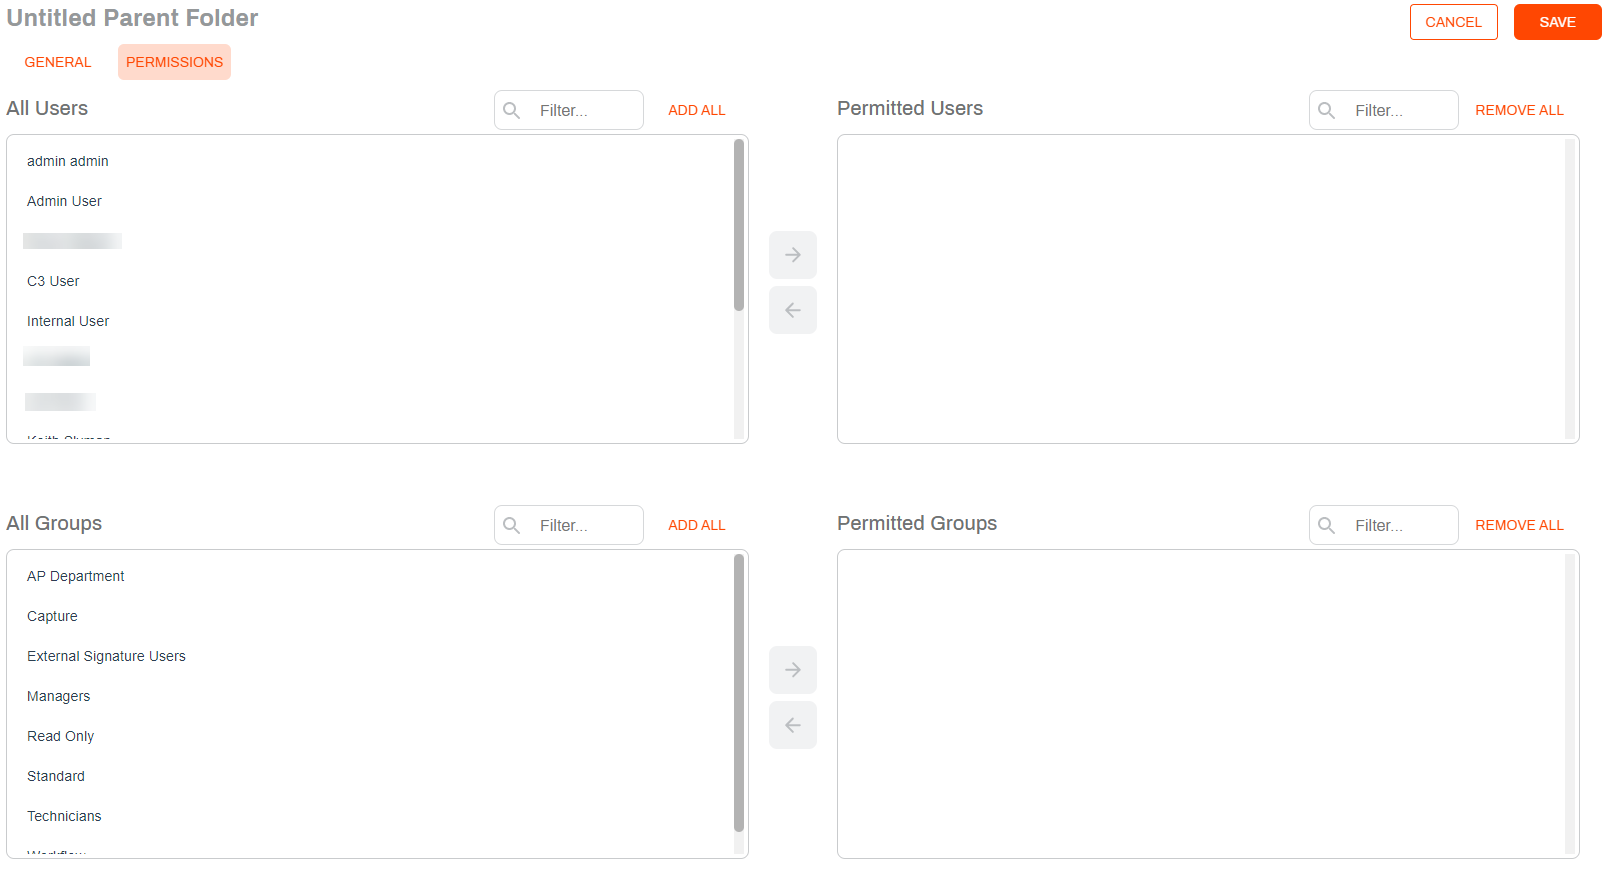
You can change who can see or edit the automation by assigning user or group permissions. If you leave all users and groups in the left column, then the automations can be seen by all users and groups by default.
- Click on the Permissions tab at the top of the screen.
- Select the users and / or groups you would like to have permission to access the folder and click the right arrow button
 .
. - You can also add or remove all users or groups by clicking on the Add All or Remove All buttons above each column.
When the configuration is complete, click Save at the top of the page.
Rename Folder
You must have permission to rename folders in order for this option to show in the right click menu.
- On the side navigation, right-click on the folder you want to rename.
- Click Rename Folder.
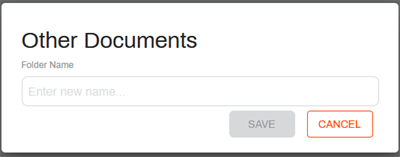
- In the Rename Folder modal enter the new folder name in the Folder Name field.
- Click Save.
Delete Folder
You must have permission to delete folders in order for this option to show in the right click menu.
If the folder contains documents, you will not be able to delete it. Delete the documents inside first and then delete the folder.
- On the side navigation, right-click on the folder you want to rename.
- Click Delete Folder.
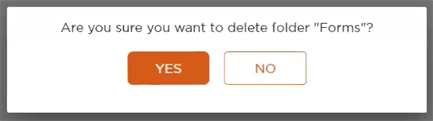
- In the confirmation modal, click Yes.