Scan to Storage Guide
Last Updated: September 11, 2026
You can scan documents or images and send the scanned files to a cloud storage location. You can access this functionality directly from the control panel on supported printers.
Scan to Storage
1. Sign in to the CPA.
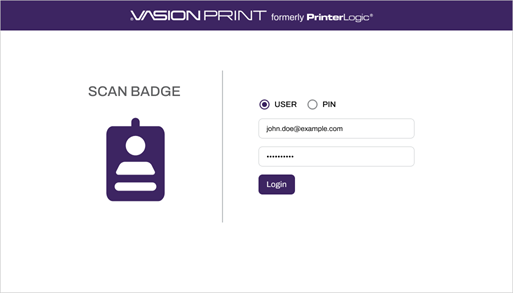
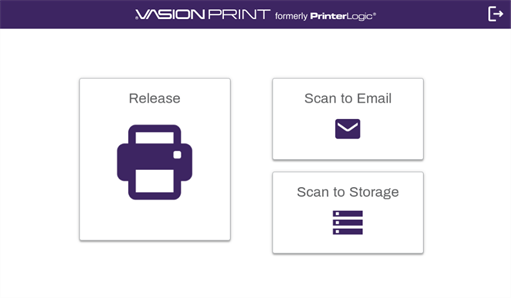
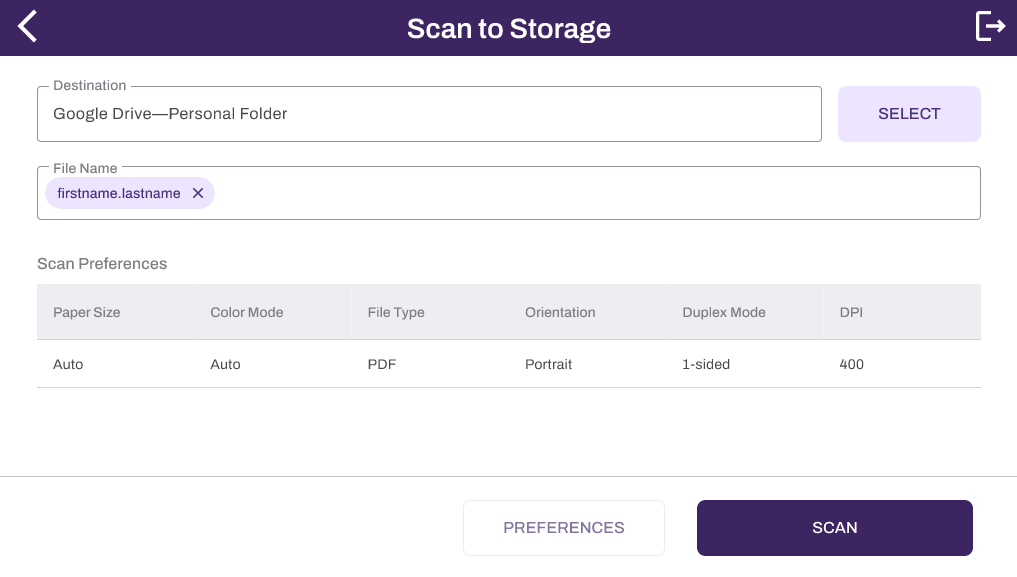
2. Select Scan to Storage.
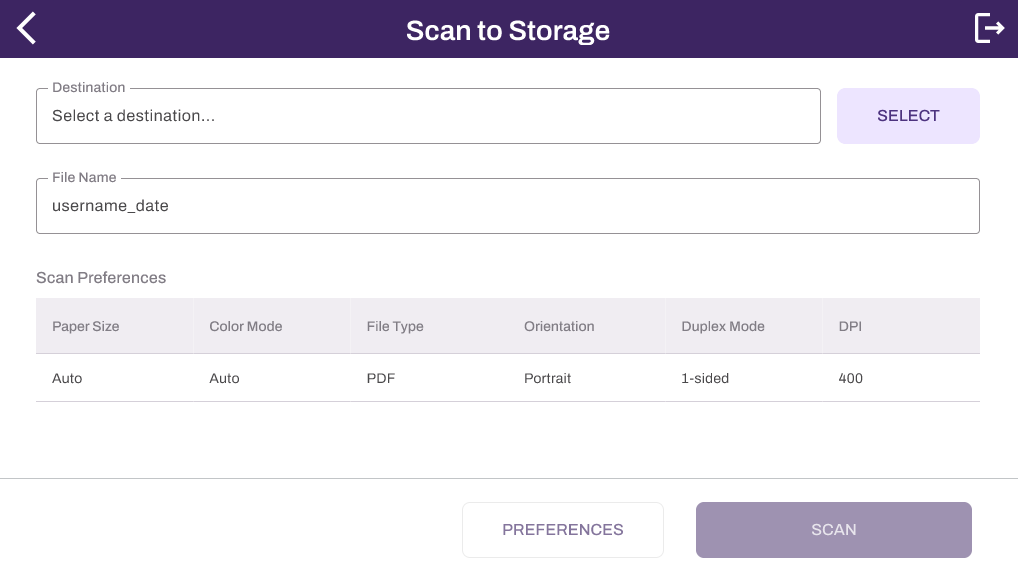
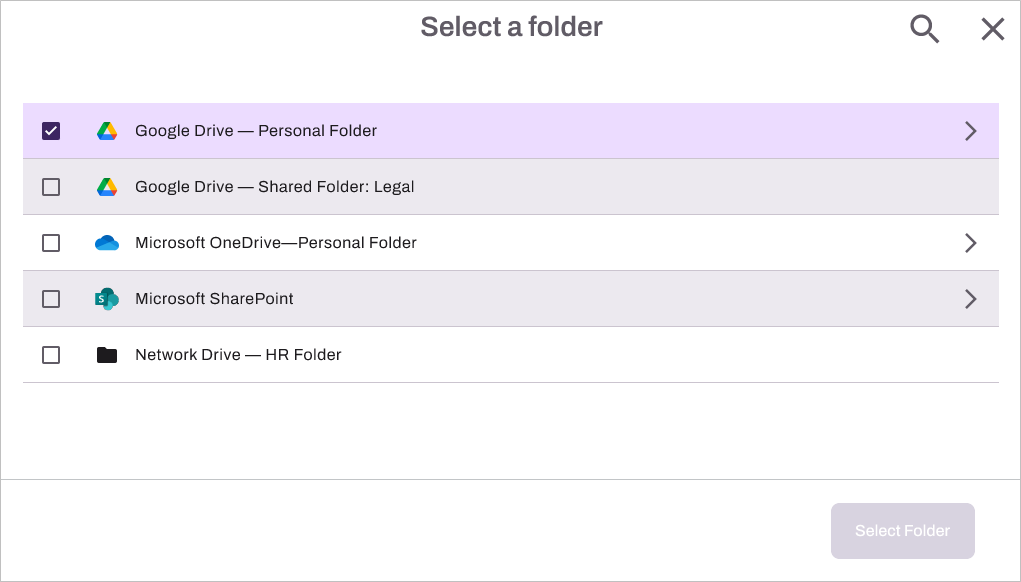
3. Press the Select button.
4. Select the desired location. A search bar is also available to narrow your selection options.
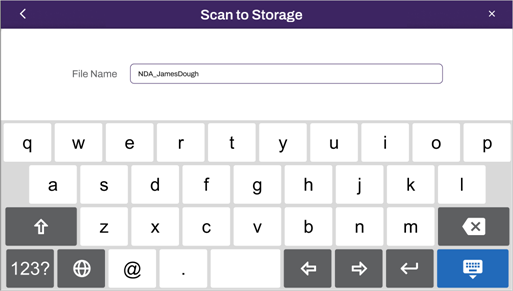
5. You can modify the file name if you select the File Name field.
6. Use the on-screen keyboard to modify the file name. Use the Hide Keyboard key.
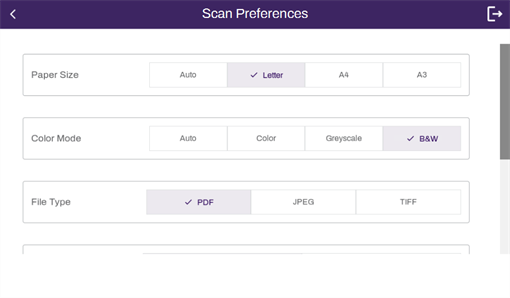
7. If you want to adjust any scan preferences, select Preferences.
7a. Make any adjustments as needed.
8. Select Scan.
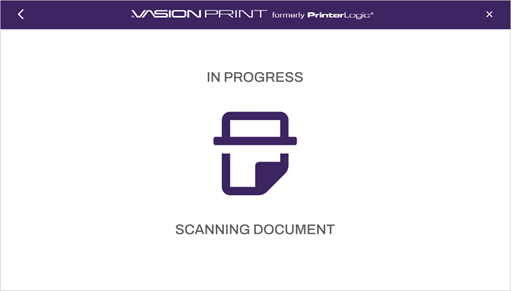
The In Progress screen appears while the document is scanned.
Continuous Scan
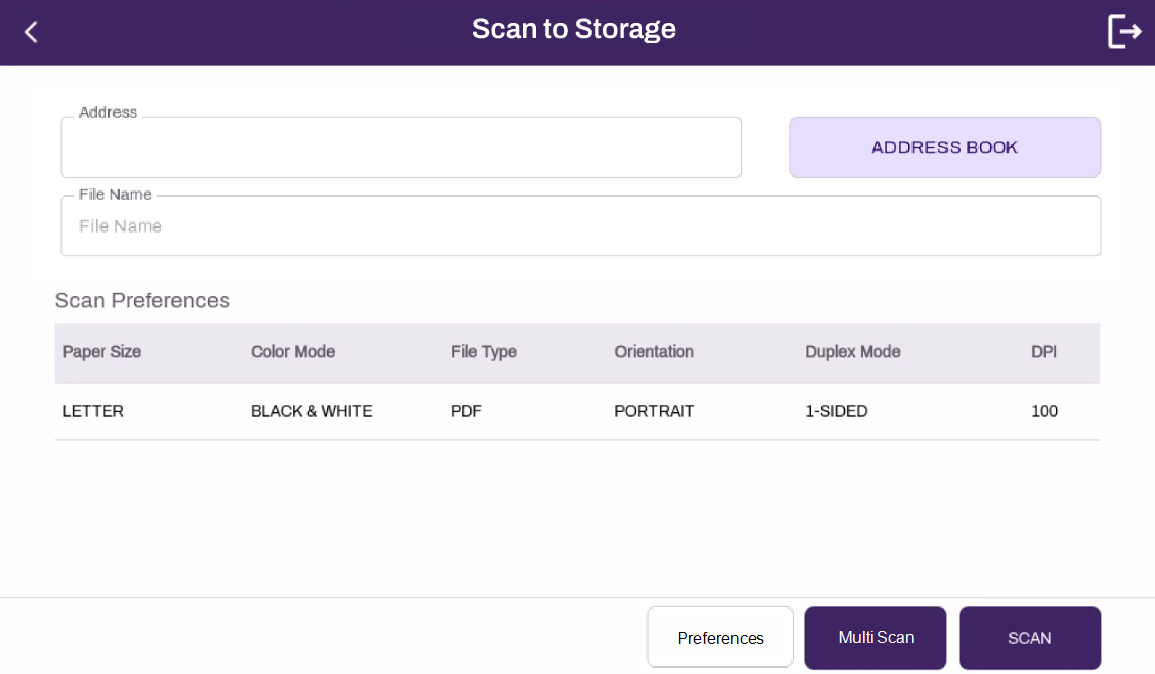
Some manufacturers support Continuous Scan, which presents a slightly different interface. Along with the single scan function, the Multi Scan option appears, which lets you add more pages from the same source or a different source. When you finish the device combines all scanned pages into one PDF, preserving the order in which pages were scanned. For more details refer to Continuous Scan.
Update the file name as needed, and then select Multi Scan.
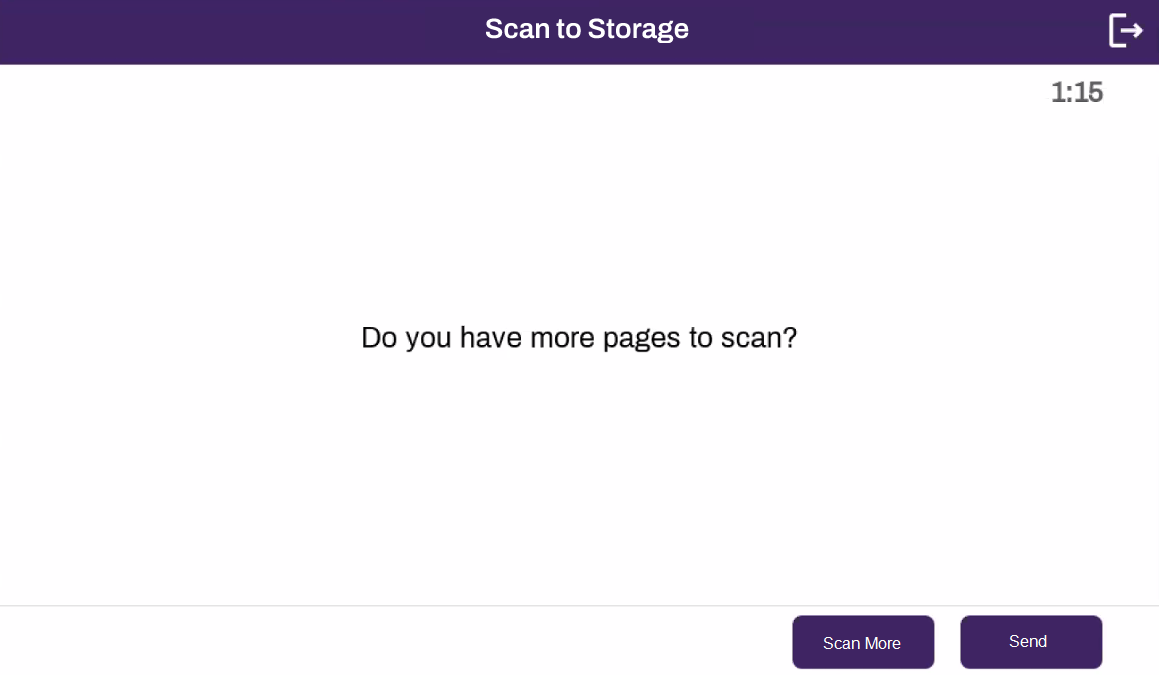
After the first scan, select Scan More to scan additional pages, or select Send to finish.
Scan Notifications
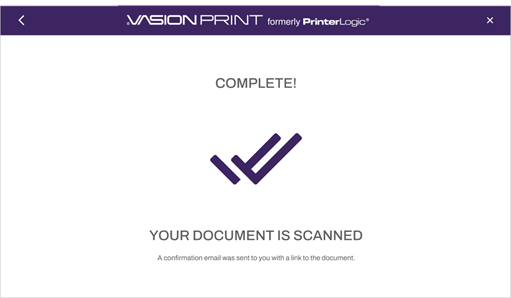
When a scan completes successfully, the following message appears:
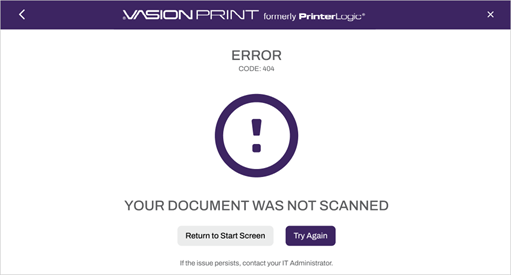
When a scan completes with errors, the following message appears: