Web Print Guide
Last Updated: September 11, 2026
Web Print ensures guests, students, or employees can print conveniently without compromising network security or downloading any software or drivers. Depending on how your administrator implemented this feature, all print jobs may be held for secure release, print immediately, or let you choose when to print.
When Web Print is enabled, your administrator provides you with a unique URL to your web portal. You simply visit the company’s web portal link on your device, sign in with your credentials or continue as guest with your email address and upload your document for printing.
Access the Web Print Portal
If your company uses this feature, You can access the Web Print Portal by using the URL provided by your administrator.
You can also add "/webprint" to the end of the Self-service Portal URL. For example mycompany.printercloud.com/webprint. If you have any questions reach out to your administrator.
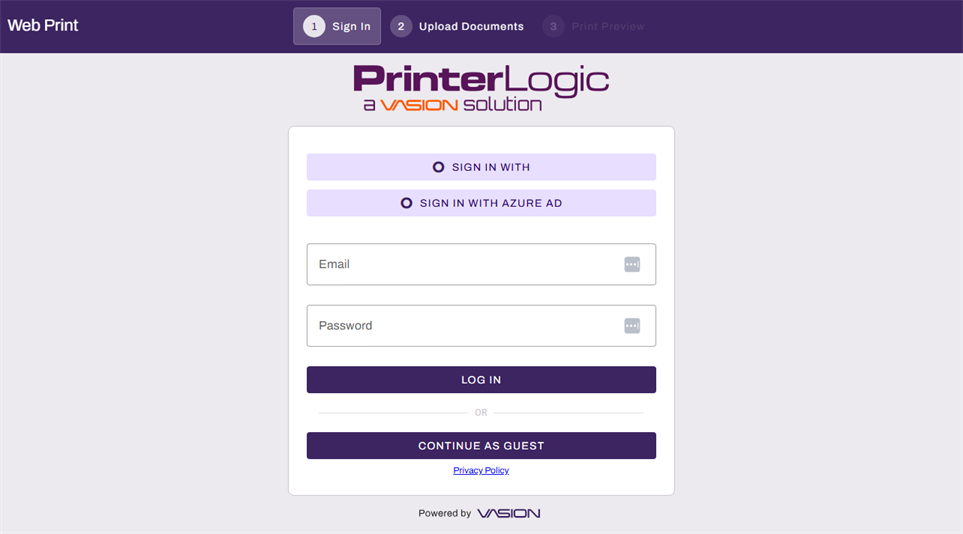
1. Sign In
Depending on how your environment is configured, you may sign in using your identity provider credentials, network credentials.
Network Credentials
- Go to your Web Print Portal.
- Enter your username and password.
- Select Log In.
Your network credentials are the same credentials you use to sign in to your system.
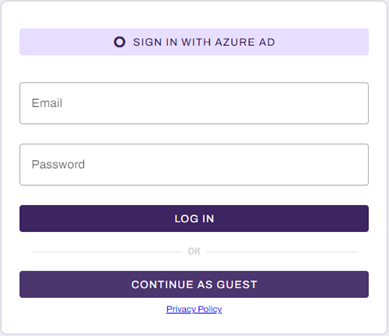
Identity Provider (IdP)
If PrinterLogic is connected with an IdP, the sign in screen shows the button you need to use to connect with the provider to enter your sign in credentials. The sign in experience varies depending on the provider.
- Go to your Web Print Portal.
- Select Sign in with <Provider>.
- Follow the sign in instructions for your provider.
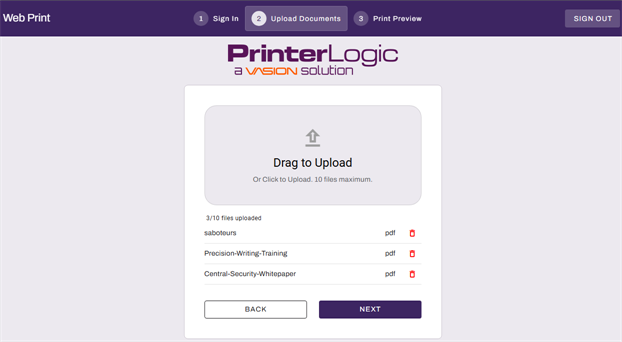
2. Upload Documents
- Do the following to add a document. You can upload up to 10.
- Drag the files ontothe Drag to Upload field, or
- Select the Drag to Upload field to navigate to the file(s).
- You can remove a file by selecting the Delete button
 .
.
- Select Next.
3. Print Preview
On the Print Preview screen you can adjust any print settings and preview the document. If Delegated Release is enabled, you can use the Delegates dropdown to see which delegates can release your print job, and select which delegate can release the print job, when applicable.
When you have multiple documents to print, each document has its own tab so you can select each document and define different settings for each. You can use the Apply to All button to apply the settings to all files.
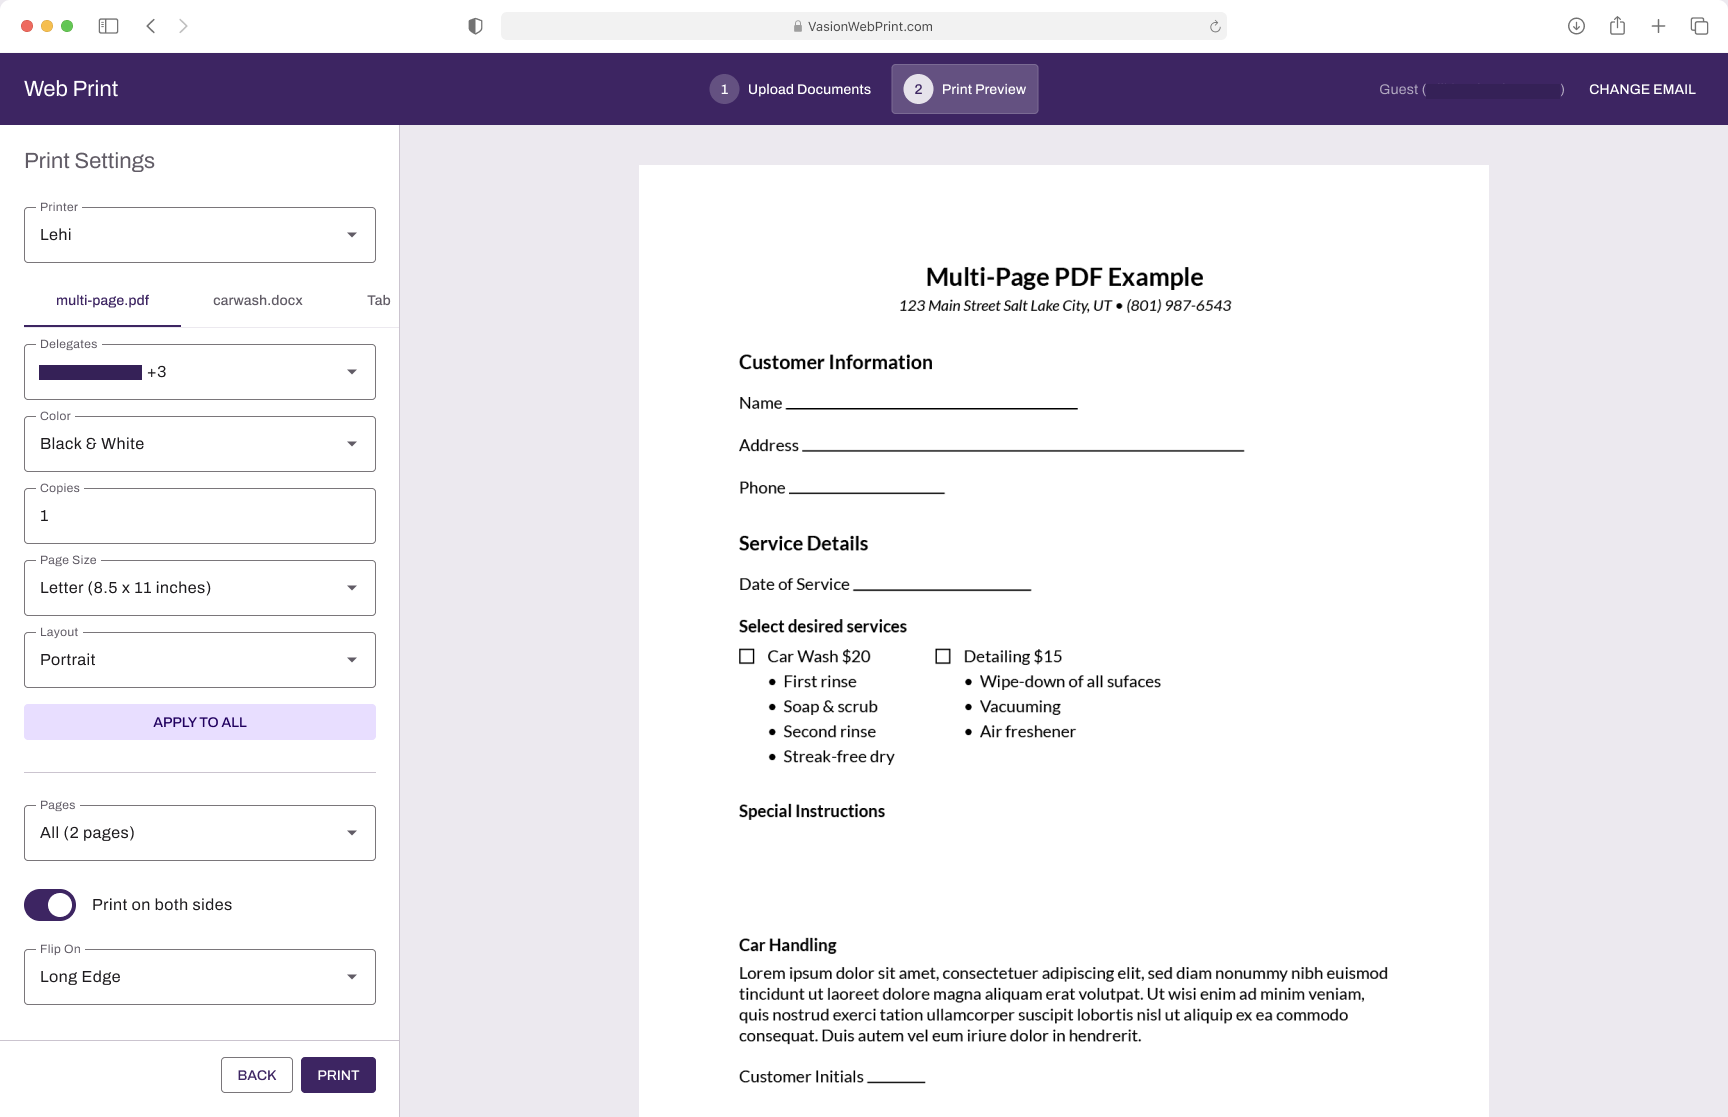
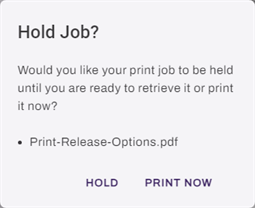
When you are ready, select the Print button. The modal displayed depends on how the Secure Release settings were configured by your administrator.
When configured to prompt to hold.
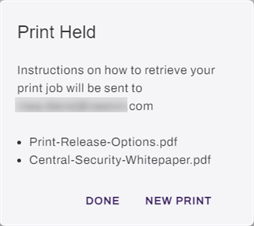
When configured to always hold.
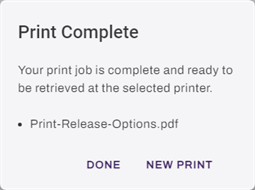
When configured to print immediately.
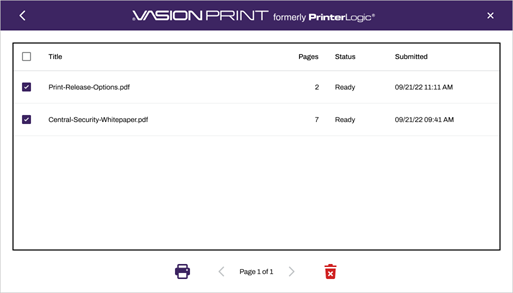
Release Held Jobs
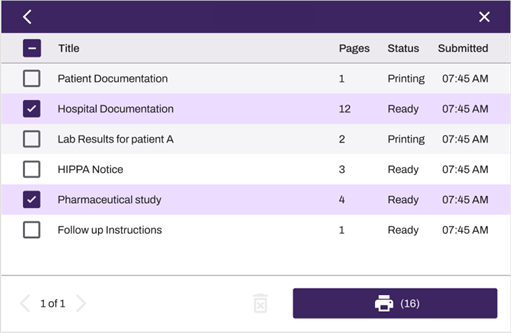
If you selected Hold or were shown the Print Held modal in the previous step, your print job is waiting to be released.
1. Sign in to the CPA.
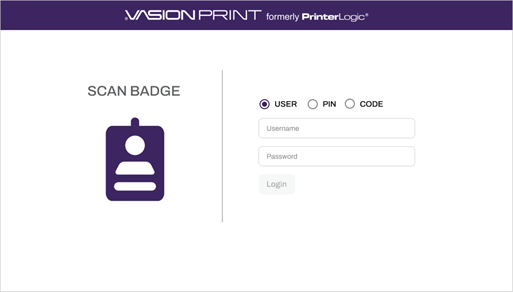
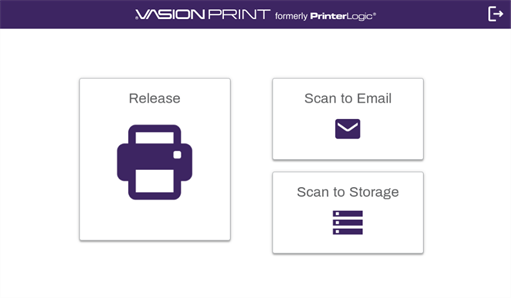
2. Select Print Release.
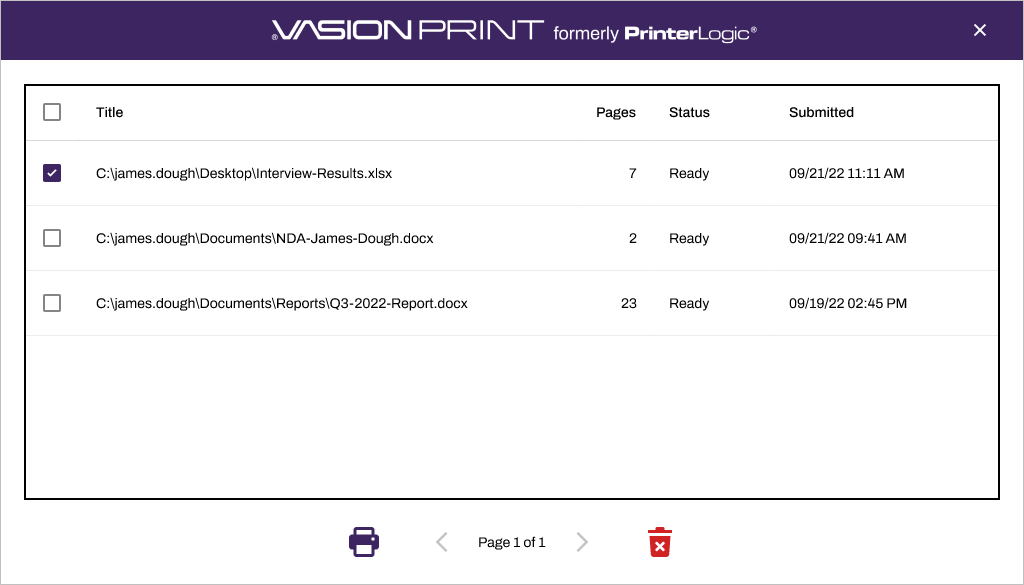
2. Select the print job(s) you want to print and select the Print icon  .
.
Release a Delegated Print Job
3. Select the desired initiator from the list.
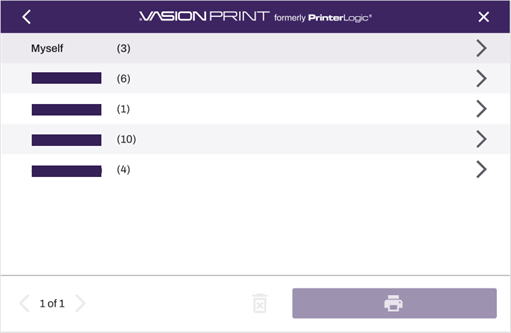
4. Select the desired print jobs and select the Print button.
Guest Print
You can access the Web Print portal by using the URL provided to you.
1. Continue as Guest
- Go to the Web Print Portal.
- Select Continue as Guest.
2. Upload Document
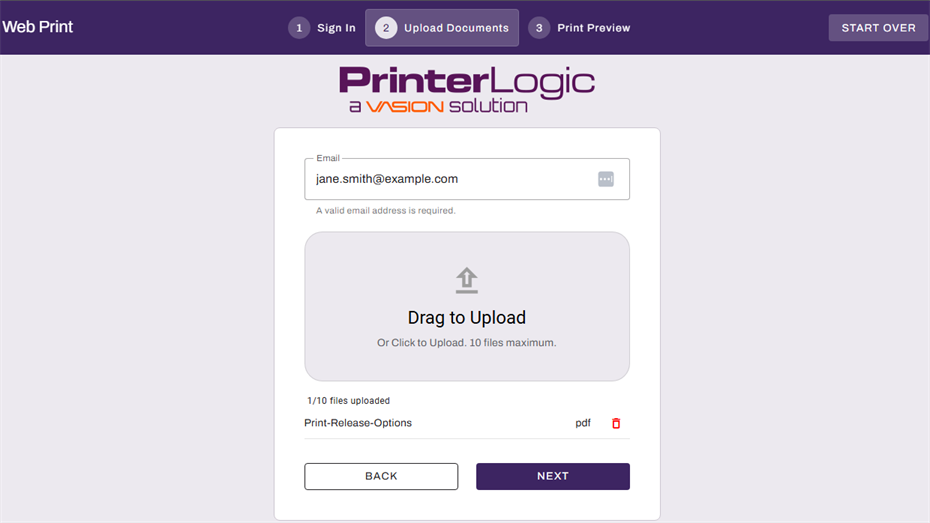
- Enter your email in the Email field.
- Do the following to add a document. You can upload up to 10.
- Drag the files onto the Drag to Upload field, or
- Select the Drag to Upload field to navigate to the file(s).
- You can remove a file by selecting the Delete button .
- Select Next.
3. Print Preview
On the Print Preview screen you can adjust any print settings and preview the document.
When you have multiple documents to print, each document has its own tab so you can select each document and define different settings for each. You can use the Apply to All button to apply the settings to all files.
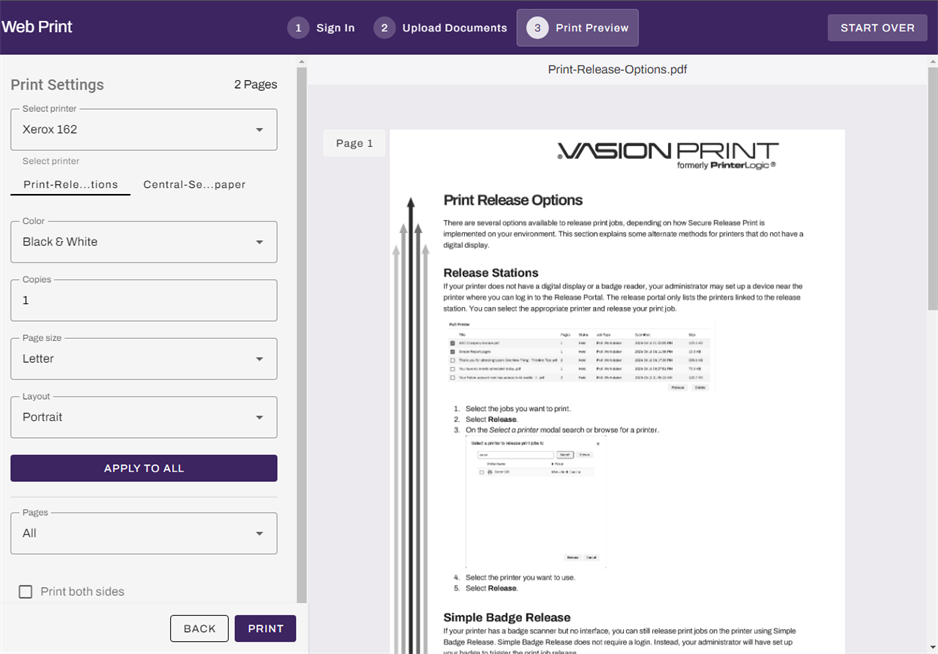
Once you're ready, select the Print button. The modal displayed depends on how the Secure Release settings were configured.
When configured to Prompt to hold.
When configured to always hold.
When configured to print immediately.
Email Notification
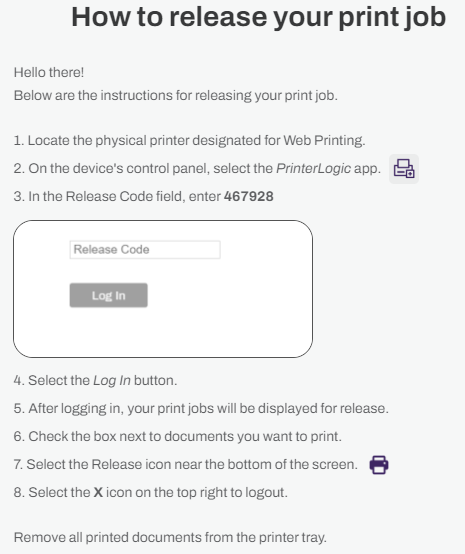
The system sends an email to the email address you entered with instructions on how to release the print job when you're at the physical printer.
Release Held Jobs
If you selected Hold or were shown the Print Held modal in the previous step, your print job is waiting to be released.
At the CPALogin screen select Code and enter the release code you received.
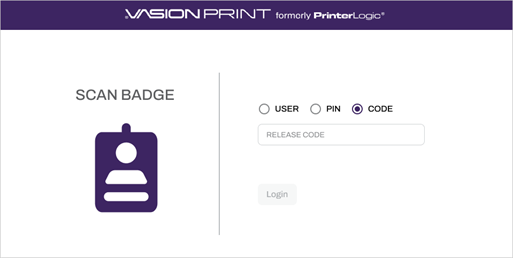
Select the print job(s) you want to print and select the Print icon .