Connect Scan to Personal Guide
Last Updated: September 11, 2026
Scan to Personal (Cloud) lets you connect to personal storage locations on the Control Panel Application (CPA) through administrator-approved integrations.
Key Points
- You need to Connect to your drive only once.
- When you connect to a personal drive, use the QR Code option.
- The CPA Connect screen has a 20-second timeout. If the screen times out and you are returned to the login screen, go through the connection steps again.
- If you select Computer or Email, follow the steps in the appropriate section.
Connect Your Drive
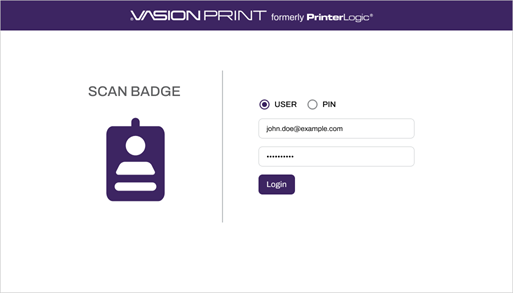
1. Sign in to the CPA.
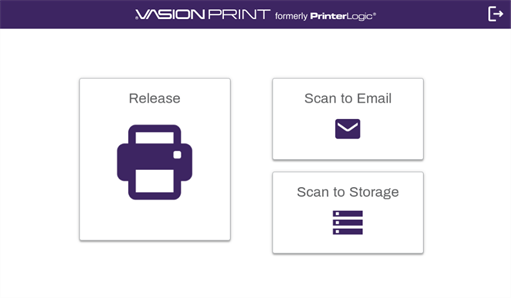
2. Select Scan to Storage.
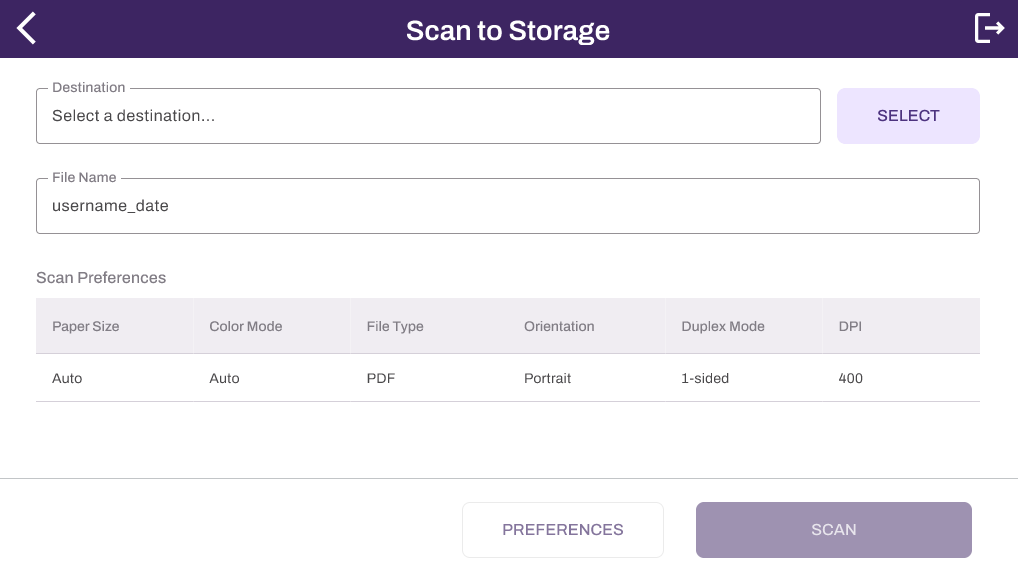
3. Select the Select button.
4. Select the Connect button to the right of the enabled integrations to connect your drive.
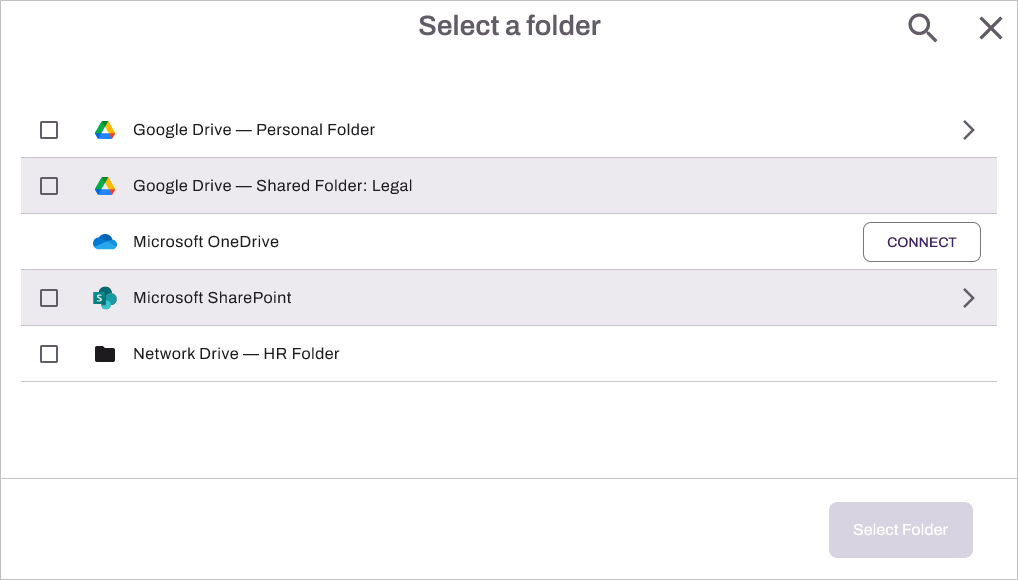
5. Select the desired connection option: QR Code, Computer, or Email.
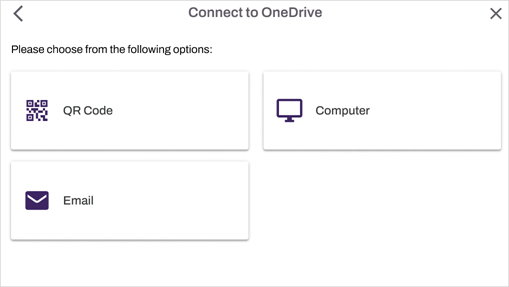
Connection Options
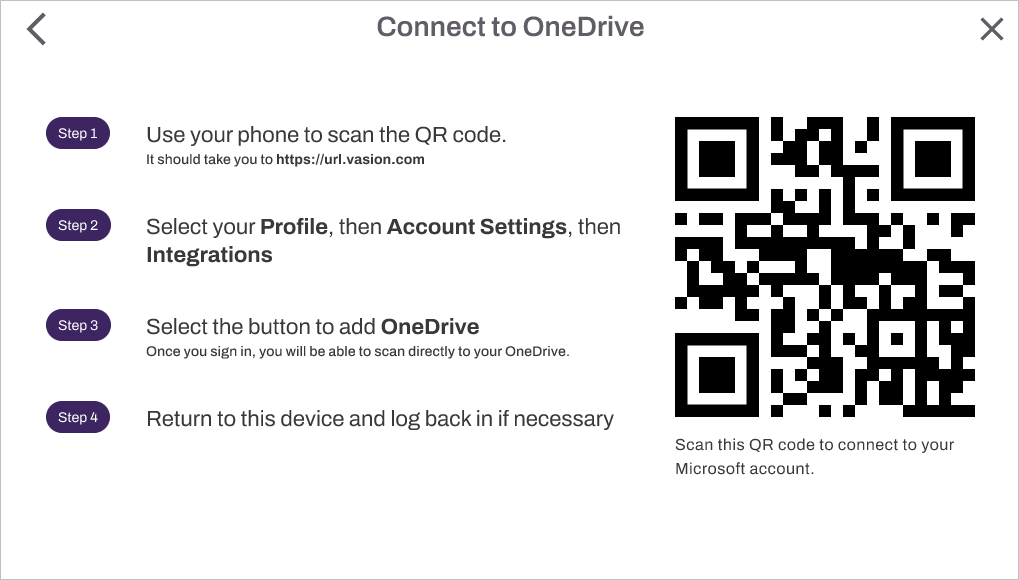
QR Code
If you selected the QR Code option, do the following:
- Use your phone to scan the QR Code.
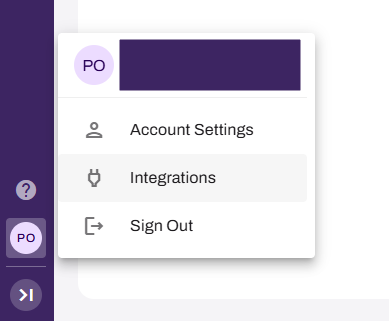
- Select your user profile.
-
Select Integrations.
-
Select the option for the desired drive.
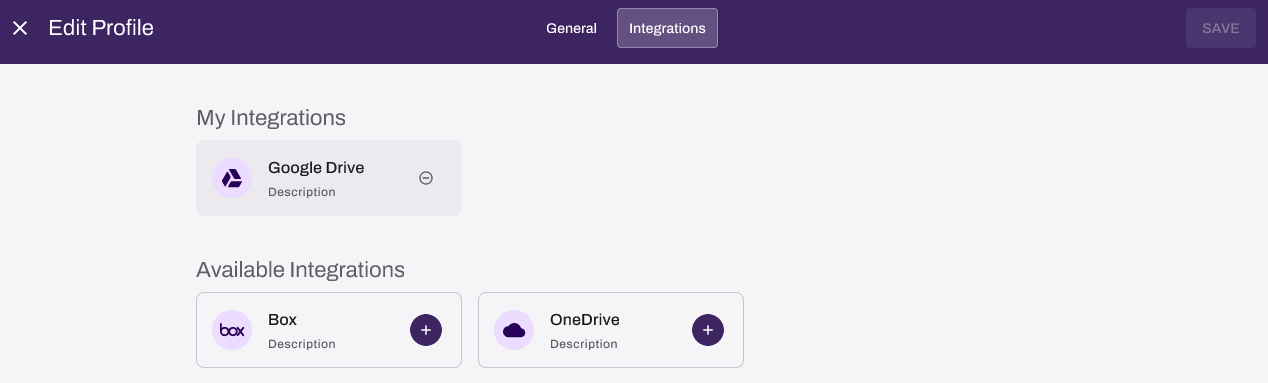
- Follow the prompts to authenticate to your drive.
- Select Save in the upper-right corner.
Computer
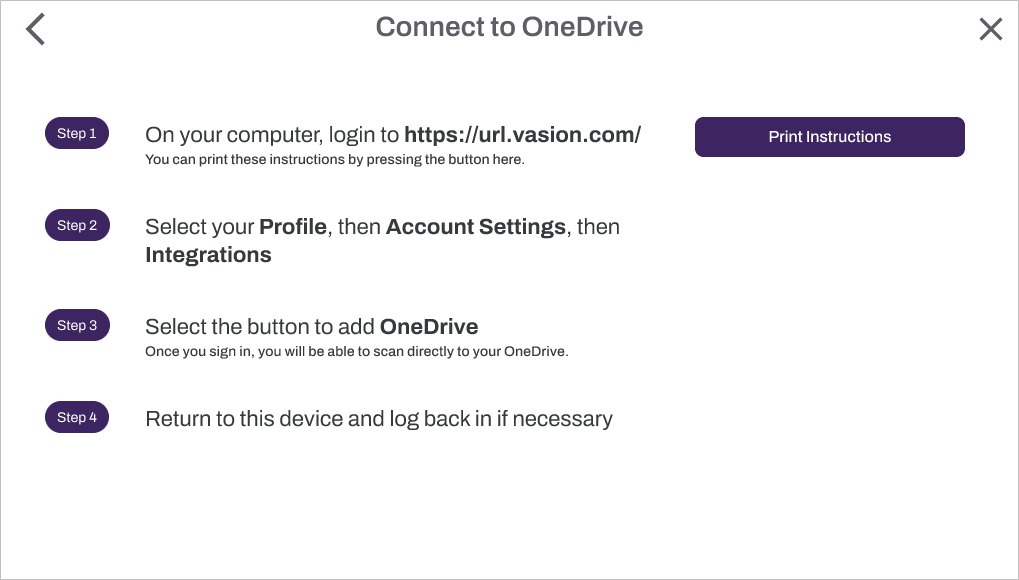
If you selected the Computer option, do the following:
- On your computer, go to https://<yourinstance>.vasion.com.
- Select your user profile.
-
Select Integrations.
-
Select the option for the desired drive.
- Follow the prompts to authenticate to your drive.
- Select Save in the upper-right corner.
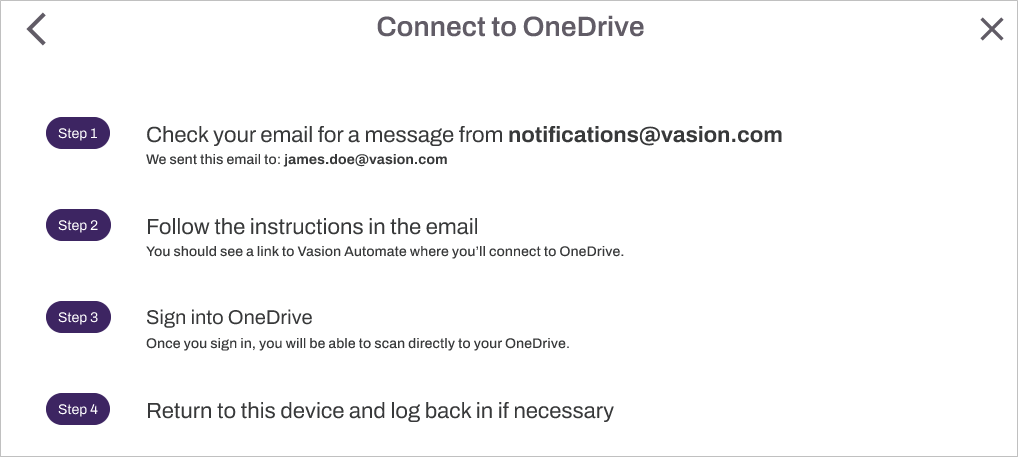
If you selected the Email option, do the following:
-
Enter your email address and select Send Email.
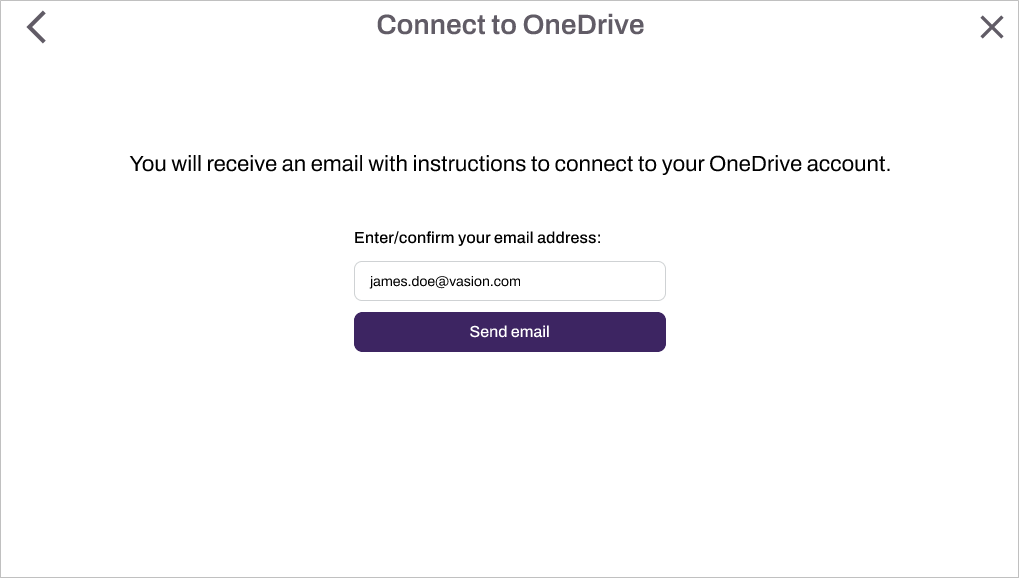
- Access your email.
- Follow the email link.
- Select your user profile.
-
Select Integrations.
- Follow the prompts to authenticate to your drive.
- Select Save in the upper-right corner.