Build a Workflow
Last Updated: September 09, 2026
Create a workflow using the no-code drag-and-drop workflow designer. Assign users to manage and initiate the workflow.
Before you configure a workflow, identify the steps required to complete the process, who is responsible for each step, and what triggers the workflow.
Requirements
Review these Requirements before you start.
Process Overview
The workflow designer guides you through configuring each workflow step:
- Start a New Business Process Workflow.
- Configure Steps.
- Complete the Workflow.
- Save and Publish the Workflow.
Start a New Business Process Workflow
To start a new workflow, do the following:
-
In the Admin Console, select Workflow in the left-side navigation, and select Business Process.
- Select + New Workflow.
-
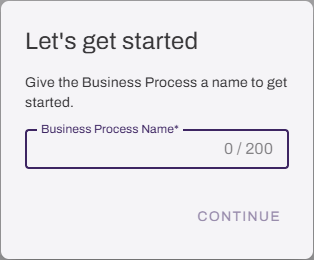
On the Let's get started modal, enter a name for the new workflow.
-
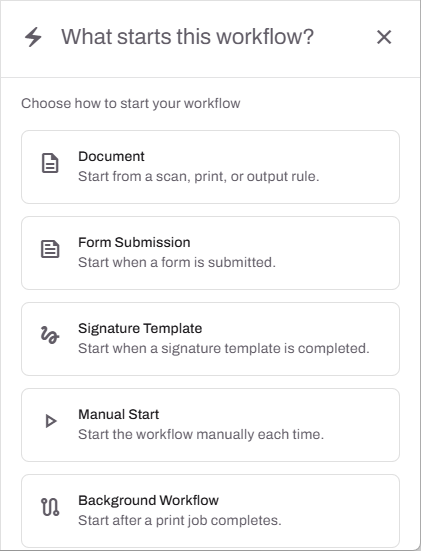
Select one of the following:
- Document: Select this option to trigger the workflow from a document event.
- Form Submission: Select this option to trigger the workflow using the submission of a form.
- Signature Template: Select this option to trigger the workflow from a signature template.
- Manual Start: Select this option to trigger the workflow manually from the Workflow: Business Process page.
- Background Workflow: Select this option to trigger the workflow automatically when a document is printed to configured printers.
Configure Steps
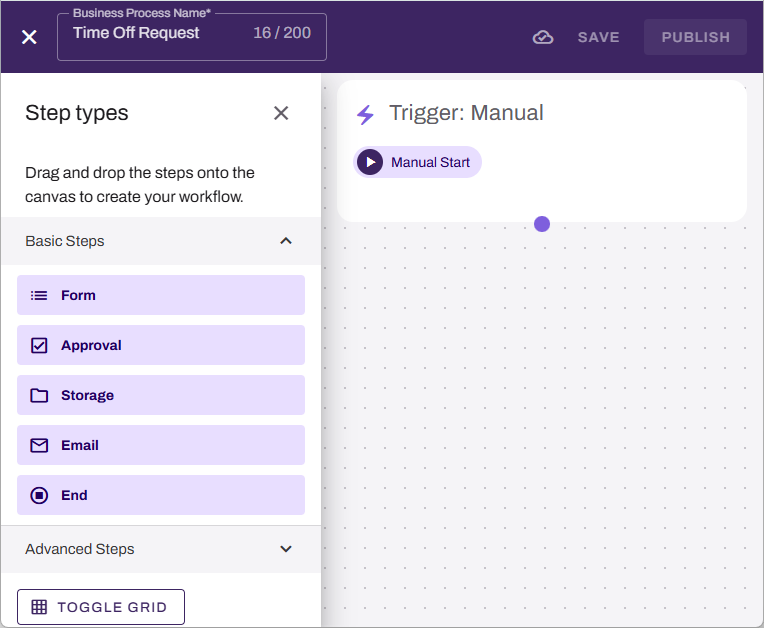
Add steps based on what your workflow is designed to do. To add a step, complete the following:
- Expand the Basic Steps or Advanced Steps section using the arrow.

- Select and drag the desired step type from the Step types sidebar to the workflow builder.
- Configure step according to the step type.
- Select Continue.
- Add additional steps as necessary.
To configure basic steps, refer to Configure Basic Steps.
To learn more and configure advanced steps, refer to Advanced Steps.
Delete a Step
To delete a step, do the following:
-
Select the trash can icon
 on the step.
 -
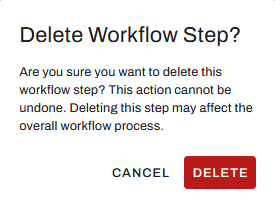
In the Delete Workflow Step? modal, select Delete.
Complete the Workflow
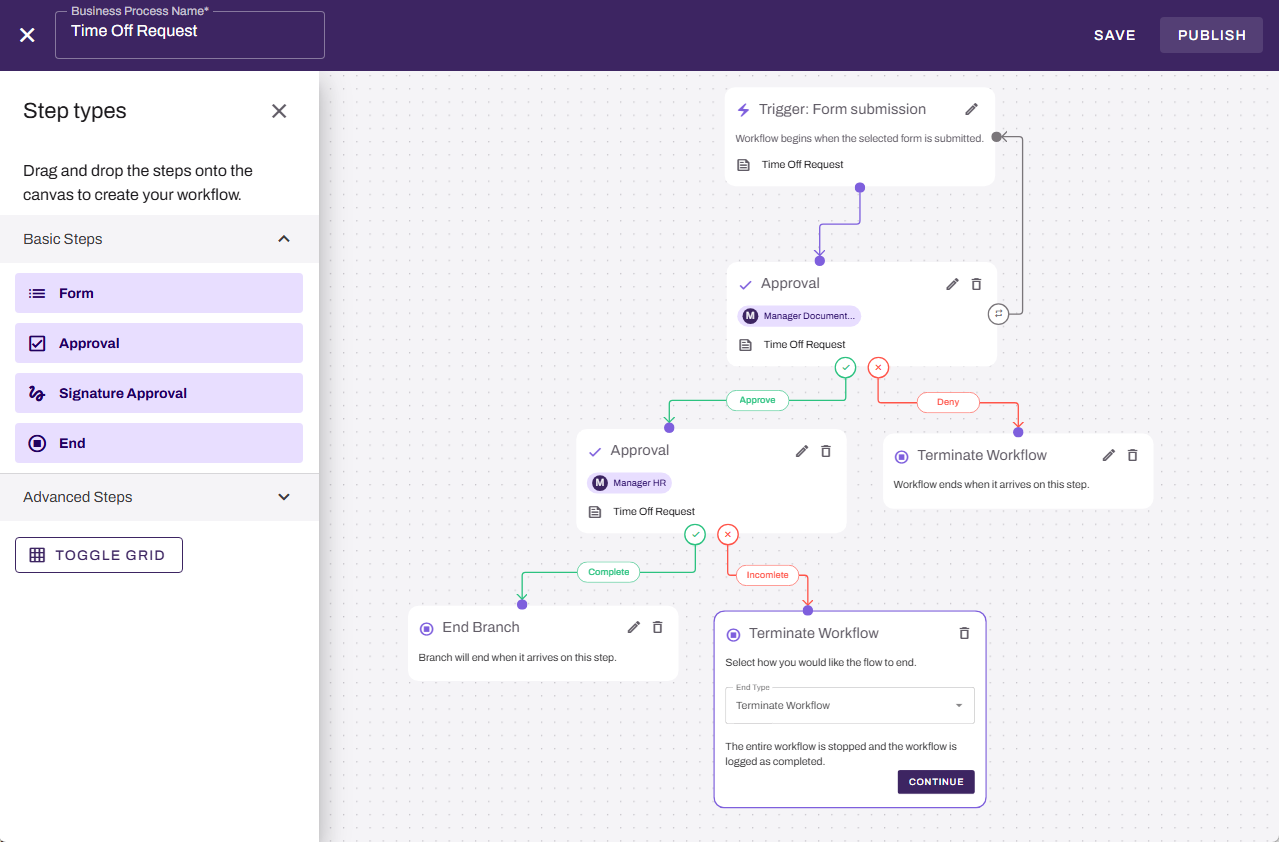
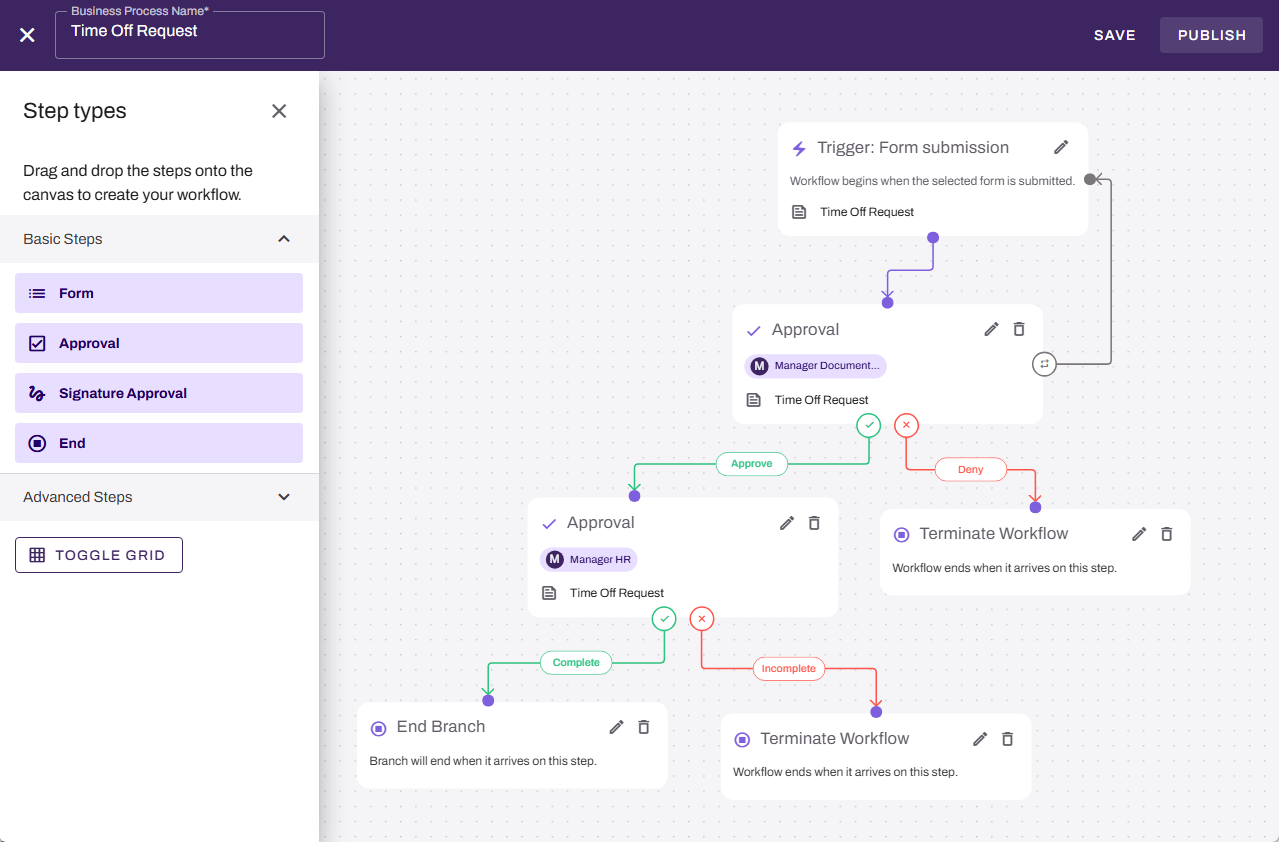
To complete the workflow, add end steps to each branch:
- From the Basic Steps section, drag the End step onto the canvas.
- Drag the previous step connector to the new step.
- Select an end type from the End Type menu:
- End Branch: This branch ends. Any other branches that are still in progress continue. After all branches are complete, the workflow ends.
- Terminate Workflow: If the workflow activates this step, the workflow ends, regardless of where other branches are in their processes.
Save & Publish the Workflow
After you complete the configuration, select Save. When you are ready to publish, select Publish.
Alternatively on the Workflow: Business Process page, you can select the More menu  next to the workflow, select Edit to view the form, and then select Publish.
Next Steps
Refer to the following:
In this topic: