Last Updated: June 18, 2024
Scan to Vasion
You can open the Scan to Vasion in three ways:
- Using the desktop shortcut.
- From the Windows installed apps list.
- From the Vasion web client.
Some key items to note before you start scanning are:
-
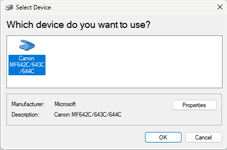
You can select which scanner to use from the list of installed devices by selecting the scanner button
 .
.
-
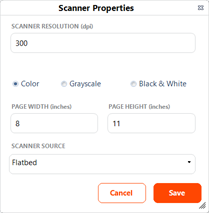
You can adjust some general settings for scanning properties by selecting the settings button
 .
.
-
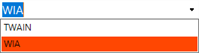
You can select the driver that's best for your device, either TWAIN or WIA.
Scan a Document
Scan to Vasion is a stand-alone application; you don't need to be signed in on Vasion Automate Pro web instance An instance is a collection of services and service groups that is associated with a customer. A customer's instance is created from an application template and is then deployed to a cloud or virtual server.. Here are the steps to scan a document if you opened Scan to Vasion from the desktop or app list:
-
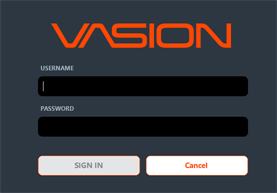
Depending on how your system is set up, you may need to log in using your Vasion credentials.
-
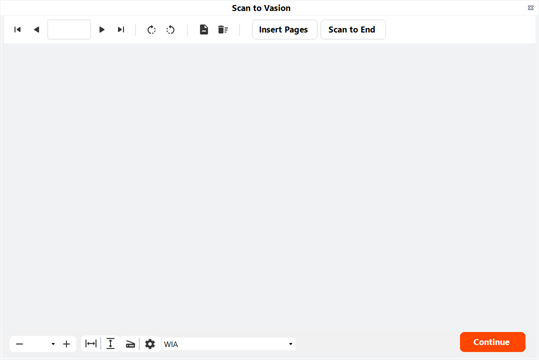
When the Scan to Vasion app opens, load the pages into the scanner and select Insert Pages or Scan to End.
-
During the scan process, a progress bar displays. Once the process is complete, the document displays in Scan to Vasion.
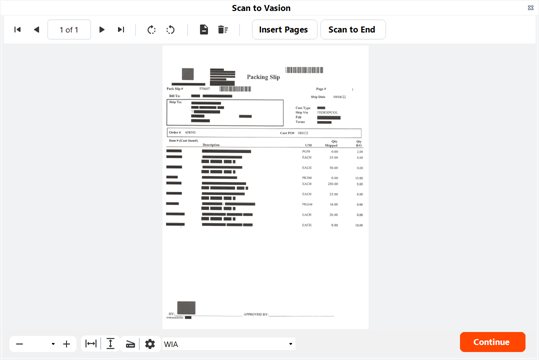
- Use the toolbar buttons for any of the following:
- Navigation — click on the arrows to move from page to page, forward or back.
- Rotate — click on the rotate buttons to rotate the current page clockwise or counterclockwise.
- Delete Page — click to delete the current page.
- Trash — click to delete all scanned pages.
- Insert Pages — click to scan more pages to the current document.
- Once you're satisfied with the pages, click Continue.
You now have the option of sending the document to a workflow or to a storage folder.
Send to Storage
When you select Send to Storage complete the following:
- Document Name — enter the name for the file.
- Add to Folder — click the Browse button to select the file location.
- Object — use the drop-down to select an object to associate to the file. Depending on how your system is set up a folder may already have a default object that is automatically selected, or you may skip this step.
-
Fields and Values — these fields vary depending on the object you selected. Fields listed with an asterisk are required fields.
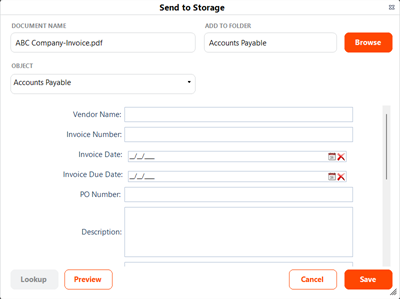
- Select Save.
Send to Workflow
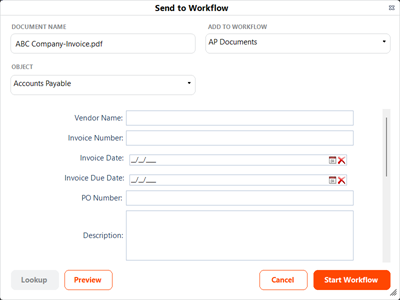
When you select Send to Workflow complete the following:
- Document Name — enter the name for the file.
- Add to Workflow — use the drop-down to select the workflow to which you want to attach the document..
- Object — use the drop-down to select the object to associate with this workflow.
-
Fields and Values — these fields vary depending on the form you selected. Fields listed with an asterisk are required fields.
-
Select Start Workflow.
Scanning from Vasion Web
Here is how you can use Scan to Vasion from the Capture app.
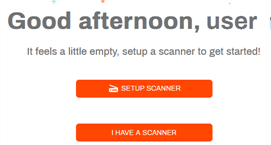
When Send to Vasion is installed in your system, select I Have A Scanner to continue.
You can then select what you would like to do with the document, send to a workflow or send to a storage folder.
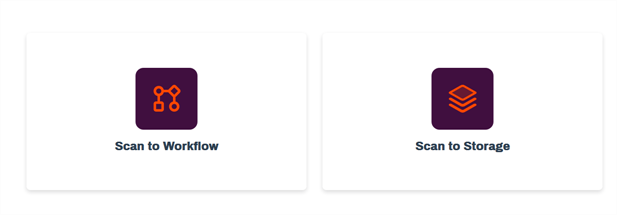
Documents scanned to storage are available and may require specific action to use it to start a workflow.
Scan Document to Storage
- Select Scan to Storage.
-
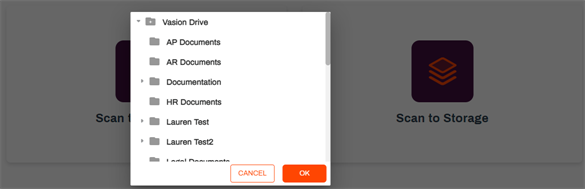
From the Folders modal, navigate to the location where you want to store the document and click OK.
-
In the Open ScantoVasion? modal, select Open ScanToVasion.
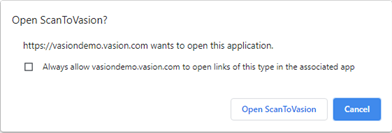
Check the box to always allow Vasion to open the Vasion Connection app so you only have to do this once.
- Use the steps previously listed in the Scan a Document section.
- Complete the following in the Send to Storage window:
- Document Name — enter the name for the file.
- Add to Folder — click the Browse button to select the file location.
- Object — use the drop-down to select an object to associate to the file. Depending on how your system is set up a folder may already have a default object that is automatically selected, or you may skip this step.
-
Fields and Values — these fields vary depending on the object you selected. Fields listed with an asterisk are required fields.
- Select Save.
Scan Documents to Workflow
Scanning documents to workflow is similar to scanning documents to storage, except the documents are attached to the workflow and the workflow starts immediately.
- From the Scan page select Scan to Workflow.
-
In the Open ScantoVasion? modal, select Open ScanToVasion.
Check the box to always allow Vasion to open the Vasion Connection app so you only have to do this once.
- Use the steps previously listed in the Scan a Document section.
- Complete the fields in the Send to Workflow window:
- Document Name — enter the name for the file.
- Add to Workflow — use the drop-down to select the workflow to which you want to attach the document..
- Object — use the drop-down to select the object to associate with this workflow.
-
Fields and Values — these fields vary depending on the form you selected. Fields listed with an asterisk are required fields.
-
Select Start Workflow.