Last Updated: August 13, 2024
Send for Signature
Use Send for Signature option to send a document for signature any time by uploading the document and assigning signature zones. This action can be considered a one-time-use document option, because you have to add the signers, zones and document details every time you upload a document. Here we explain the basic process.
Requirements
To send a document for signature, you need the following:
- A document file for upload. Supported document file types from the desktop are TIFF and PDF files.
- Create destination folders, if necessary. For more information about folders see Create Parent Folders or create a new subfolder.
Upload a Document
To upload a document for signature do the following:
- In the Signature app click on the + New Document button at the top of the side navigation.
-
From the new document options click on Send for Signature.
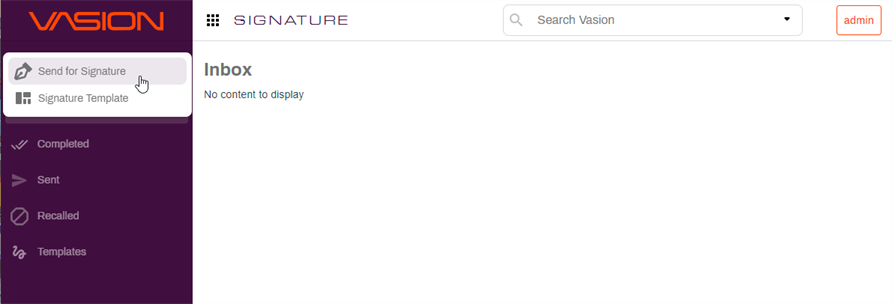
- In the Untitled Document page do the following to add a document:
- Drag and drop the document to the center of the gray field, or
Click on Upload new document to navigate to the document to upload it.
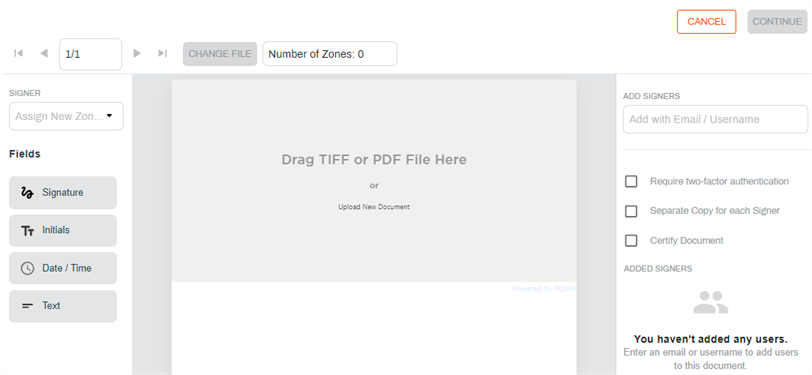
The Signature app supports multi-page PDF and TIFF files.
Add Signers and Signature Zones
Add Signers
On the right side do the following:
- Enter the name of signer(s) in the Add Signers field. If you are sending the document to someone inside your organization, and they have a Vasion Automate Pro account, the names are automatically filtered as you type. Select the user(s) who need to sign the document. You can add as many users as necessary.
- If you need to send the document to someone outside of your organization, or someone who does not have a Vasion Automate Pro account, and has not received a document to sign before, follow these steps:
- Start entering the signer's name.
When the User not found message displays, select Add Signer.
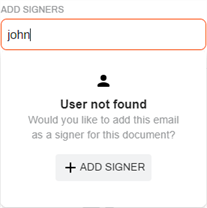
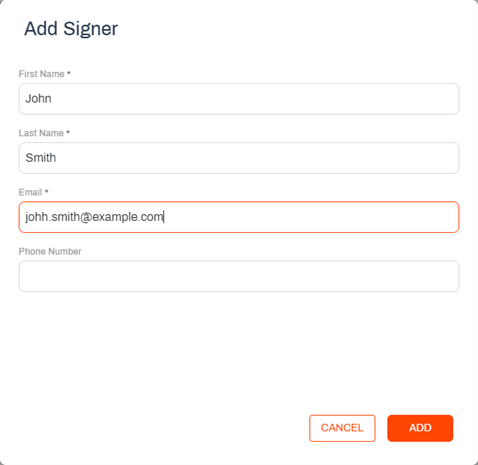
- Complete the Add Signer modal. Fields marked with an asterisk (*) are required.
Select Add.
Add Zones
If the document has multiple pages, use the navigation buttons in the tool bar to move to the page(s) where you would like to add signature or initial field(s).

- On the left side of the document, select a signer from the Signer drop-down.
- Select the zone type you would like to apply to the document.
- For Signature zones, left-click to place the field, or left-click, hold, and drag on the area where you want the zone. Release the mouse button when the box is the size you want. You can add multiple signature fields, if necessary.
-
If you would like to add Initials, Date / Time or Checkbox zones, select the zone type and left-click in the location where you would like the initials.
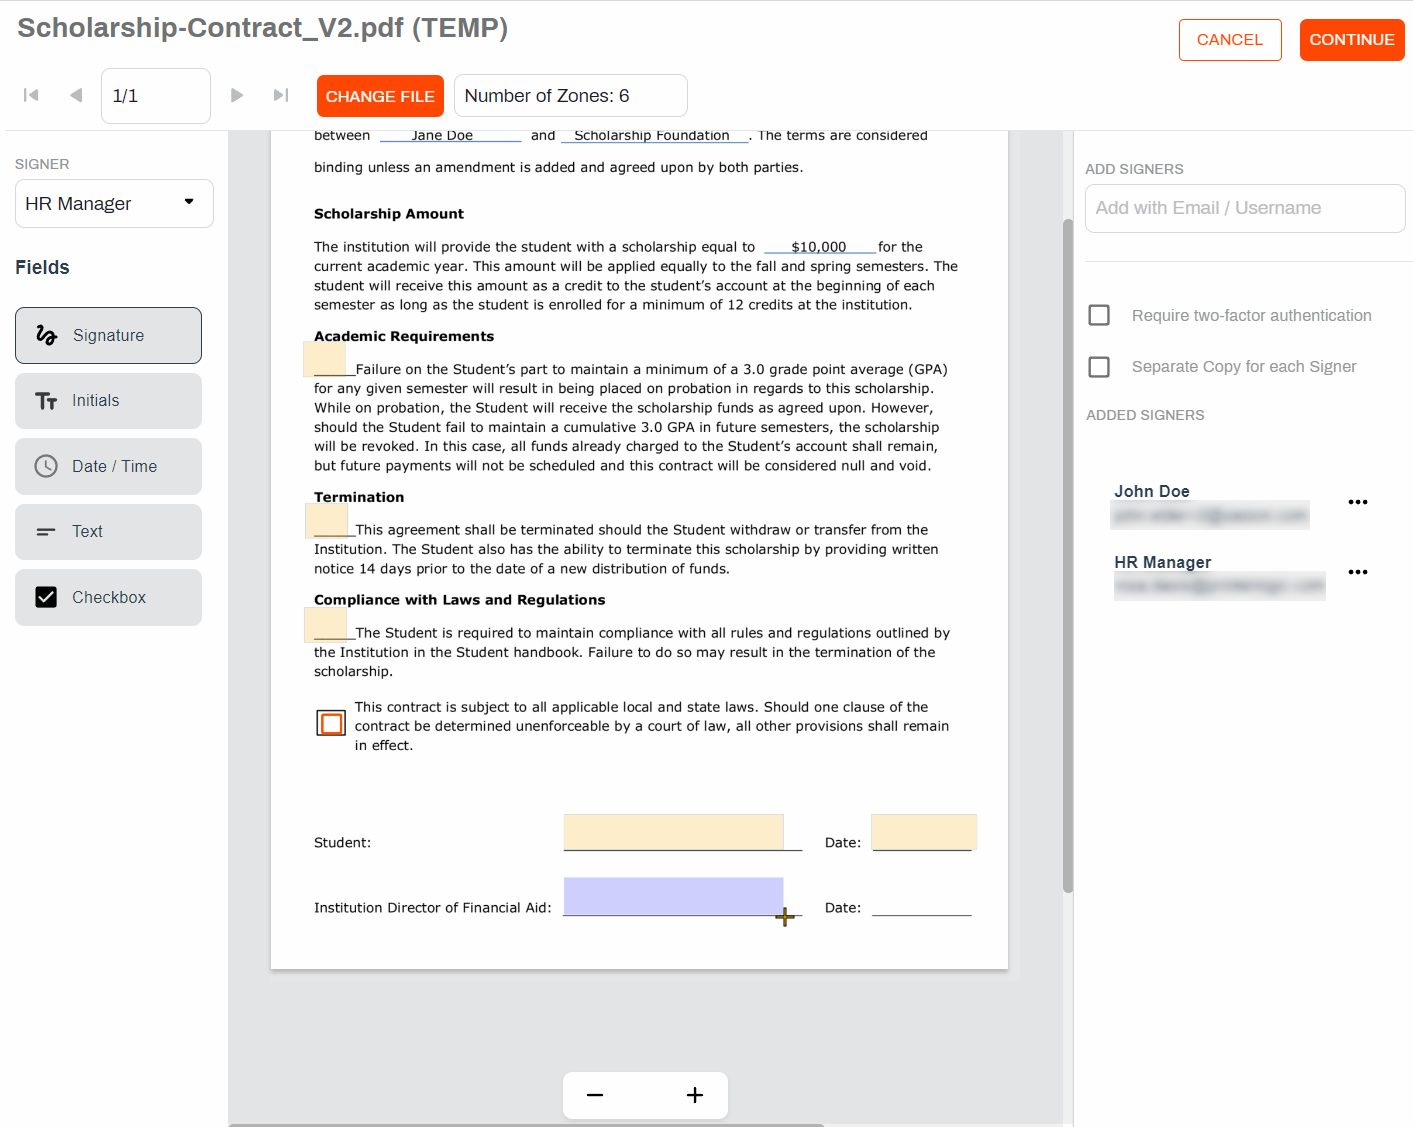
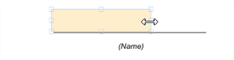
You can resize a zone by selecting it and dragging the handles.
-
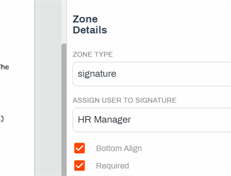
If a field is required for the signer, ensure the Required checkbox is checked.
- Once you've placed all the zones, select Continue at the top of the page.
Document Details
The next step is to complete the document details.
- Document Name — enter the name for your document. The name you enter here is also the Subject line or is included in the subject line on email templates in the signer email notification.
- Object An Object is a group of related fields that can be applied to a document, workflow or form. The object fields are used to capture and index data that can be used to create forms, map to a document, and/or assign to a workflow. — use the drop-down to associate an object, if applicable.
- Completed Destination — use the drop-down to select where to store the completed document.
Storage — select this option to store the document in a Vasion folder (including any configured cloud storage). Select the Browse button to choose the storage folder.

Workflow — select this option if you would like to start a workflow once the signature process is completed. Use the drop-down to select the workflow.

- Rejected Destination — click the Browse button to select a folder to store the document if it is rejected.
- Message for Signers — enter a message to display in the body of the email sent to the signer.
-
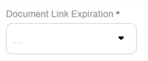
Document Link Expiration — use the drop-down to select the time for the link to expire. By default, 1 Week is selected, but you can select a different expiration length from the drop-down or unselect the default option, so the link never expires.
-
Include Document Link — this option is selected by default. When selected, the signer can click on the Review Document button included in the email to automatically open the document to sign. If you uncheck this box, when the signer clicks on the Review Document button , they are sent to the Vasion Home page. From there they can select Workspace or Signature to view documents assigned to them and select the document to sign.
Make sure this option is selected when sending documents to external users.
-
Send Signed Copy to all Parties — use this option to send the signed document as an attachment to all signers.

Use this option when sending a document to external users if they need an executed copy for their records.
Once document details are complete you can click Send or you can continue to set additional signing or email options. See below for details about each set of options.
Object Data
If you associate the signature document to an object, when you select Send, the object form data fields are displayed so you can enter any required object values.
Signing Options
The following options are available for the document but are not required to route for signature.
- Sender Name — enter the name to display as the sender in the notification email.
-
Sender Email — enter the email address to display as the sender email in the notification email.
The name and email are an alias for display purposes, only. The recipient cannot reply to the notification email, but they can send a new email to the display address.
- Multiple signer routing options:
Assign Signing Order — use this option if the document is being routed to multiple signers and you would like to route the document in a specific order. After a person signs, the document is routed to the next person.
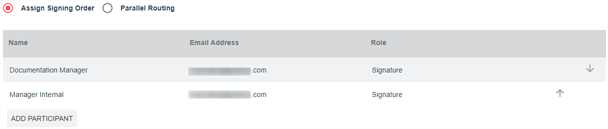
- Use the arrows
 to rearrange the routing order.
- Use the arrows
- Parallel Routing — this is the default option and is. When this option is selected, the document is sent to all parties to sign at the same time and each person can sign at any time.
- Apply Timestamp to All Signatures — check this box if you would like the date and time when the document was signed to be recorder with the signature image.
Participants
You can add additional users to the signature routing who can view or review the document. The email address is used by the system as a unique identifier. When you use this functionality, if the email address of the viewer(s) / reviewer(s) do not yet exist in Vasion, they are added as external users.
Definitions
- Reviewer
- A participant in the signature workflow who can view the document but is not a signer. The reviewer must select the Reviewed button in Signature to complete the process. For example, if an interested party is required to review the document but they are not an authorized signer in the process.
- Viewer
- A participant in the signature workflow who can view the document but is not required to sign or take any action in the process.
To add participants:
- Click the Add Participant button to add viewer(s) or reviewer(s).
- Enter the name and email address.
- Use the Role drop-down to select the appropriate role to the user.
To remove a participant select the delete button  .
.

CC Recipients
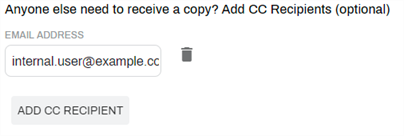
When you add a CC recipient, once the document is completed, they are notified via email the document is signed and they receive a copy of the signed document as an attachment.
To add CC recipients:
- Click the Add CC Recipient
- Enter the email address
- To delete a recipient click on the trash icon.
Email Options
Use the drop-down to select one of the following options:
- Send Initiator Email Upon Workflow Completion — select this option if you want to receive an email notification when the signature process is complete.
- Send Initiator Email Upon Step Completion — select this option if you want to receive a notification email every time a signer or reviewer completes their process.
-
Send Initiator Email Upon Action Taken — select this option if you want to receive email notifications every time an action is taken on a document. For example, the signer views the document, prints the document, downloads the document, completes one of the zones, etc.
This option can generate many notification emails.
- No Email Notifications — use this option if you do not want to receive any email notifications.