Last Updated: August 13, 2024
Scheduled Reports
You can set up reports to generate automatically, and be sent to a folder location, an email or another Vasion user.
Create a New Scheduled Report
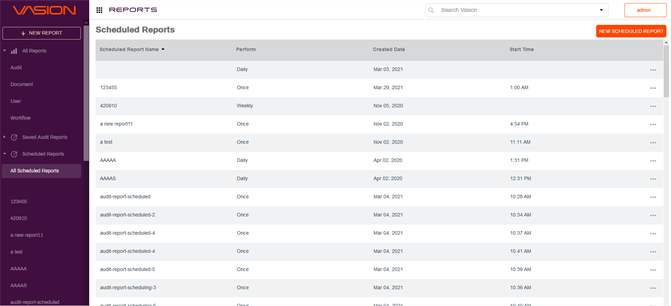
- On the side navigation, click Scheduled Reports.
- Click All Scheduled Reports.
-
Click New Scheduled Report on the top right corner of the page.
- In the Untitled Scheduled Report page complete the following:
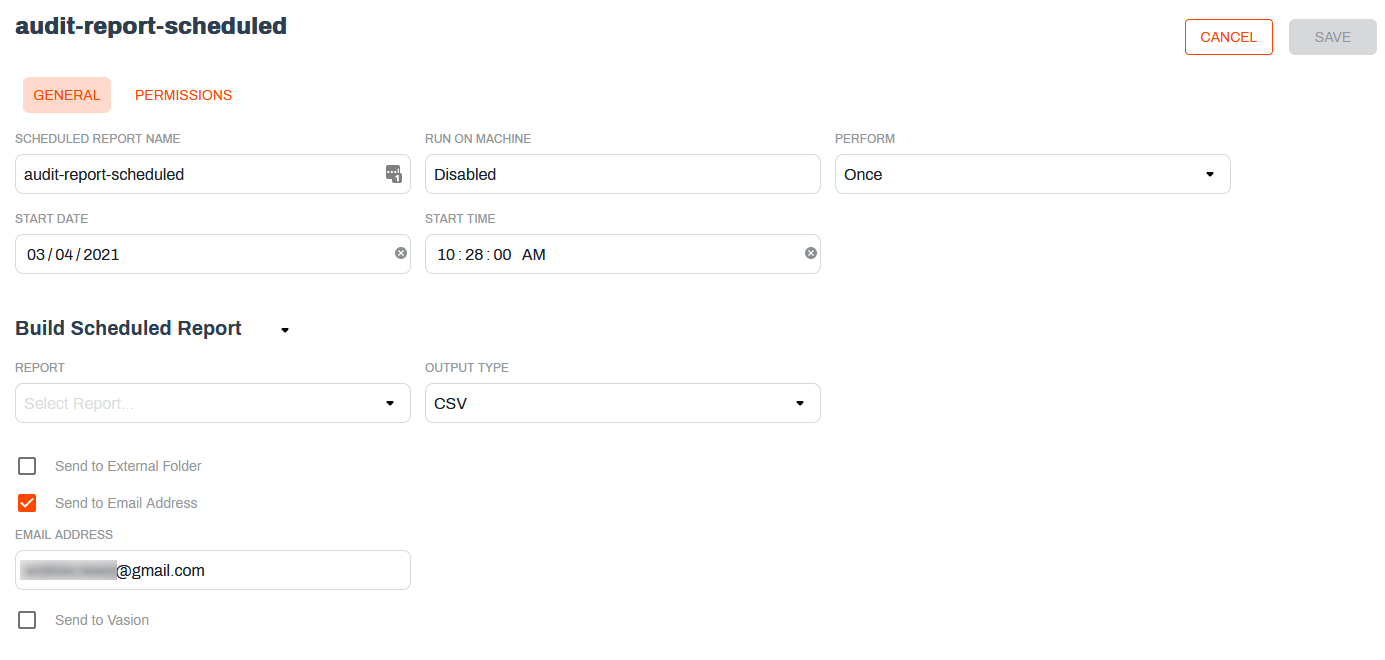
- Scheduled Report Name — enter the name for the scheduled report.
- Run on Machine — is the server or workstation you want to run the scheduled report on (On-Prem Only).
- Perform — the frequency for the scheduled job to run.
- Start Date — the date when the scheduled report process starts.
Start Time — the time when the scheduled report process starts.

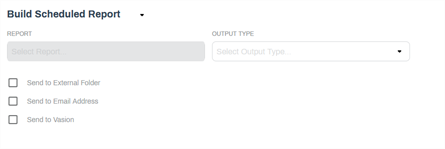
- In the Build Scheduled Report section complete the following
- Report — use the drop-down to select the type of report you want to schedule.
- Output Type — use the drop-down to select the type of file to generate, PDF or CSV.
- Send to External Folder — check this box to configure an export folder for generating reports.
- Sent to Email Address — check this box to send the report to a specific email address.
Send to Vasion — check this box to generate the report and store it in a folder in Vasion.
-
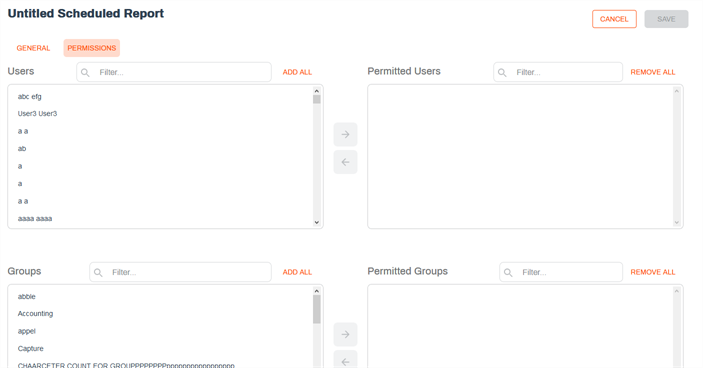
Click on the Permissions tab to assign permission to view to users and user groups, if necessary.
- Click Save.
Edit a Scheduled Report
You can edit an existing report by doing the following:
- On the side navigation click on the scheduled report you want to edit.
- In the General tab you can edit the following:
- Report Name
- Perform
- Start date
- Start time
- In the Build Scheduled Report section you can edit the following:
- Output Type
- Send to External Folder
- Send to Email Address. If this option is checked, you can edit the email address in the text box.
- Send to Vasion
- You can click on Permissions and assign or remove users from the User Permissions or groups from the Group Permissions.