Configure Scan To Workflow
Last Updated: August 19, 2026
This topic guides you through configuring Scan to Workflow for your environment.
Requirements
Review the Requirements before configuring this feature.
Configure Scan To Workflow
1. Enable Scan To Workflow
To enable Scan to Workflow:
- In the Admin Console, go to Tools
 Settings Scanning.
 - Expand the Preset Scan Locations section.
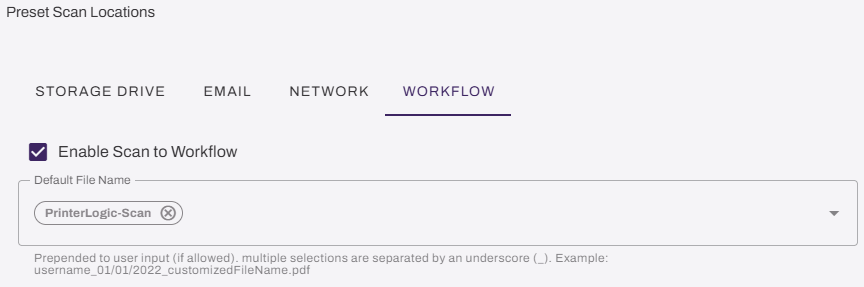
- Select Enable Scan to Workflow.
- (Optional) Use the Default File Name field to select the default file name.
- Select Save in the upper-right corner.
2. Enable Higher Security
- Log in to the Admin Console.
- Go to Tools
 Settings General.
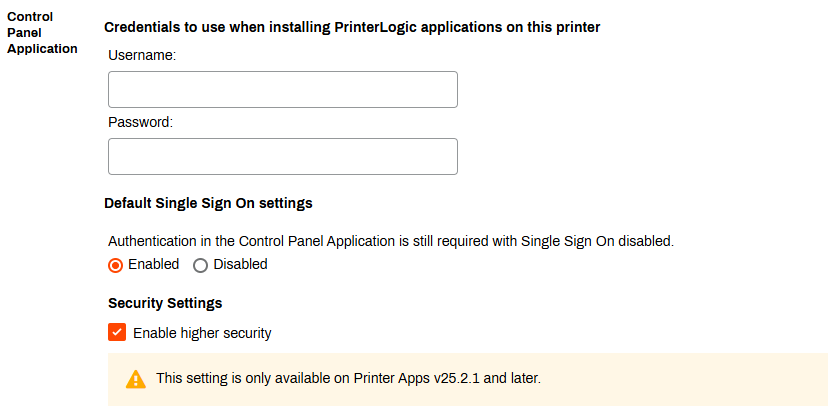
 - Scroll to the Control Panel Application section and select the Enable higher security setting.
- Select Save in the upper-right corner.
3. Assign Workflow Permissions
You must assign users and groups view permissions for the workflow, so that specific workflows appear as options when users sign into the Control Panel Application (CPA).
To assign Viewer permissions for workflows:
- Select Workflow from the side navigation, then select Business Process.
-
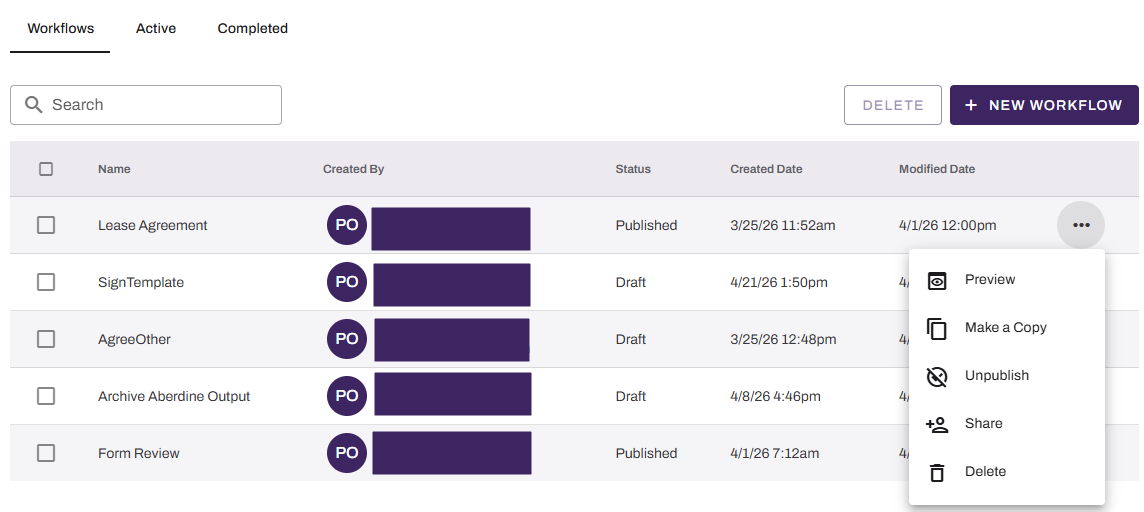
Select the three dots to the right of the workflow, then select + Share.
-
Add Viewer permissions for Users or Groups you want to have access to this workflow option.
Users have access to only the workflows they have Viewer permissions for.
- Use the + User or Groups button to add additional users and groups.
- Select Save in the upper-right corner.
- Repeat for each workflow you want to surface to end users.
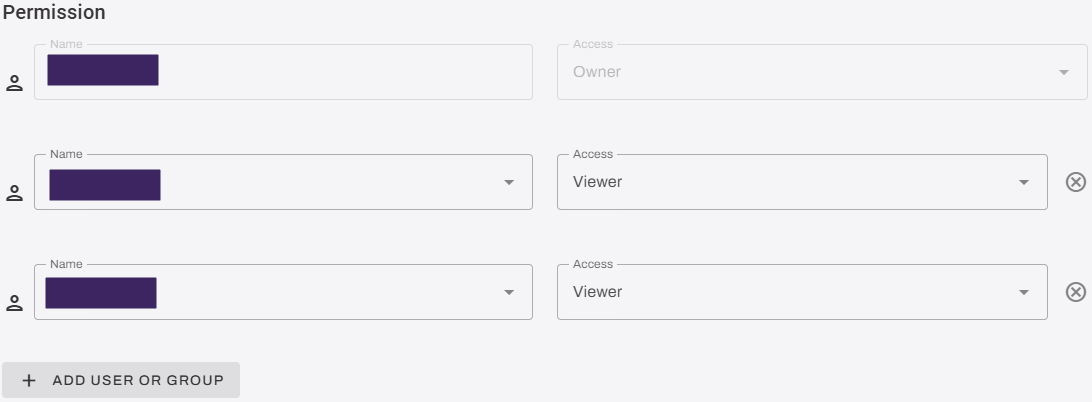
Adding the view permissions above displays the available workflows for a user when they select the Workflow option in the Scan To section of the Control Panel Application (CPA).
4. Install Scan to Workflow
The following steps are for customers installing the Scan to Workflow. Using the printer object's Apps tab allows for single installation. For bulk installation refer to CPA Manager.
Follow these steps:
- In the Admin Console, go to the printer on which you want to install Scan to Storage.
- Select the Apps tab.
- Ensure that the correct manufacturer, CPA version, and Service Agent are selected.
-
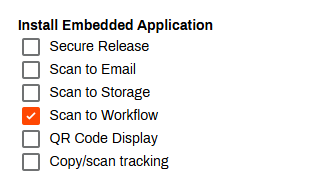
In the Install Embedded Application section, select the Scan to Workflow option.
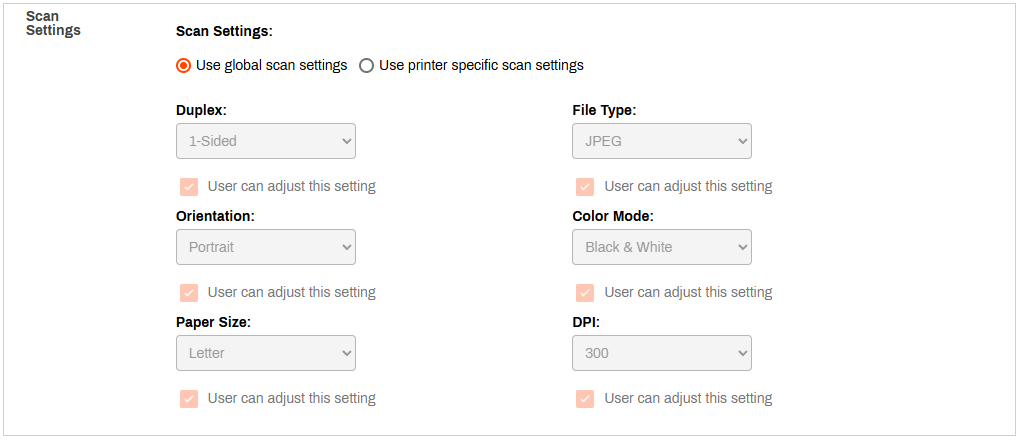
- In the Scan Settings section, select from the following:
- Use global scan settings: This option is the default. You configure these settings in the Global Scan Settings.
- Use printer specific scan settings: This makes the dropdown menus available so that you can adjust the printer-specific settings as needed.
- Select Save in the upper-right corner.
Adding installation, approved workflows show up for users as destinations in the CPA.
Next Steps
In this topic: