Storage Default Settings
Last Updated: September 09, 2026
Key Points
Review the following key points:
- Review the requirements in Scan to Storage before configuring these features.
- The Vasion Admin Console has a 15 minute inactivity timeout. Be aware that this timeout applies to the Global Scan Settings.
Process Overview
You perform these high-level procedures:
- Turn On Scanning.
- Configure Scan Settings.
- Configure Scan to Storage.
1. Turn On Scanning
Do the following to turn on scanning:
- In the Admin Console, go to Tools
 Settings Scanning.
 - Expand the Scan Settings section.
- Select Enable Scanning with Printer Default Settings.
2. Configure Scan Settings
The settings you define in the Scan Settings section apply globally to all printers. To set printer-specific settings in the printer object's Apps tab, do the following:
- Use the fields in the Global Scan Settings section to configure the default scan settings.
- (Optional) Select the User can adjust this setting option to allow the end user to adjust the setting at the Control Panel Application (CPA).
- Select Save in the upper-right corner.
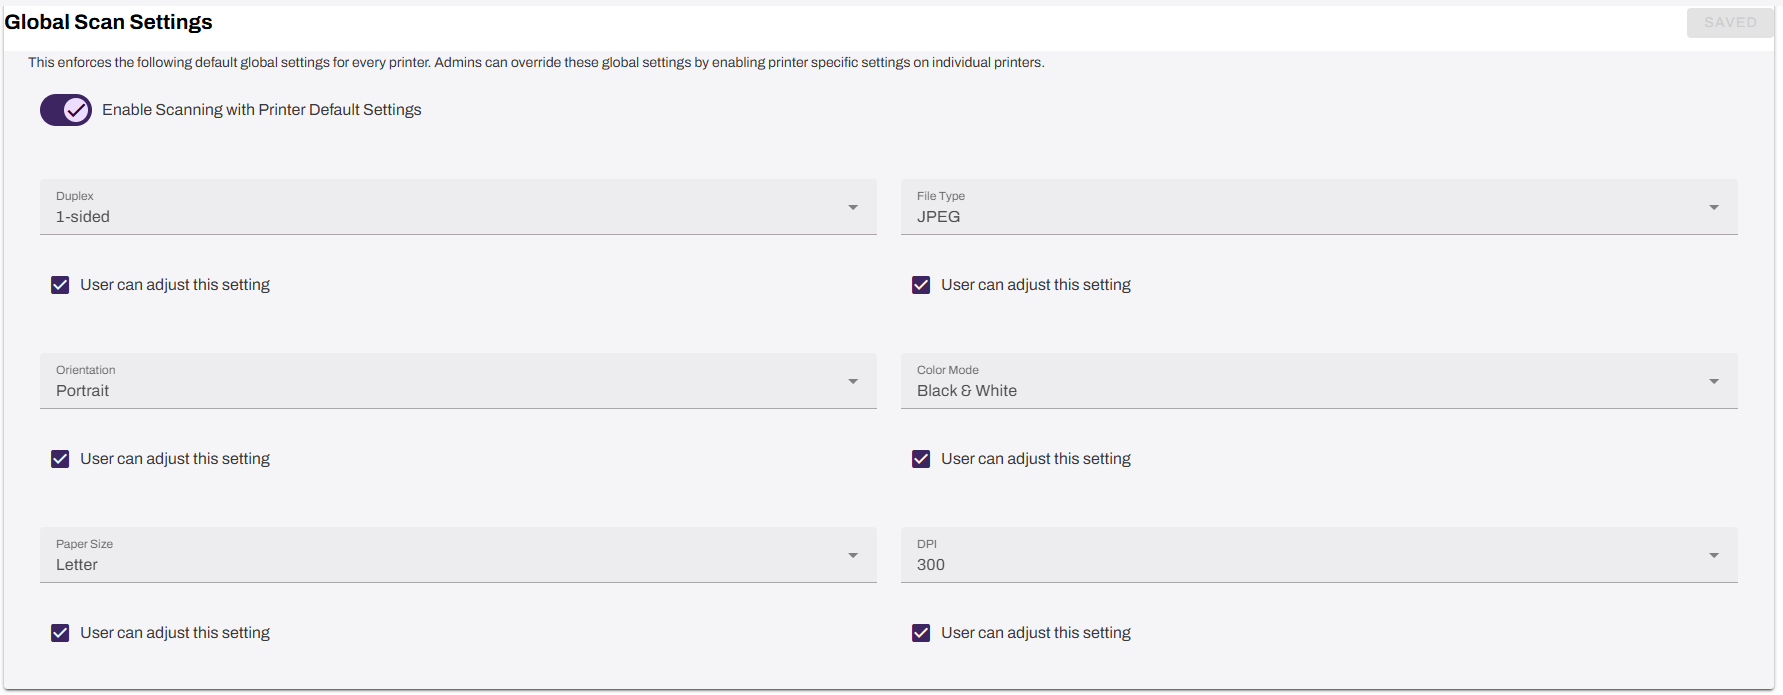
Note that Canon devices do not allow users to change the orientation or paper size at the CPA even with the User can adjust this setting checkbox selected. Duplex, file type, color mode, and DPI can be adjusted.
Each setting is categorized as an input or output value, delineating how you position documents on the scanner, input, versus how they appear after scanning, output. To configure the settings correctly, understand the categories and how the values apply.
|
Input Values |
Output Values |
|
|---|---|---|
|
|
|
(Optional) Searchable PDF (OCR)
Searchable PDF automatically processes scanned documents at scan time to produce a PDF with an invisible text layer. This text layer makes the document fully searchable and allows text selection and copying without any post-processing or third-party tools. For more details refer to Searchable PDF.
- Expand the Scan Settings section.
- Select the box for Enable Searchable PDFs.
- Select Save in the upper-right corner.

Once enabled, OCR processes scanned PDF files to make them searchable.
(Optional) Encryption at Rest
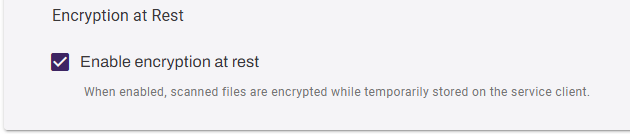
When you enable Encryption at Rest, PrinterLogic encrypts scanned documents using the Advanced Encryption Standard (AES), a symmetric encryption algorithm. AES encryption gets applied at the file level through Vasion's encryption service. You can enable Encryption at Rest globally on Tools Settings Scanning, or on a per-Service Agent basis using the BYO SMTP settings on the Printer Apps tab. For more details refer to Bring Your Own SMTP.
- Expand the Scan Settings section.
- Select the Enable encryption at rest setting.
- Select Save in the upper-right corner.
(Optional) Turn On Mobile Scan
The following steps explain how to turn on the Mobile Scan feature for the PrinterLogic app. Continue to the next section if you are not using this feature.
Do the following to turn on Mobile Scan for end users:
- Expand the Mobile Scan Settings section.
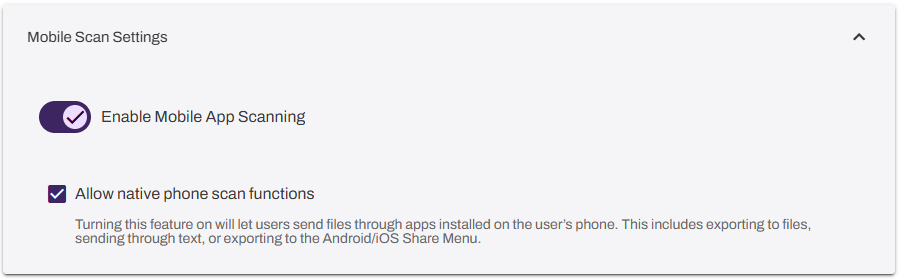
- Select Enable Mobile App Scanning.
- (Optional) Select Allow native phone scan functions. This setting lets the end user send scanned jobs with apps, like email and SMS.
The Scan option appears in the mobile app shortly after you turn on the setting.
For more information on using the Mobile Scan feature, refer to Mobile Scan.
3. Configure Scan to Storage
After configuring your default scan settings, continue with the feature steps below.
In this topic:
Scan to Storage currently integrates with OneDrive, SharePoint, Google, and Box. Within those providers, you can set preset file destinations for specific departments or user groups based on their typical scanning needs. Your end users can simply scan to the exact folders they need. For example, a Legal team can scan NDAs, legal forms, contracts, and client information to specific folders assigned that are visible to only their team.
Not yet. OCR functionality will be supported in a future release of Simplified Scanning. At that time, users can convert their scanned documents into searchable and editable text to improve the searchability and accessibility of documents saved in cloud storage locations
There is no maximum file size set when scanning. However, if the file exceeds the amount of storage space available in the cloud storage folder or exceeds the limits set by the administrator, the file will not upload. Check the maximum file size for the cloud storage provider you use.
After you have scanned your document(s), wait a few minutes. You will receive an email from Vasion letting you know the file was scanned successfully, with an attachment of the file ready to download.