Configure Print to Archive
Last Updated: August 21, 2026
Use this topic to configure Print to Archive so that print jobs are automatically captured and stored in Vasion Storage or a connected third-party storage system.
The example in this topic is a basic archival workflow. You may build yours differently, but these are the key steps required for Print to Archive.
Vasion recommends configuring a simple Print to Archive workflow rather than a complex workflow, which may incur additional cost and could impact performance.
Requirements
Review the Requirements before configuring this feature.
Process Overview
To configure Print to Archive, perform these procedures:
-
Create a Background Workflow.
-
Enable the Background Workflow.
-
Configure Printer Overrides (Optional).
1. Create a Background Workflow
If you have not connected to your third-party storage provider, you are prompted to authenticate when setting up the storage step.
To create a Background Workflow, do the following:
- In the Admin Console, select Workflow in the left-side navigation, and select Business Process.
- Select + New Workflow.
-
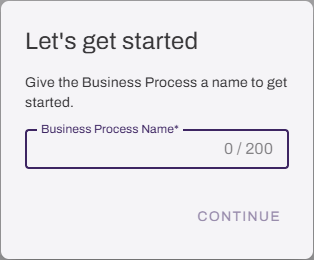
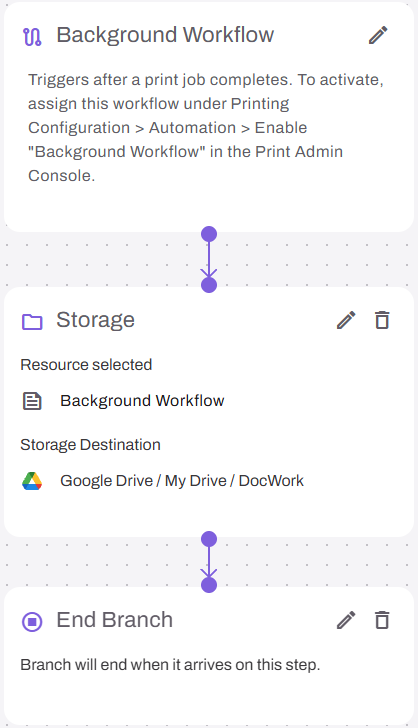
On the Let's get started modal, enter a name for the new workflow.
-
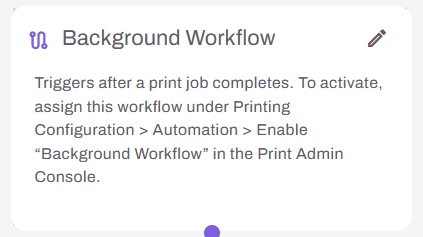
In the Choose an event modal, select Background Workflow.
- From the Basic Steps section, drag the Storage step onto the canvas.
- Drag the previous step connector dot to the Storage step.
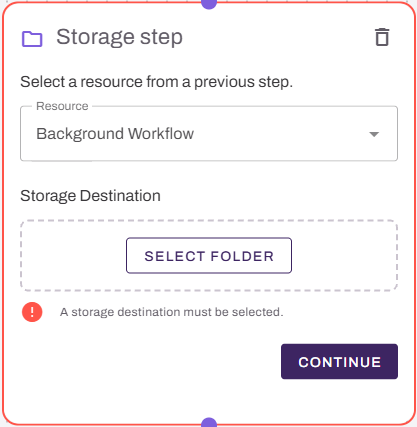
- On the Storage step, do the following:
- In the Resource field, select Background Workflow.
In the Storage Destination section, select Select Folder.
Search for and select the destination folder. If it is your first time connecting to a third-party integration, complete the authentication steps to view folders.
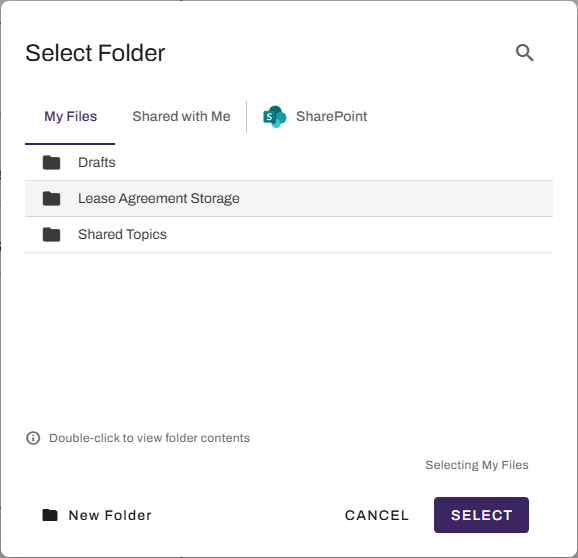
The New Folder option is available only for Storage and not third-party storage providers.
- Use the Select button after locating the desired folder location.
- From the Basic Steps section, drag the End step onto the canvas, and drag the previous step connector dot to the End step.
- Select Publish in the upper-right corner.
2. Enable the Background Workflow
To enable Background Workflows at a global level, do the following:
- Select Print from the left-side navigation.
- Select Tools
 Settings Printing.
 - In the Automation section, select Enable Background Workflow.
-
In the Workflow field, select the Background Workflow.
Only published workflows with a Document Event trigger appear in the list.
- Select Save in the upper-right corner.
The workflow is now active for all print jobs. No additional publish or deploy step is required.
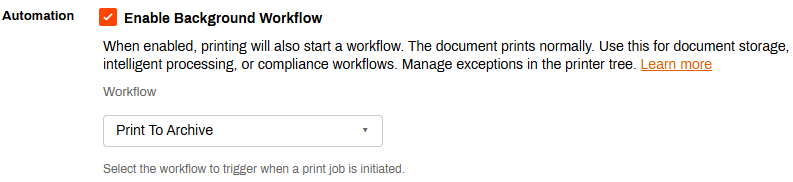
After you configure Print to Archive, documents are captured and stored automatically each time a user prints to assigned printers. Users do not need to take any additional steps, and their normal printing process remains undisturbed.
3. Configure Printer Overrides (Optional)
You can override the global setting for specific printers to use a different workflow, or disable archival entirely for that scope. Printer-level settings take precedence over global settings.
To adjust Background Workflow settings at a printer level, do the following:
- In the tree structure, select the printer to configure.
- In the Background Workflow section on the Printing tab, select Use printer-specific setting.
- Do one of the following:
- To enable Background Workflow, select Enable Background Workflow, and select a different workflow in the Workflow field.
- To disable Background Workflow, deselect Enable Background Workflow.
- Select Save in the upper-right corner.
- Repeat as needed for addition folders or printers.
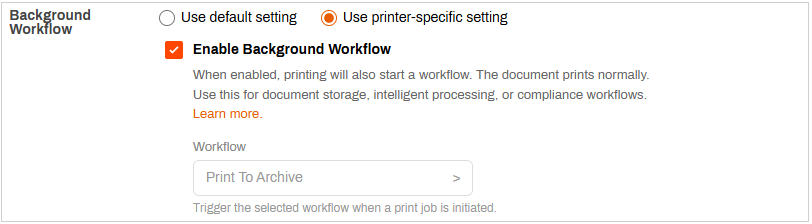
After you configure an override, that printer or folder, and objects within it, use the updated Background Workflow settings and workflow.
In this topic: