CPA Manager: Add Printers
Last Updated: August 06, 2026
This topic guides you through adding printers to the CPA Manager.
Requirements
Review the CPA Manager topic for information about this feature and to turn on the Printer Apps service.
Add Printers
There are two ways to manually add printers for installation:
- Select the printers from a list.
- Browse and select the printers from the tree structure. By using the tree structure, you can select a folder, which automatically selects all printer objects within it.
- Printer objects with the Control Panel Application (CPA) installed on the Apps tab display in the Printer(s) list for the associated Service Agent.
Select Printers
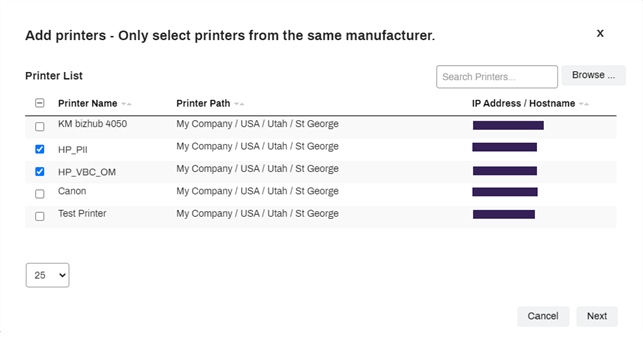
When you add multiple printers, they must all be from the same manufacturer.
Follow these steps:
- Select the Add Printers button.
-
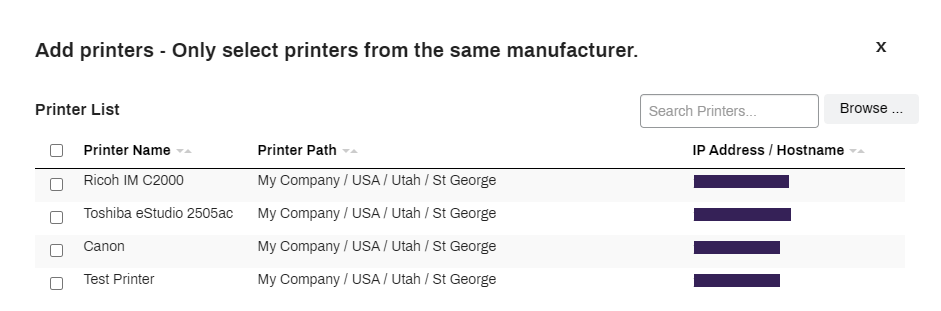
Select any printers from the list as long as they are from the same manufacturer, and then select Next.
-
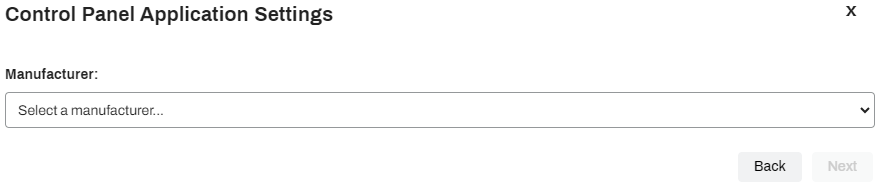
Select the manufacturer from the dropdown menu.
-
Select settings to apply to all selected printers, and then select Next. The options that appear vary by manufacturer.
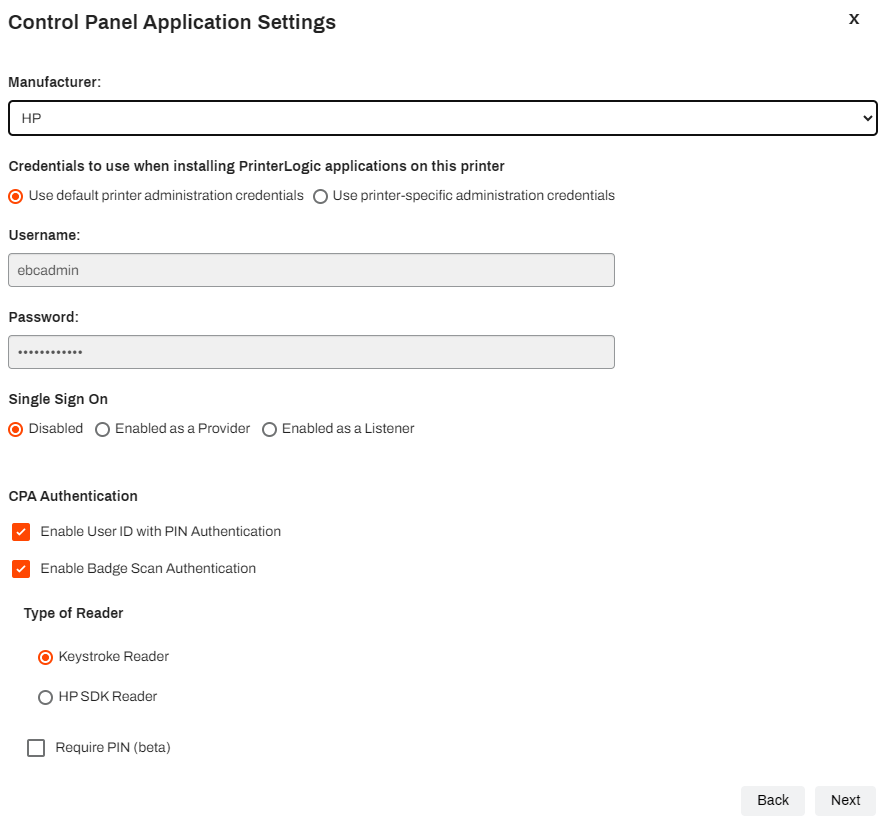
If you use an identity provider (IdP), the CPA only supports badge and PIN authentication.
-
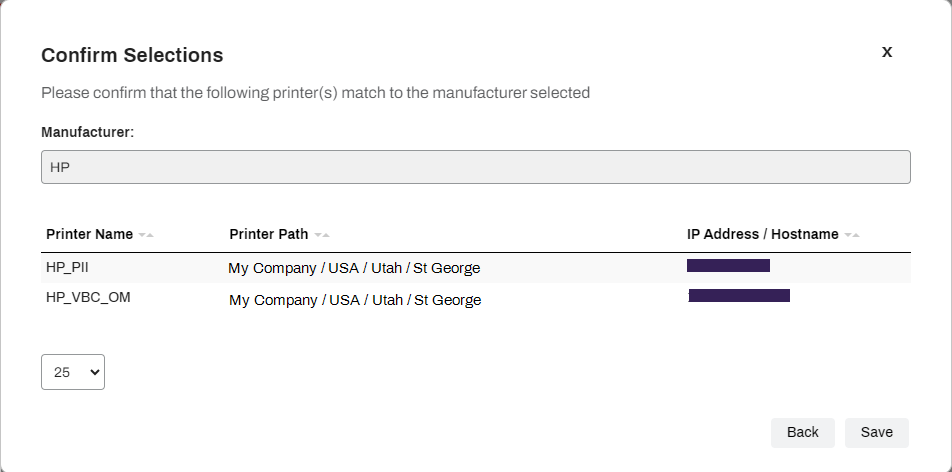
Confirm that all the printers are from the same manufacturer, and then select Save.
-
Select Close on the modal. The process continues in the background and might take some time.
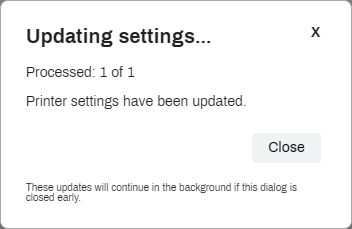
The printers appear in the list, and you can view the current statuses in the Status column.
Browse Printers
Follow these steps:
- Select the Add Printers button.
-
Select the Browse button.
-
Open the tree structure to the printer or folder that you want to add to the CPA Manager list. Then select Add.
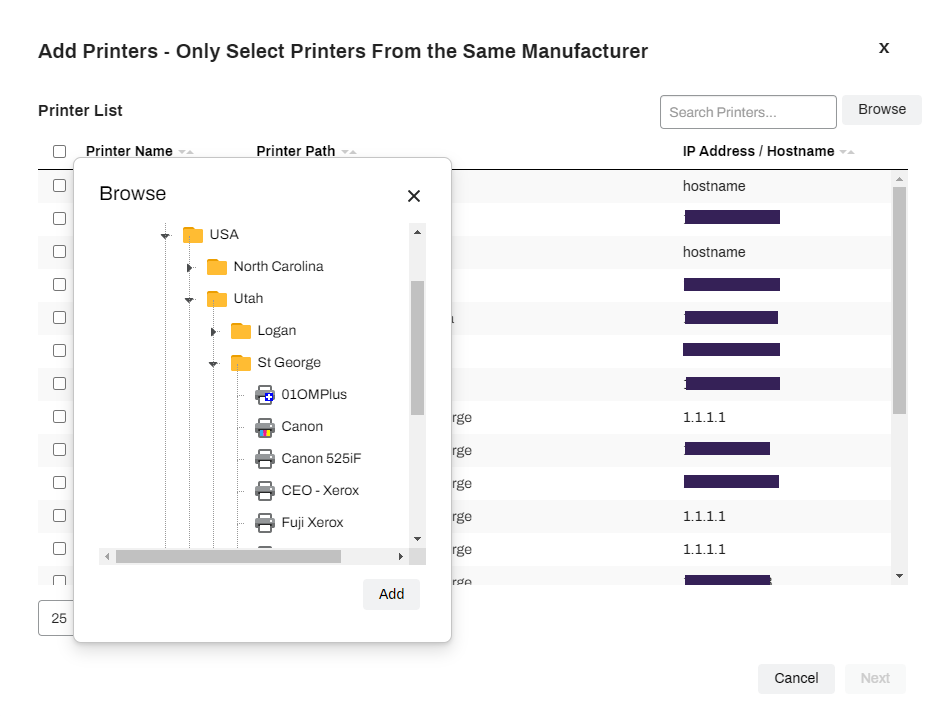
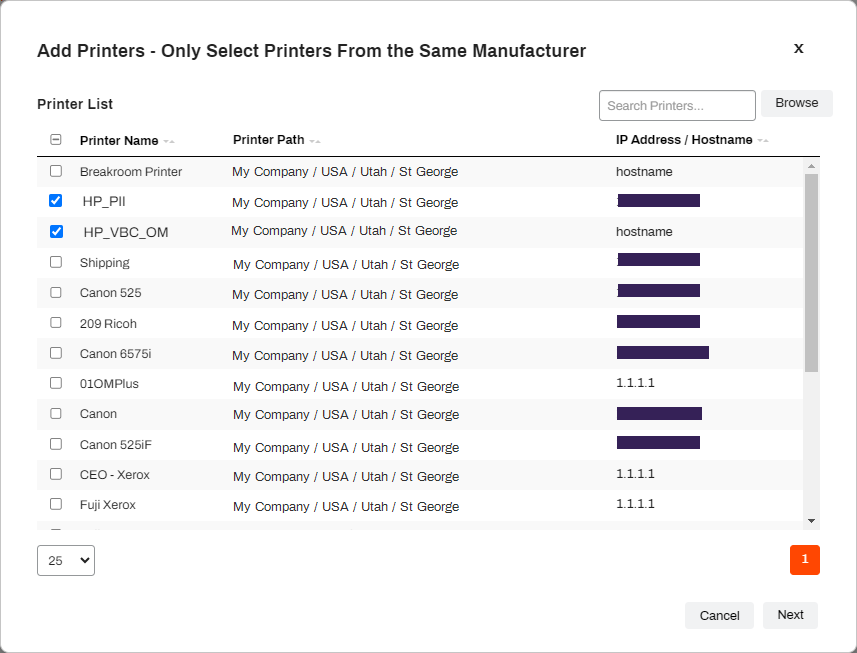
You can hold the Ctrl or Shift key to select multiple folders and printers. All selected printers must be from the same manufacturer. Select a folder only if all printers in that folder are from the same manufacturer.
-
After you add the selected printers, select Next.
-
Select the manufacturer from the dropdown menu.
-
Select settings to apply to all selected printers, and then select Next. The options that appear vary by manufacturer.
-
Confirm that all the printers are from the same manufacturer, and then select Save.
-
Select Close on the modal. The process continues in the background and might take some time.
The printers appear in the list, and you can view the current statuses in the Status column.
Next Steps
In this topic: