Last Updated: June 08, 2026
Manage Customer Instances
Below are common customer management operations completed within the MSP Portal.
Update License Allocations
To update license allocations for a customer instance:
- Log into your MSP Portal.
- Select the desired customer from the tree structure.
- Go to the License Information section.
- Select Manage.
- Adjust licensing as needed.
- Select Save to apply the changes.
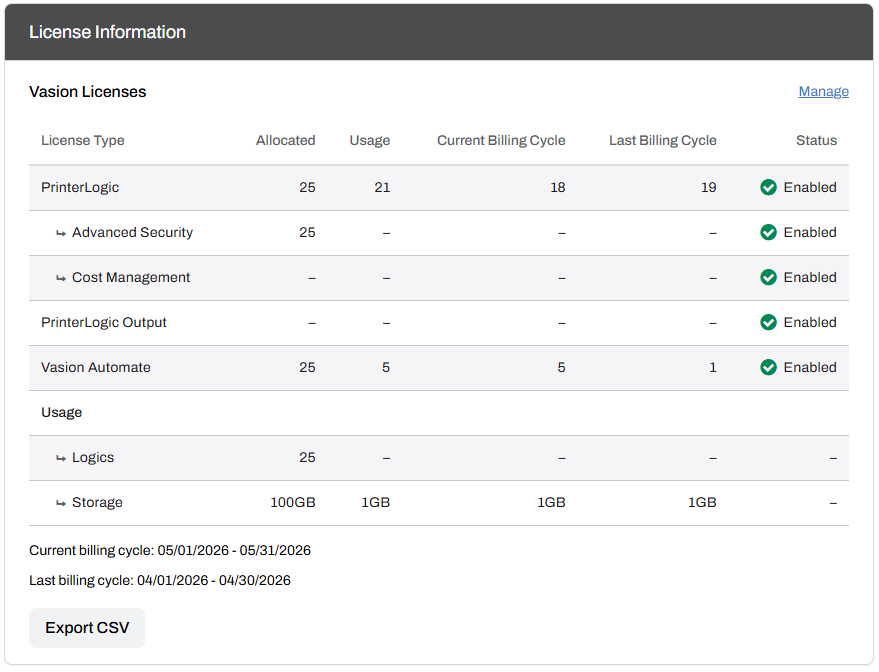
For more information on the license options, refer to Managing License Allocations.
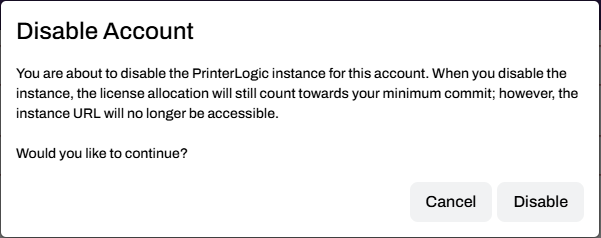
Disable Customer Instances
Disabling an instance does not prevent the customer from printing but undermines the ability to log into and manage the environment. Usage is still recorded for billing purposes even if the instance is disabled.
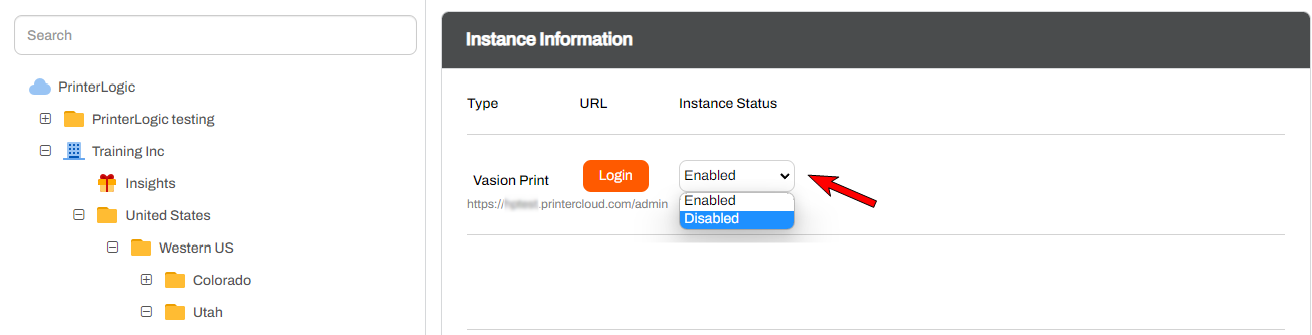
- Log in to the MSP Portal.
- Select the customer account from the tree structure.
- In the Instance Information section, select Disabled from the dropdown next to the instance Login button.
-
In the modal, select Disable.
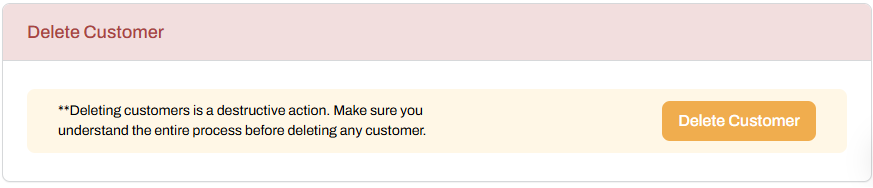
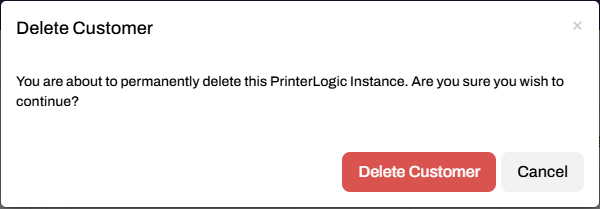
Delete Customer Instances
Be aware that when you delete a customer instance, it is a permanent action. To delete a customer instance:
- Log in to the MSP Portal.
- Select the customer account from the tree structure.
- Select the Delete Customer bar at the bottom of the page.
-
Select the Delete Customer button.
-
Select Delete Customer in the modal.
ArchivoBlack-Regular Archivo-Light Archivo-Medium ArchivoNarrow-Regular Archivo-Regular RobotoMono-Italic-VariableFont_wght RobotoMono-VariableFont_wght Search-Results.htm