Storage
Securely access your documents from anywhere, even encrypted files, across all your storage environments. You can upload new documents to kick off workflows or upload documents as attachments to support existing workflows and forms.

App Folders and Subfolders
Once you tap on a drive you can see all the parent folders you have permission to view. You can then tap on a parent folder to view any subfolders and documents saved in that folder.
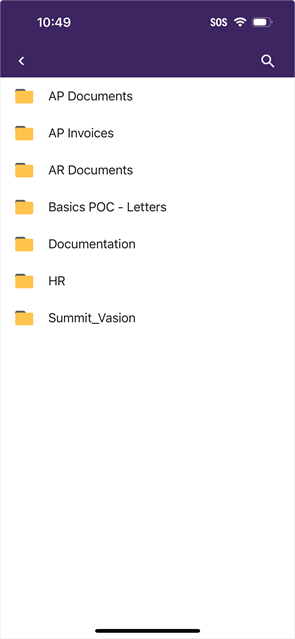
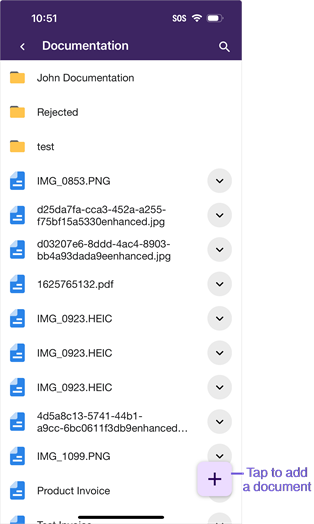
You must tap to select one of the folders to add a new document.
To view details about the document select the Expand button ![]() . The information details shown is the same as the web client and it depends on whether there is a custom folder view assigned.
. The information details shown is the same as the web client and it depends on whether there is a custom folder view assigned.
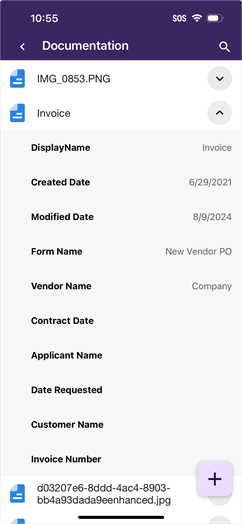
When you scroll up, the Add button ![]() fades out of view so you can use the Expand button
fades out of view so you can use the Expand button ![]() . To view the button again, scroll down.
. To view the button again, scroll down.
Add Documents
There are two ways to add documents, you can scan a document using your device's camera or you can upload a document you have saved in your device. Select a folder or subfolder location and do the following:
1. Tap on the Add ![]() button
button

2. Select the document source
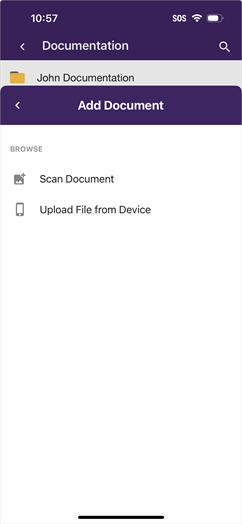
Scan a Document
To scan a document, navigate to the folder or subfolder where you want to store the document and tap the Add button ![]() . Here is a brief overview on how to scan documents. For more details about the scanning functionality see Scan.
. Here is a brief overview on how to scan documents. For more details about the scanning functionality see Scan.
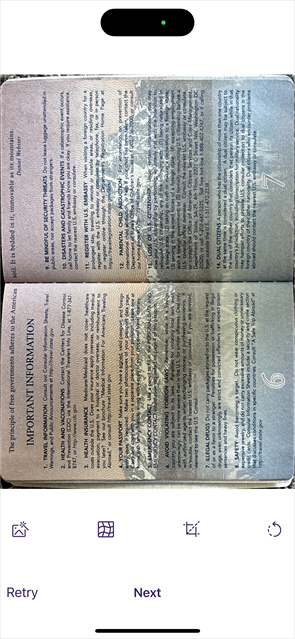
Page Scan Options
As you capture each page, you have the following
-
 Image filter — tap to apply a filter to the document.
 -
 Curvature correction — tap to correct any curvature on the original document image.
 -
 Crop image — tap to crop the image.
 -
 Rotate image — tap to rotate the image 90° at a time.
1. Tap Scan Document
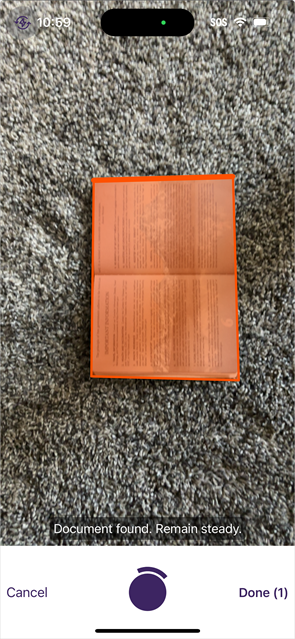
2. Scan document

3. Tap Next to add another page or finish scanning
4. Tap Done
5. Tap Export

6. Tap Save to Vasion
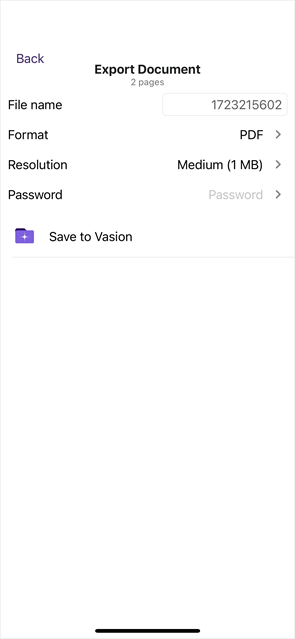
When the upload completes you can select the uploaded document from the file list to view the file in Storage.

Upload From Device
You can upload a document if you have it saved in your photos or can access the file location through your device.
You must give the Vasion Mobile app permission to access your photos.

1. Tap Upload File from Device
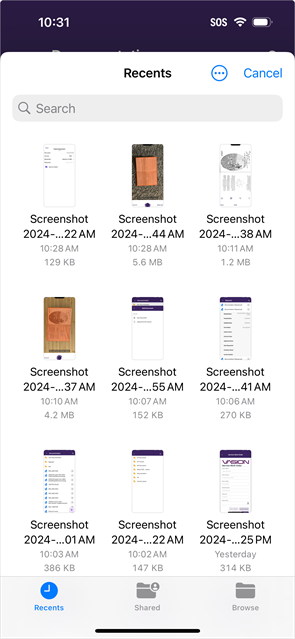
2. Select from recent or browse for the file
3. Tap to select the file
Yes. The app needs access to files, photos, and the device’s camera when uploading or scanning a document for the first time. You will only be able to use these features after allowing the app access.